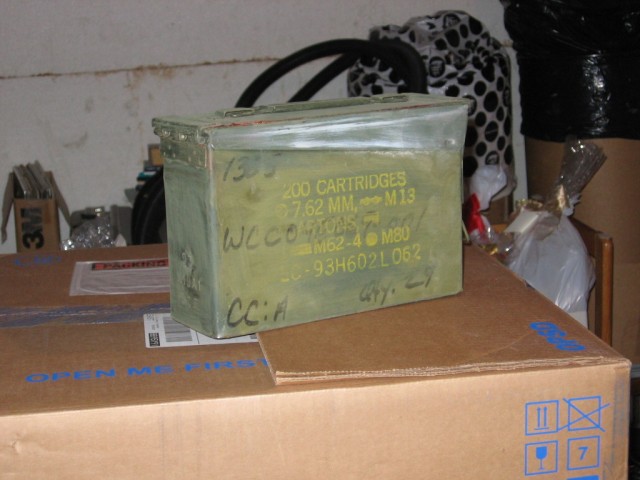
| Thus brings us to the beginning of the cache. The ammo-can. Apparently, this is supposed to be fairly popular due to it's large size, water-tight nature, strong body, and general coolness of an ammo-can. Sadly, very few of them are around where I live. I plan to change this, if not just slightly. |
 |
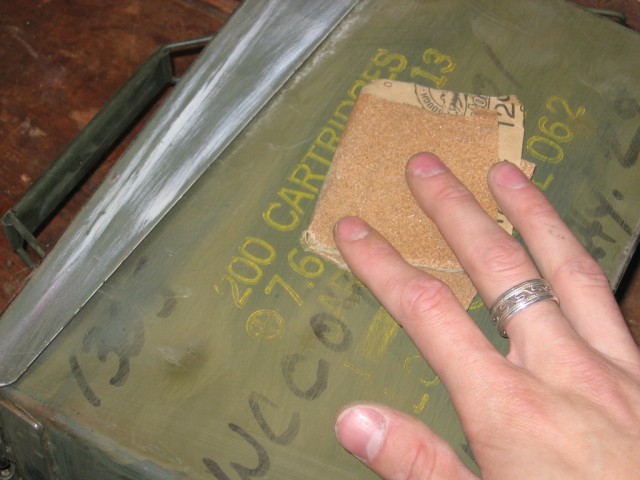
| Now, the first step will be to sand the living bajesus out of it. This will both remove any grease/dirt/whatever from the surface of it, as well as rough it up so that the following steps will stick better. |
 |
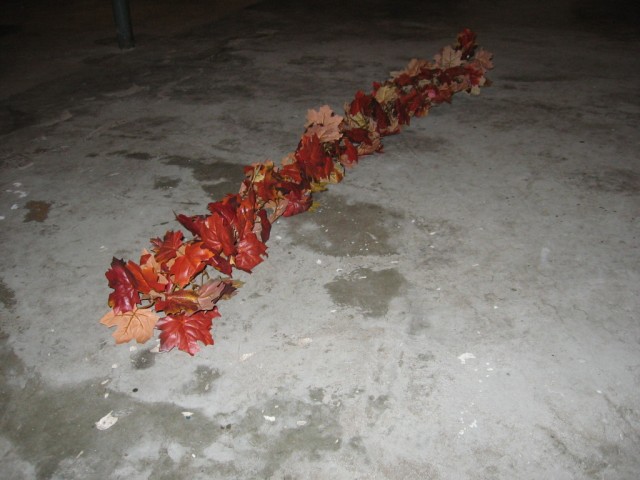
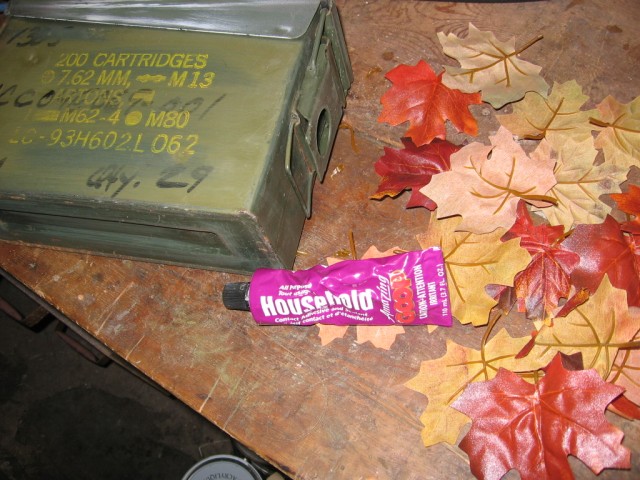
| My geocache in particular will basically hide itself as a pile of leaves. Hence... from a craft store, I got fall-coloured leaves (ie: dead) that will adorn the ammo-can. It comes in a boa-type strand of leaves. |
 |
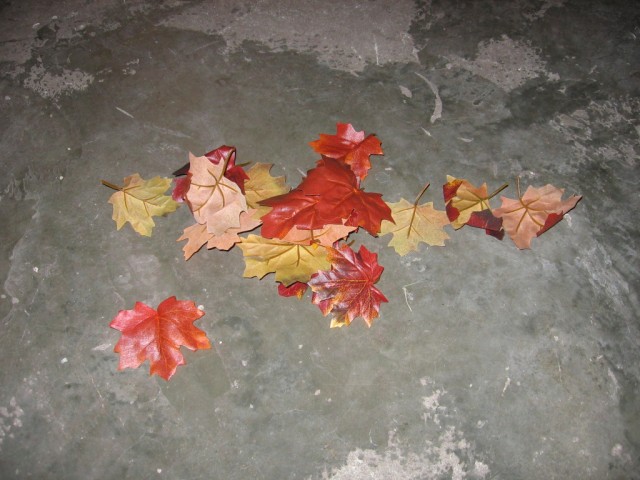
| First up... we're going to cut off a bunch of these leaves from it's strand, so that they can be moved around and glued seperately. This will let me get a good spread for what I call the "first layer". |
 |
| You'll want to find some good, strong glue to hold the leaves on. I quite like this particular brand (Goop). This stuff will hold ANYTHING. I mean... I glued down the carpeting that was coming up in my car, and it hasn't showed the slightest sign of wear or releasing. And this is through the bitter cold of winter and the heat of summer! It should due well for the cache, and keep the repairs down to a minimum. I'm sure there's dozens of types of glues one can use, but I'm going with this one. |
 |
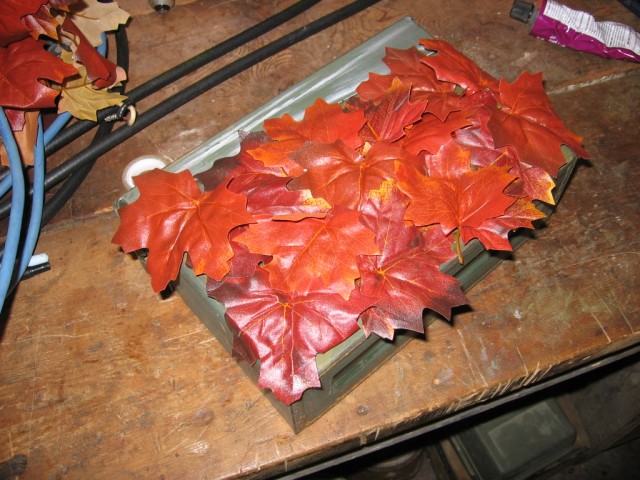
| After we've glued them down (mainly running the glue along the 'stem' running down the center-back of the leaf), you want to get a generally good cover of the surface. Due to lack of clamps/boards/etc, I'm having to work this one side at a time. It doesn't matter too much if you can see green here or there, since as I said, this is the first layer. Also, I made sure not to glue the lid to the side of the cache. That would rather defeat the purpose of being able to open it. Don't worry, I'll be getting the bottom/sides/lid seperately. |
 |
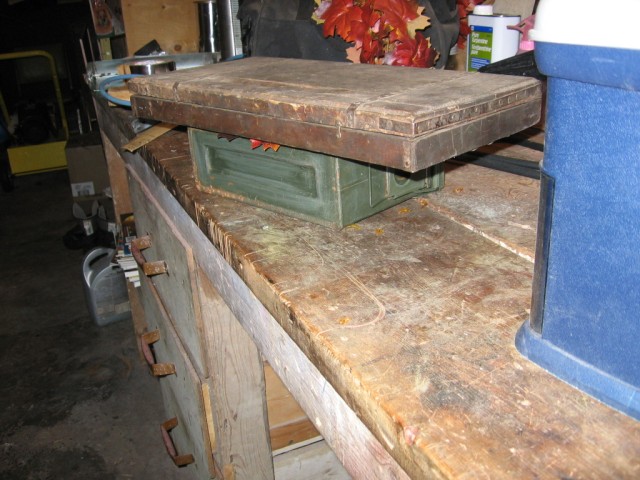
| This particular glue however takes 24 hours to fully dry. As you can assume, this will take quite a long time to build. Hence... putting some kind of weight (such as an old manual bolt-threader for example) on it for a while until the glue begins to set (a few hours or so) is a good idea. |
 |
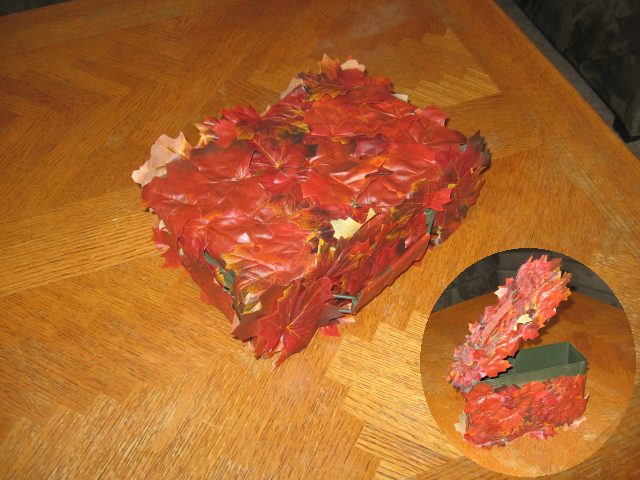
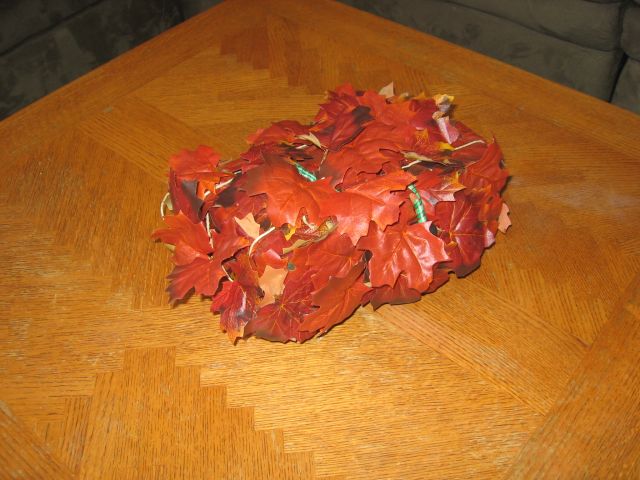
| As you can see... we've had a change of workbench. And by that, I mean that I'm at my apartment, as opposed to working on this in my parent's basement where I originally began. Nonetheless... layer 1 is complete. It still looks very boxy, but it's no longer blatantly an ammo-can, and more like a funky, square pile of leaves. I realize that as seasons go by, this won't fit in with well... everything except fall, but that tends to come with damn near any cache. It will also be partially disguised by natural leaves/whatever sprinkled on top of it, so it shouldn't be too bad. Also... we're not done with it yet. |
 |
| So now what we're going to do is take the uncut leaf pairs from that big string of leaves, and work with them as is. This'll give the box some shape, other than a perfectly rectangular, flat-sided box. |
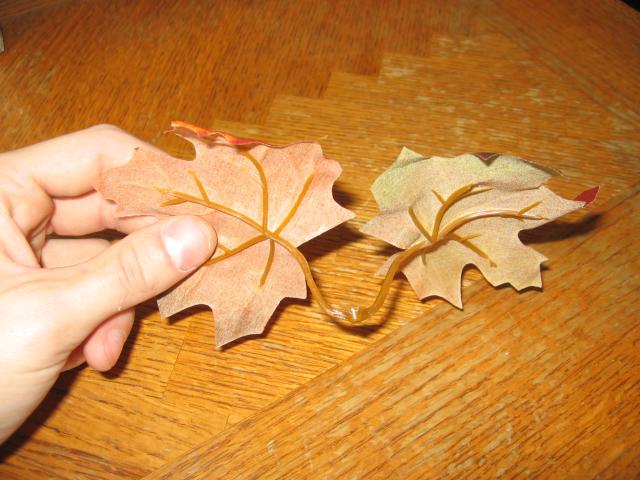 |
| So what I'm doing is gluing those leaf-pairs to wherever has a solid base to work off of (ie: not at the loose edge of another first-layer leaf). I'm keeping them in place with a bungee-cord, and twine. Hey... it keeps the leaves held down into the glue, and doesn't flatten the entire thing. As well... I peeled the "stem" off of some more leaves and cut those apart. I'm using THOSE to put directly on top of the glue, so it both hides the stem, keeps the glue held down more, and keeps the cord/twine from sticking to the box. However... I had to be careful not to accidentally glue the lid closed. Almost did that twice before I remembered "oh wait... it's still supposed to open". Well, at least I remembered now instead of having to cut the glue holding it closed later :P. |
 |
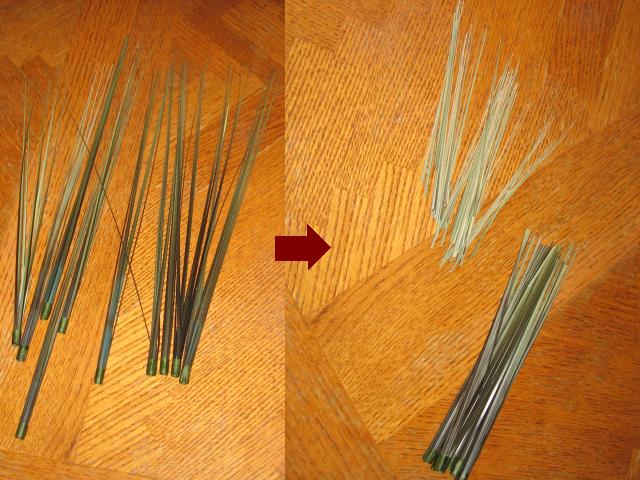
| Now we have ourselves an ammo-box that doesn't looks specifically like a can, but it's looking a little TOO leafy, if you know what I mean. So what do we do? We find ourselves some fake dead grass, and hack it down to a length that's... y'know... actually useful to us. This grass cost me all of a buck fifty, so if anyone reading this plans to make a natural-looking cache (well, as "natural" as this debacle looks :P), I'd probably suggest getting it to look like some grass is growing through there to kinda make it look more ground-like. |
 |
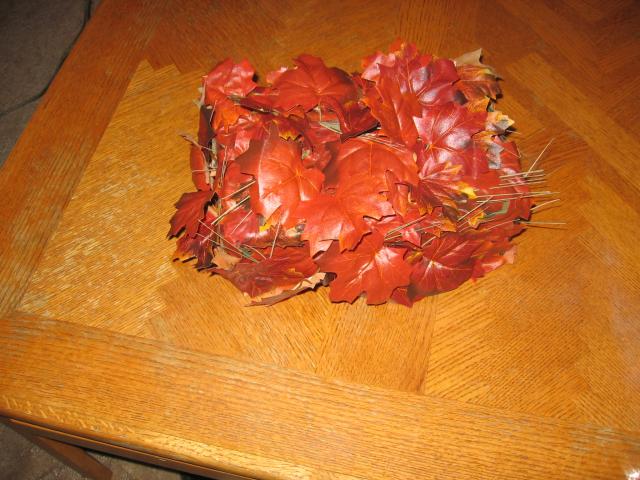
| And lo, we have the completed cache! Trust me, it actually looks a lot better in person. It's still pretty rectangular-looking though. I was contemplating finding a way to attach boards to the sides at an angle, so it would look more like a hill with slanted sides, but the only way to "securely" attach it would involve drilling holes in the can... which would quite heavily impact it's water-proofness. Even if I sealed the holes, it's just a weak point waiting to open. But nonetheless... not too shabby. |
 |
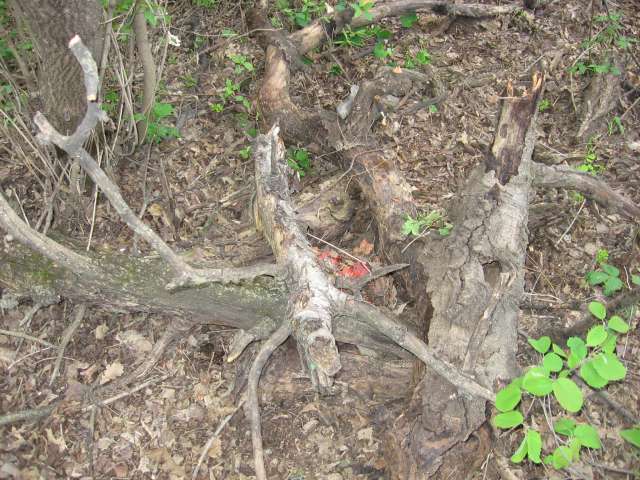
| Here it is in it's actual hiding spot. It's quite easy to spot at this time of year unfortunately, but in fall it should be a lot more blended in. However, I'm not worried regardless... since anyone who comes to THIS particular location WILL be a geocacher. Someone would have to be stark raving insane to go here if not for the geocache :P |
 |


