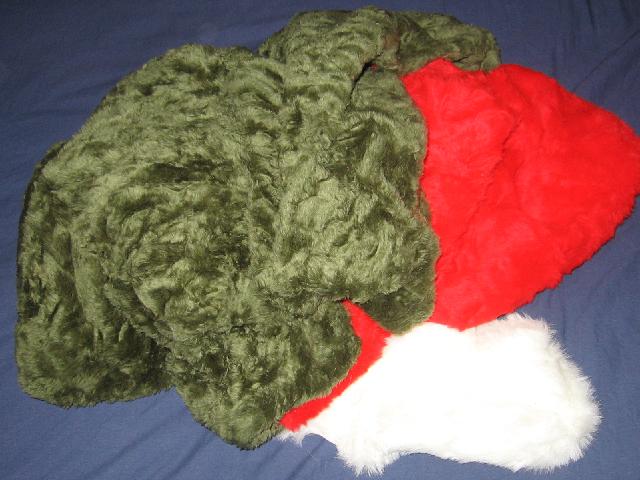
| This project. This one was a loooooong time coming. That pile of ultra-fuzzy cloth (also known as "Monster Fur" fabric) was purchased almost 7 years ago, right at the same time as when I made Sweatertroid. However, since sweatertroid's entire purpose was the true definition of "prototype", that being to test a concept or process or to act as a thing to be replicated or learned from. I however got really bored of hand-stitching after sweatertroid, and the monster fur was shelved, nearly discarded on multiple occasions. Only by a last-second whim of me pulling it out of a garbage bag when we were in the process of moving did it still exist. However, after my mom was gone, I got her sewing machine, moreso because nobody else was taking it, and it was a shame to let go with so many memories behind it. Thus, I took it in, and it has acted as an extra surface to put stuff since. However, as of late I've been in a creative mood, and gave the sewing machine life again. I figured out what every lever, switch, button, and knob does, and have it purring like a kitten (a very loud one... this thing IS probably 40 years old by now). And thus re-began my next project. |
 |
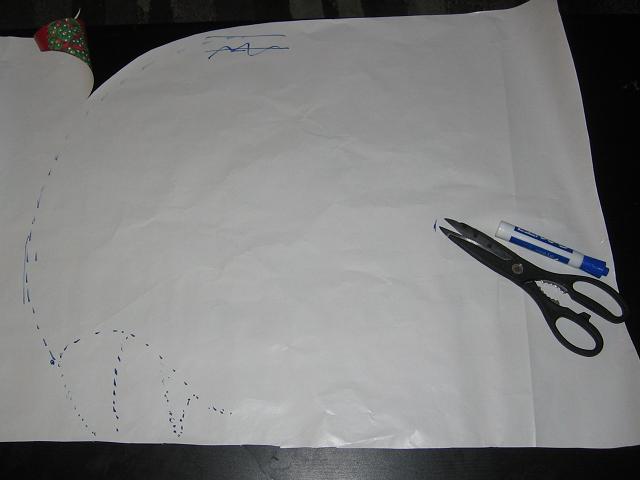
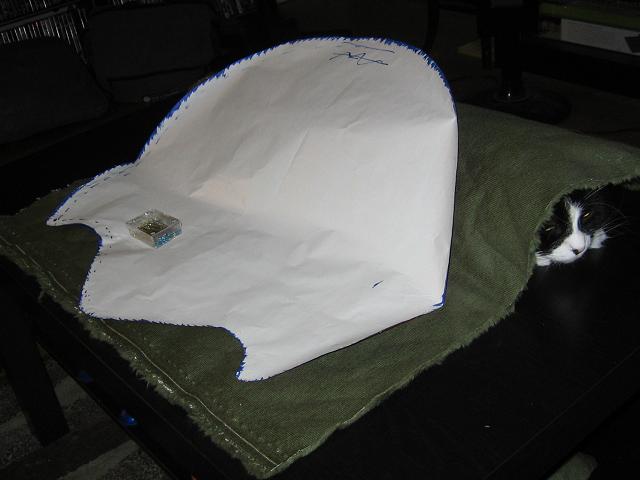
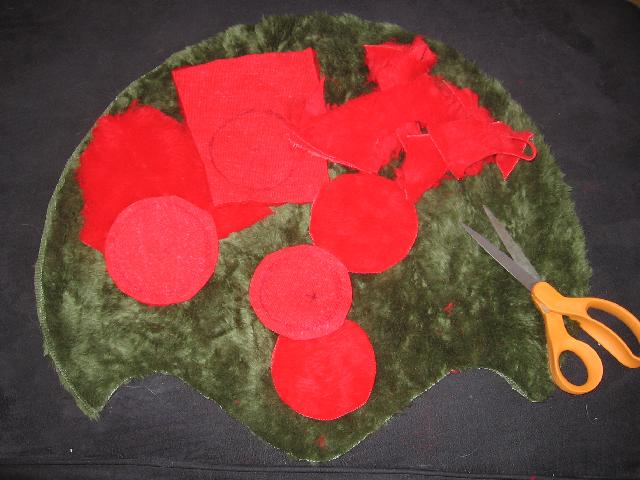
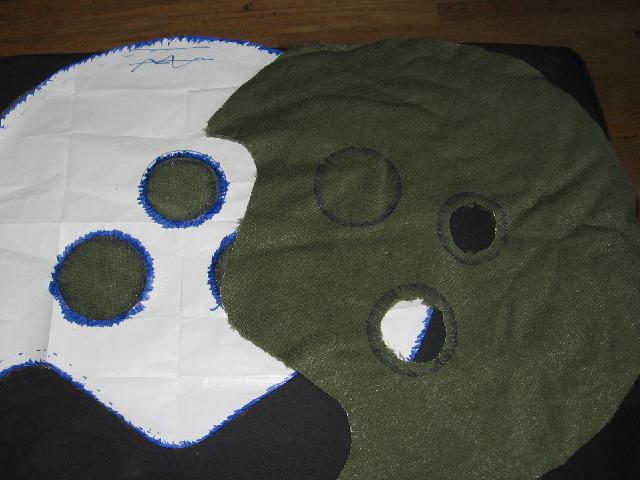
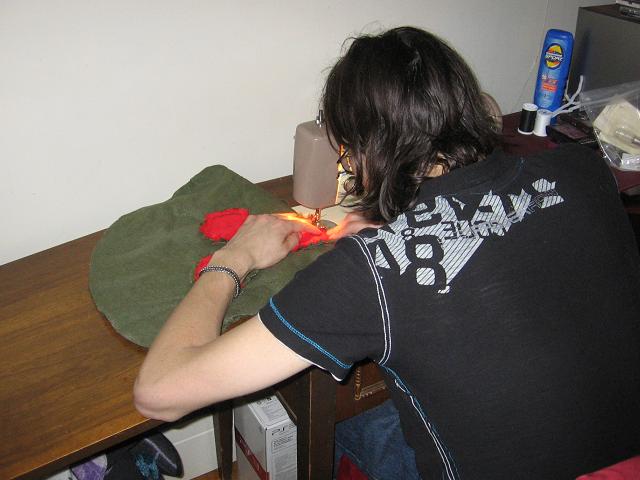
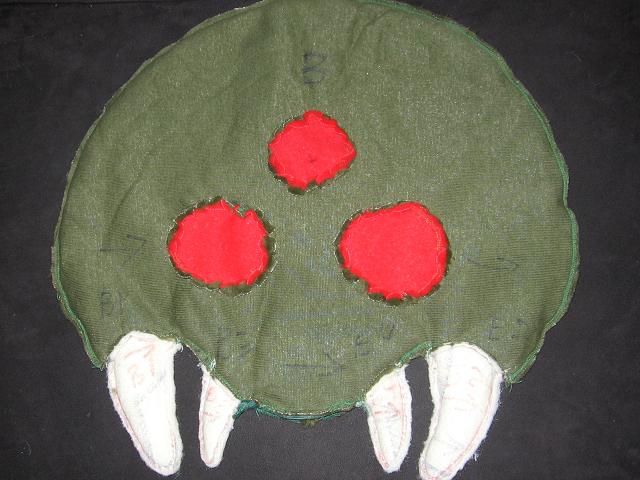
| First things first, I DID learn from the horrible failure that was Sweatertroid is that TEMPLATES ARE NEEDED! I just used the back of some old Christmas wrapping paper, and hand-draw the general outline of a NES Metroid as I could. Or at least half of a Metroid, after which I folded it in half to make sure it was perfectly symmetrical. Using that, I cut out two identical green Metroid sides after pinning the stencil to the fabric. I was also specific to make sure I had the 'grain' of the fabric going in the same direction all throughout. If it's going to be fuzzy material, it'd better the all fuzzy the right way all across it. I used two sizes of drinking glasses to make the red circles (the top orb is slightly smaller in the sprite. Also, it looks better), and cut all of those out, leaving me with a pile of fuzzy "pieces". I left the teeth until the end, wanting to at least see if I could pull off getting the side to not look terrible, with the red being deeper in or bulging out or crooked or something. This was essentially my first legitimate attempt to use the sewing machine. Don't get me wrong, I took sewing in home-ec in school, and liked "helping" mom as a child on there, but I'd never actually "made" anything other than what was under direct supervision in home economics. But now I was on my own, first time touching a sewing machine in over a decade, working with small, round pieces of a difficultly shaggy fabric. |
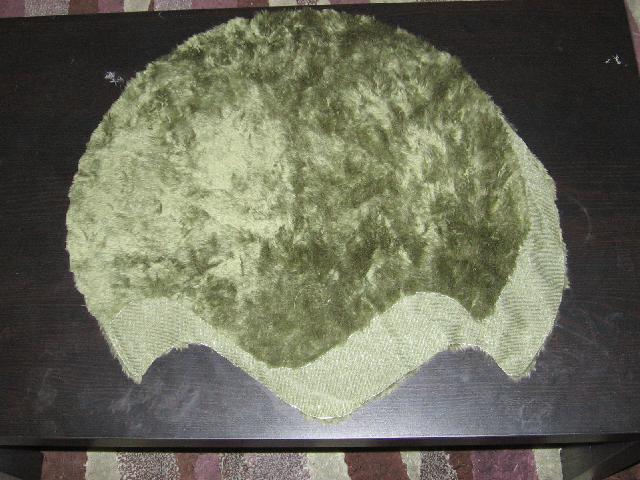  |
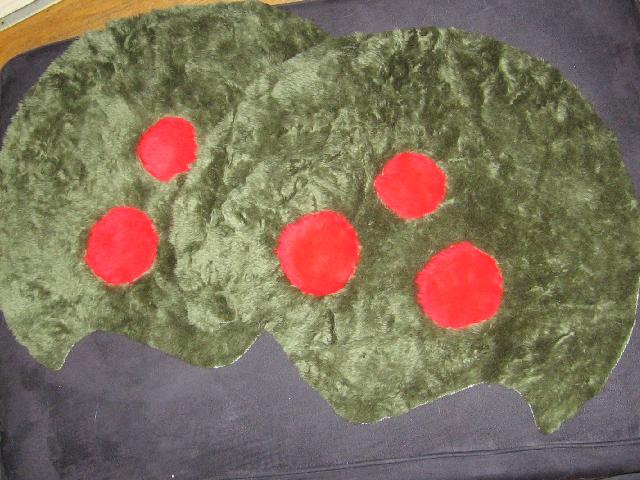
| Using the folding the template in half technique, I made sure all of the circles were perfectly symmetrical, with the green fabric and with eachother. I also remembered to leave about a centimeter of fabric around all edges, so that the seams could be sewn together and leave a nice, flush colour-change between fabrics in the finished product. I started by loosely hand-sewing the various pieces into place. I had attempted to use head pins, but the fabric was too shaggy for that to work well. Also, with so little space to work with in the circles, I ditched that idea. It ended up working better than expected, and I went over every seam at least 3 times, to make sure nothing pulls loose anytime soon. It's always annoyed me how store-bought things tend to have only a single strip of sewing done along a seam. If that one thread comes loose or breaks, you've got a massive hole instantly. By going over it 3 times, it would take a helluva lot to make a seam come open. Odds are the fabric would tear long before the seam will. I also trimmed all of the edges of the seams, moreso for neatness than anything else. It also helped when sewing, since the fur sticking out made it more difficult to see what I was doing. |
  |
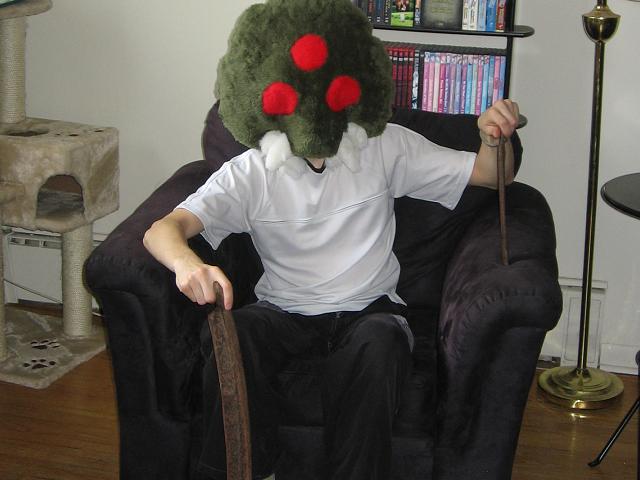
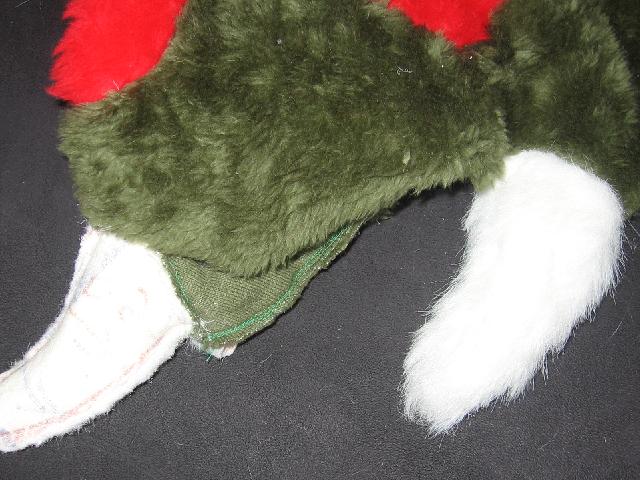
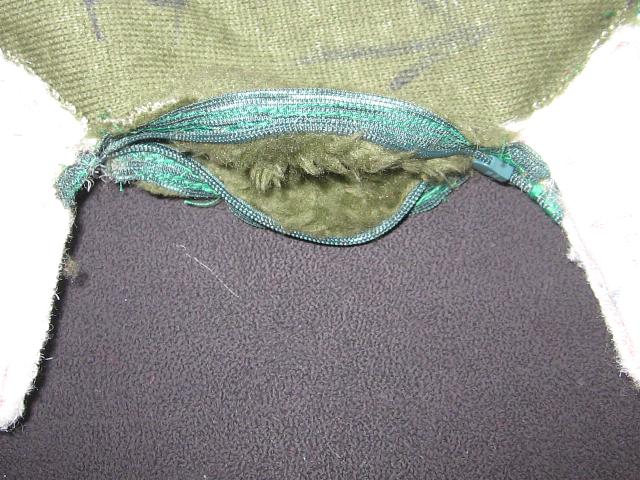
| I DID however have to take some novelty pics before sewing up the teeth. Click on that first picture in this set, and you'll see what I mean. I mean... I GOTTA. I'm Kabutroid! Those are real scythe-blades of my grandpa's, but the handles had long since rotted away. I tried to take a picture of what the teeth look like inside and outside, and you can also see the green seam where I went over it multiple times (that's right, I'm using different coloured thread, too). The teeth are slightly longer furred fabric, but that doesn't really bug me. Makes it look like a different "material", which makes sense, between a squishy Metroid body and its teeth. I also wanted to install a hidden zipper, so that I could add more stuffing if needed, or empty it to clean it, or moresoto eventually swap out the cotton batting for beanbag chair type foam pellets once I find some. I've gotta say, it was NOT fond of being turned inside-out through that small opening. That was nearly a mistake that would have had me doing a ton of unstitching... I never thought that I might not have been able to flip it inside-out. But I got lucky, and it just barely made it. And now it's pretty much stuck this way, since I added a bit more hand-stitching at the zipper ends to hide the slider more when zipped up. |
  |
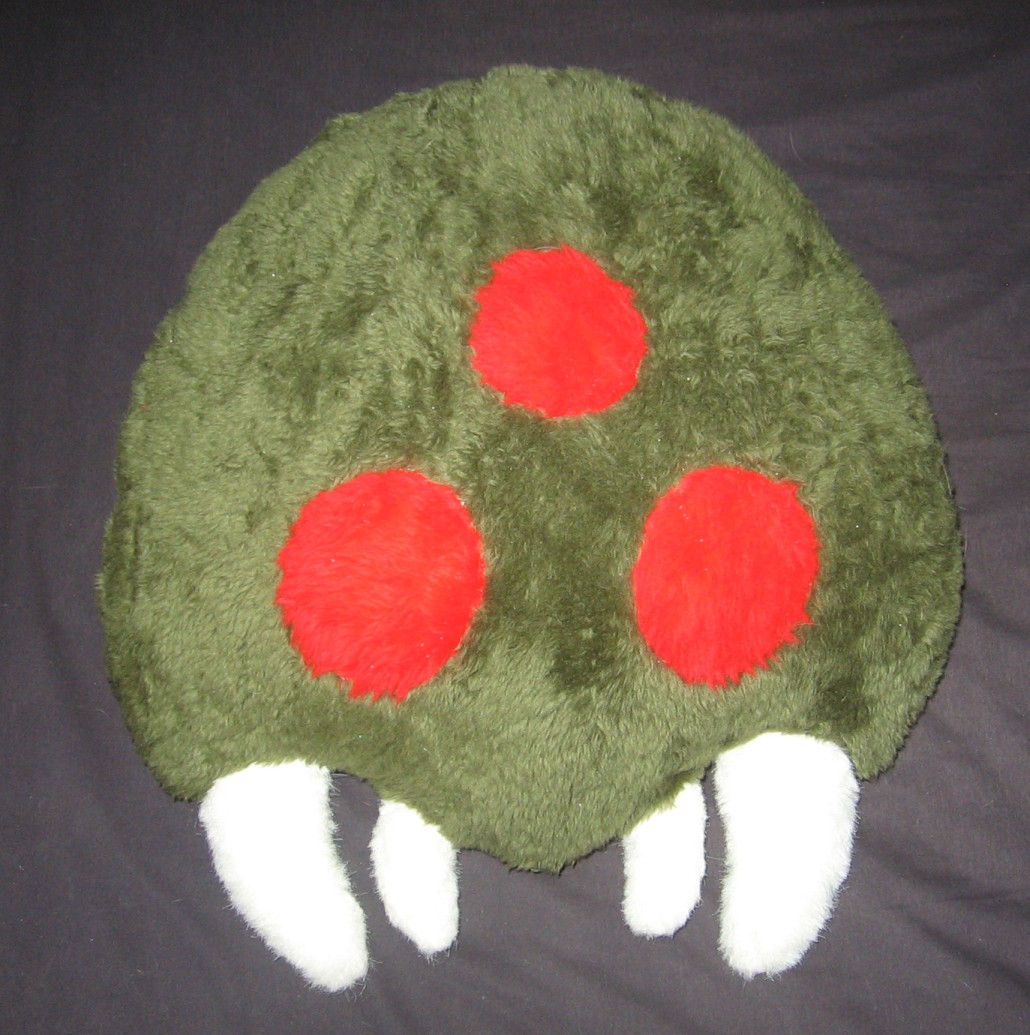
One pound of cotton batting later, and we have... Pillowtroid. It's big, fuzzy, warm, and shall now reside on the couch as the only acceptable throw-pillow one should own :P.
I decided to go with just the three circles, and not bother with the added "veins" as I had attempted in Sweatertroid. On that prototype, I figured the veins were too thick, difficult to add, and just generally detracted from it. I DID cut a few strips of red to lay on top of the green to see at the start, but immediately ditched that idea. This way is a lot more simple, and there's still just about no way anyone familiar with the game can mistake that for anything other than a Metroid.
I ended up replacing the cotton batting with those styrofoam microbeads. Found a few small pillows filled with those, hacked 'em open, and got 'em into the Metroid. To say the least, the room was covered in them, and it took a month of vaccuuming before they all seemed to be gone :P. I also sheared down the fur on the teeth, since that seemed to have initially been longer than the rest... different fabric brand I assume, since I got them all at different places and times. I also had to meticulously go over each seam with a needle and thread to close up any tiny gaps in the sewing that the styrofoam beads could fit through. At this point, it is how warm, fuzzy, and extra awesome to rest your head on :D.
|
 |
|


