
| Unpackaging and preparing the new cube | |
| For those who know me, when I latch onto some random hobby or pasttime, I latch onto it all the way. A random curiosity for wanting a chainmaille shirt for example led to me spending around 200 hours of labour on making it. So it will come as no surprise that when I got into solving a Rubik's Cube, starting first with a 2x2x2 size (see first video above) and then a 3x3x3, I just HAD to get a fancy Cube to customize and build to my specifications. One order from Rubiks.com later, and I had one disassembled, do-it-yourself white-plastic Rubik's Cube, ready for the building. | 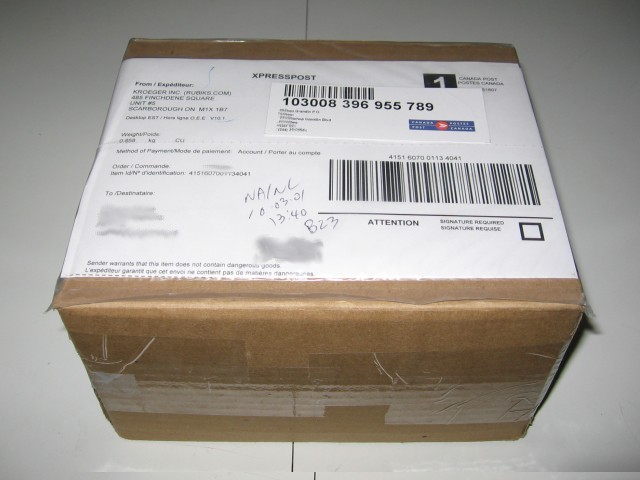 |
| I thought it was rather peculiar for a Rubik's Cube, it being roughly the size of an adult's fist, to require such a large box. Cracking said box open showed me that most of it was a colossal waste of packaging. There appears to have been an inner box, and the only thing contained otherwise in the outer box was a pile of styrofoam packing peanuts, and a receipt for the purchase. | 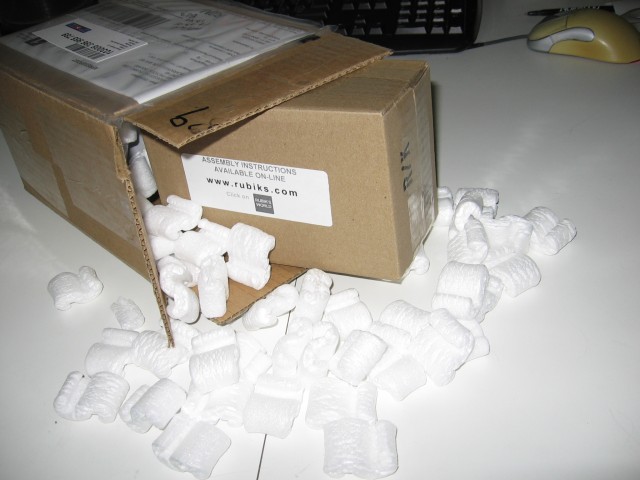 |
| If you haven't already noticed, you can see that I was so enthralled with this new hobby that I took a picture of just about every possible step. So let's see what's behind box number 2... | 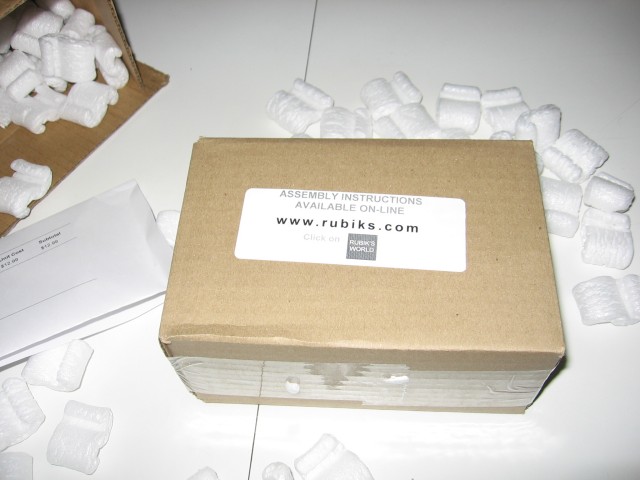 |
| SURPRISE! Even MORE packing peanuts! | 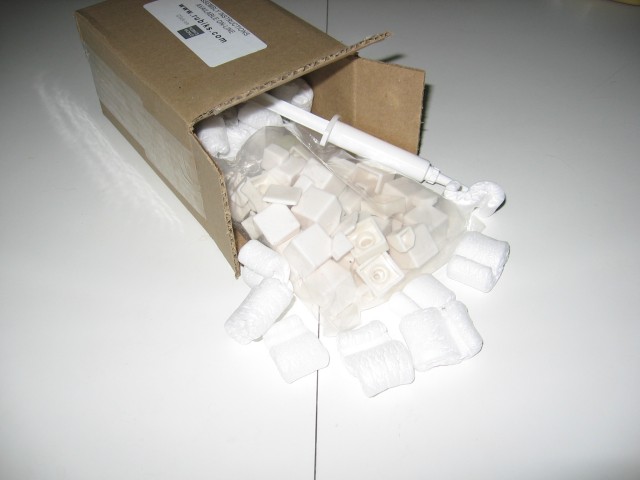 |
| Taking a closer look, we see the plastic bag containing all of the various pieces of the Rubik's Cube, a syringe full of lubrication for said cube, a sheet of instructions for said lubrication, and the sticker sheet. They give you two sets of stickers for some reason... I guess if maybe some of the stickers peel off over time, but it still seems a bit overkill. Oh well, at least this lets me not have to use the white sticker with their stupid logo on it. | 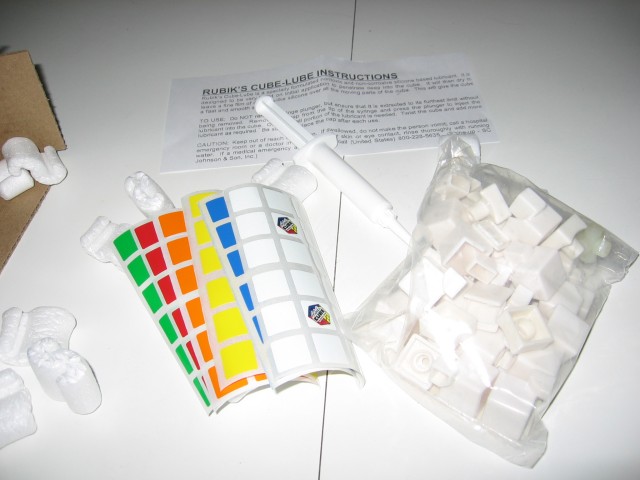 |
| And now comes the hard part. Let us separate all of the various different types of pieces so that I can prepare the method I've come up with for a smooth turning cube. |  |
| For the first step, let's very loosely put the center together. I don't want to tighten up the tension quite yet, since I want to get everything fully complete before I do that last step. | 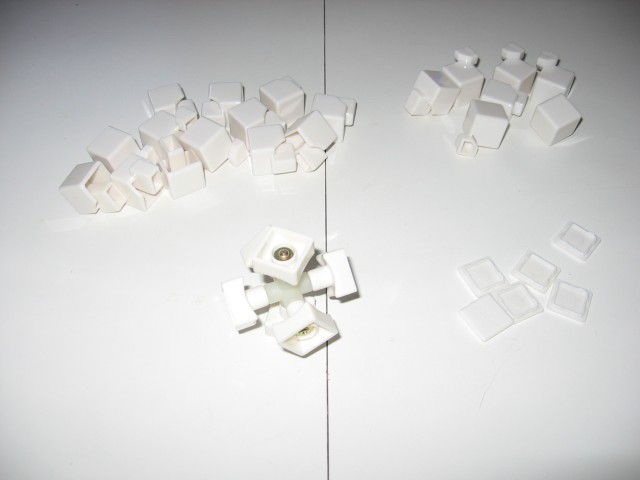 |
| Starting to come together, to become the easiest Rubik's Cube on earth... one colour. It looks kinda interesting with one corner left open like this. | 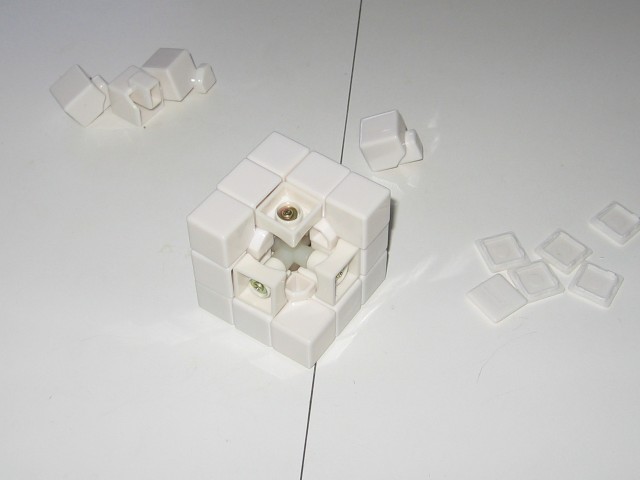 |
| Finally together. Ridiculously loose since I haven't tightened it up, and as well I've got the end caps on very loose since I still have a lot of work left to do on it. | 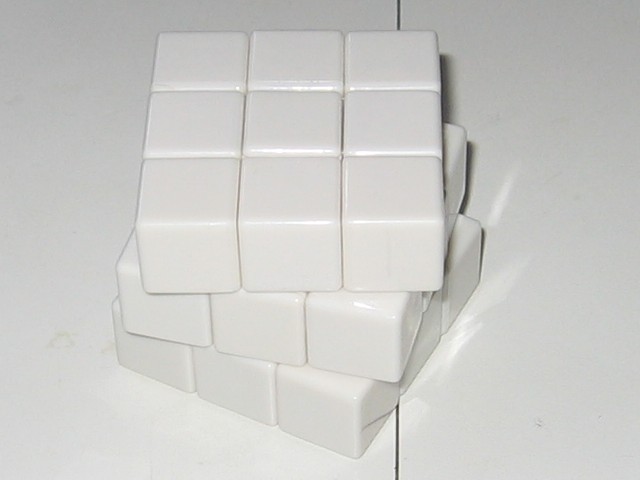 |
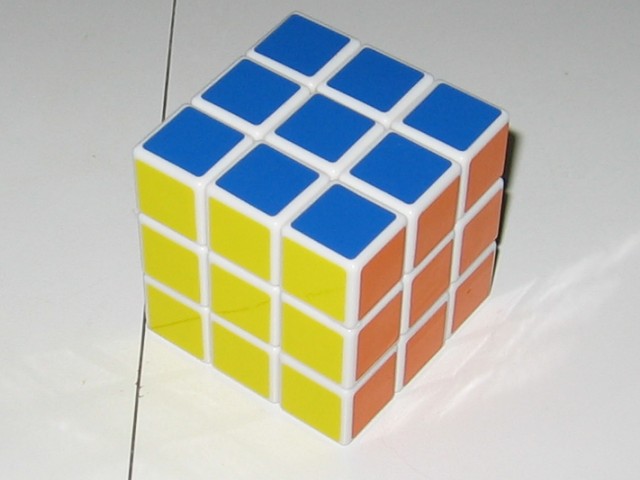
| Since I'll be using a silicone lubricant in a bit to make it spin smoothly, I wanted to apply the stickers beforehand, since putting them on AFTER spraying the pieces is just asking for them to peel off ridiculously easy. But DAMN do I love the look of a clean, white-plastic Rubik's Cube. | |
| Time to pull it all apart again. Now comes the task that will take the longest by far. For every surface that touches another surface, I file down any roughness caused by the injection-mould site, or any other ridges from pieces of plastic being pressed together in the making of them. After that, I run over all of those filed spots with a 600-grit sandpaper to smooth out any file ridges. THEN, I run over that with a 1500-grit sandpaper, as well as any place my fingers can even slightly perceive an imperfection. Sandpaper of this grit is getting to the point where it's more used for polishing than anything else... but the pieces are ridiculously smooth after this point. | 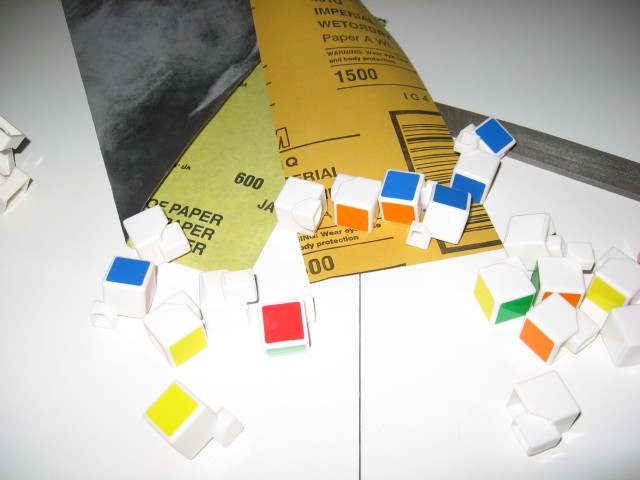 |
| So with everything filed and sanded down, it's time to spray all of the surfaces (minus the stickered sides, but those tended to get sprayed somewhat anyway) with a silicone lubricant. One has to be careful here, since these lubricants will temporarily make the plastic softer, and then solidify back to its original strength when it dries. So you don't want to handle any of the pieces after spraying them. Prior to them being dry, anyway. | 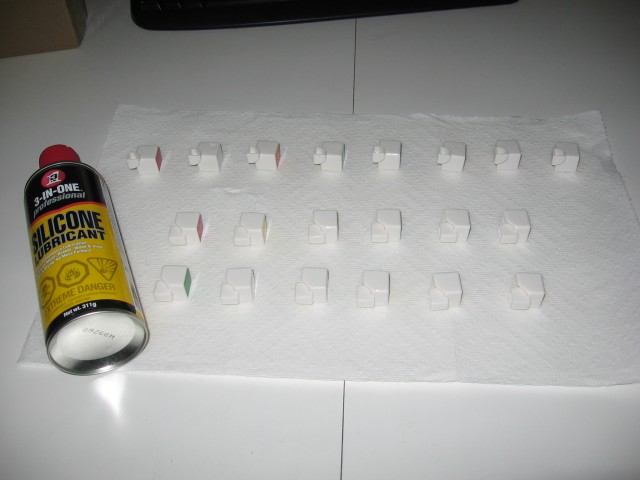 |
| Being as it takes forever for this stuff to dry, I break out a hair-dryer. Drying time down from about 40 minutes, to about 10. Much better, especially since it was starting to get closer to midnight by the point I had sprayed down my last side (3 sides needed in total, hence why they're rotated from the last picture). | 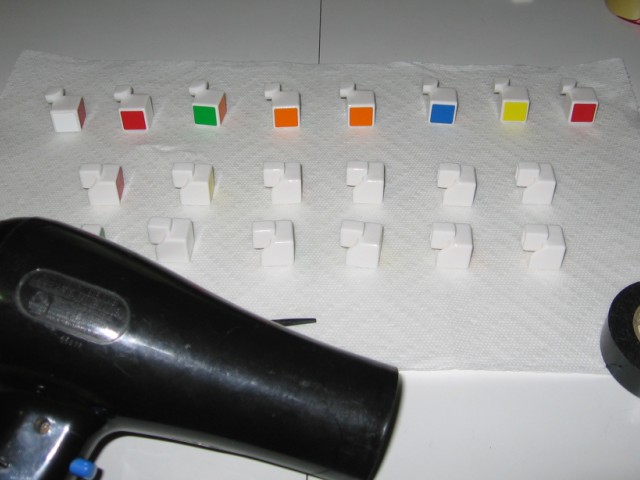 |
| Time for final reassembly. Soon... soon... |  |
| With all the pieces back in place, it's time to adjust the tension. I tend to like my Rubik's Cube fairly stiff. I've seen some videos where people will have their cube loose enough that you could literally rotate a corner just by grabbing and twisting it. Yeah, not happening on mine. I did all that previous work so that I don't HAVE to have it ridiculously loose. | 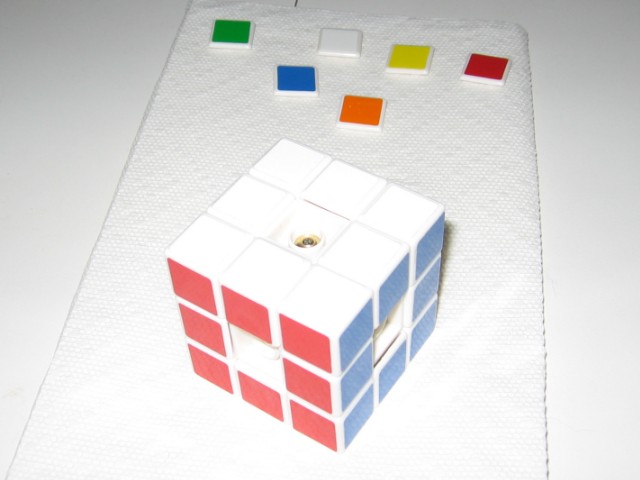 |
| A little bit of Elmer's glue will keep the end caps from popping off, as well as keep the tension screws from loosening by themselves over time. Technically, I shouldn't need it in either place... but I'm the paranoid type, and wanted to take the extra precaution. | 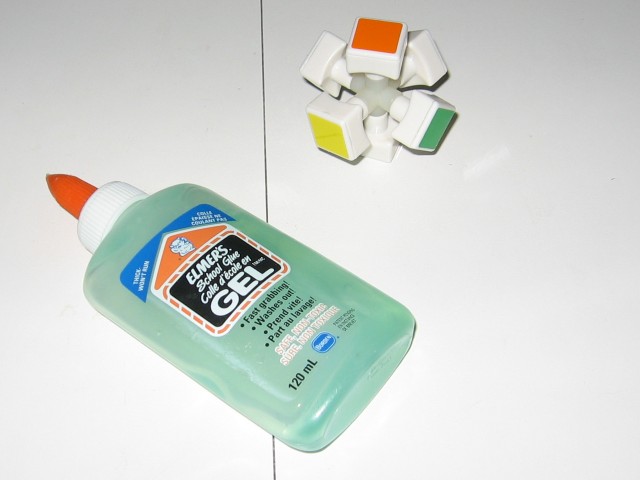 |
| Ahhh... sweet, sweet completion. I find it somewhat hard to describe how smooth it rotates after all of this, but the best, closest description I've been able to come up with is thus: If you've ever run your fingers over a sheet of glassy smooth ice, where it's so smooth that you can barely tell you're touching it, if it weren't for the cold... that's what feels like to rotate it. I am indeed pleased with the final outcome. And for those who care... I've gotten so I don't need that cheat-sheet mentioned below the second video at the top of the page :D. | 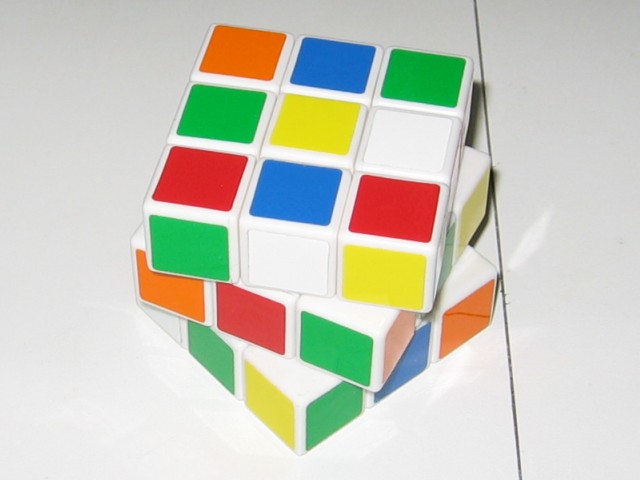 |
