| I completely got lazy on taking any in-progress shots of this. My mind was more focused on "wanna work on this, let's grab them pliers and get cracking" for the majority of this project. So... here's some shots of it from various angles and whatnot. Umm... unfortunately, there's not all that much to say about this one, aside from the entire purpose for being was "I want to upgrade my old shirt, and have been meaning to for a while." I bought the rings for it about 5 years before making it, the scales for it have been sitting in a box since then, occasionally dwindling with uses in other projects. I actually ended up running a bit short of both rings and scales towards the end of the project, but I estimate I would have had to even without having ransacked the supplies bag :P. I'm just glad the new scales, made years after the old batch, looked the same under all but the closest inspection. |
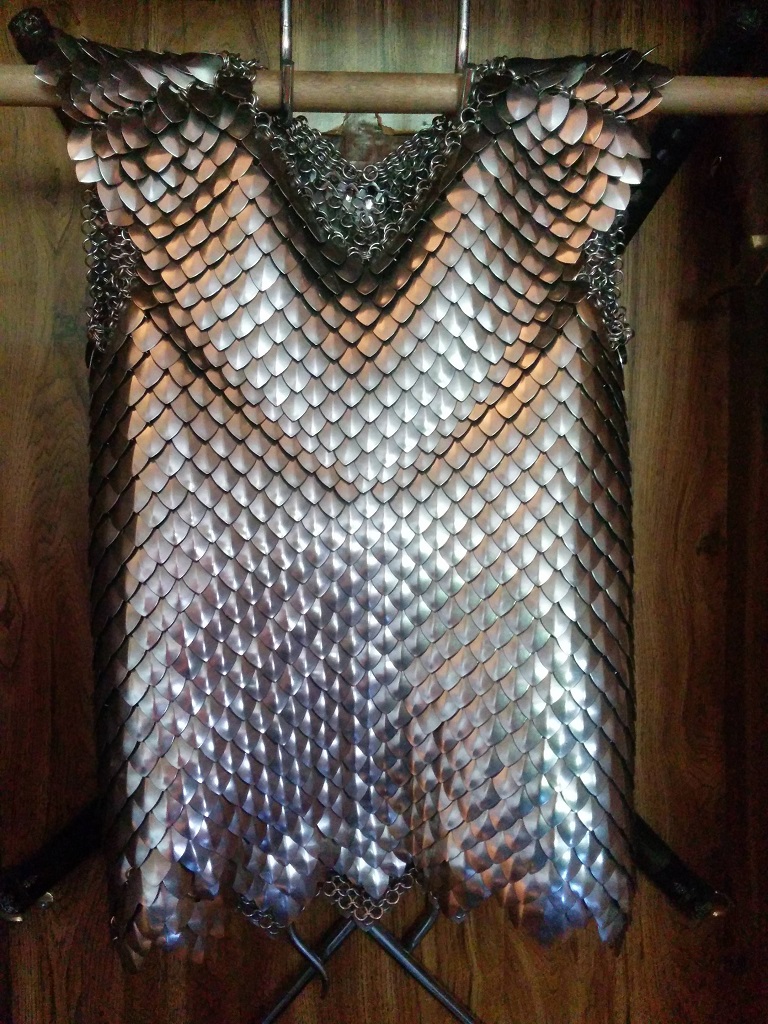 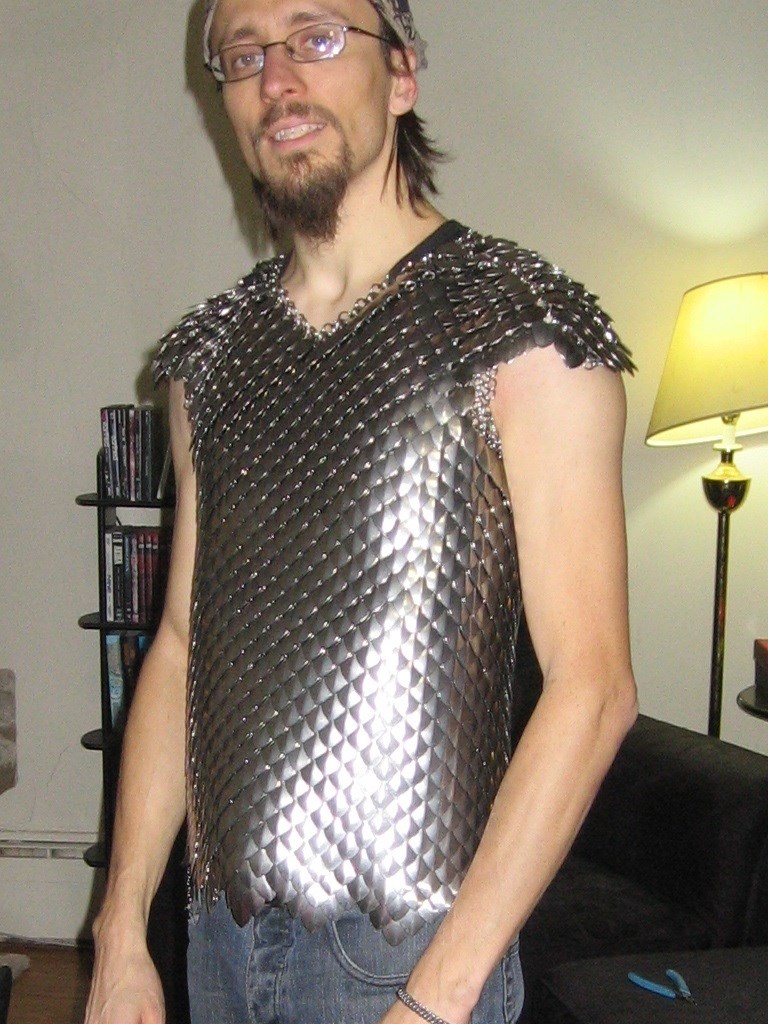 |
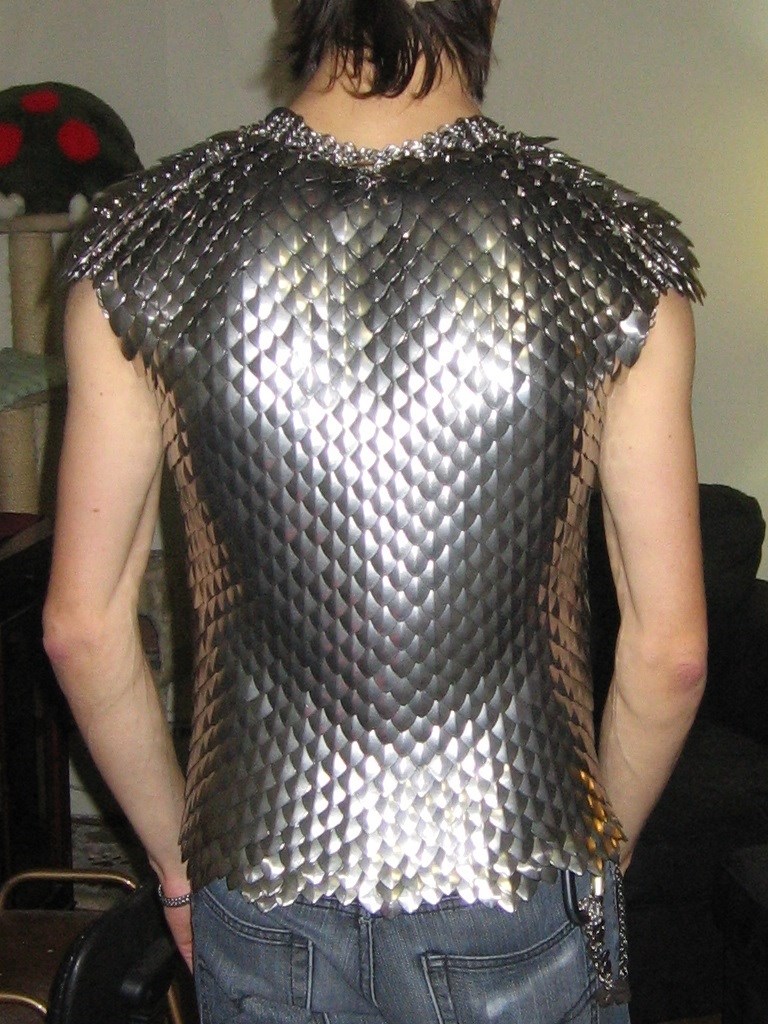
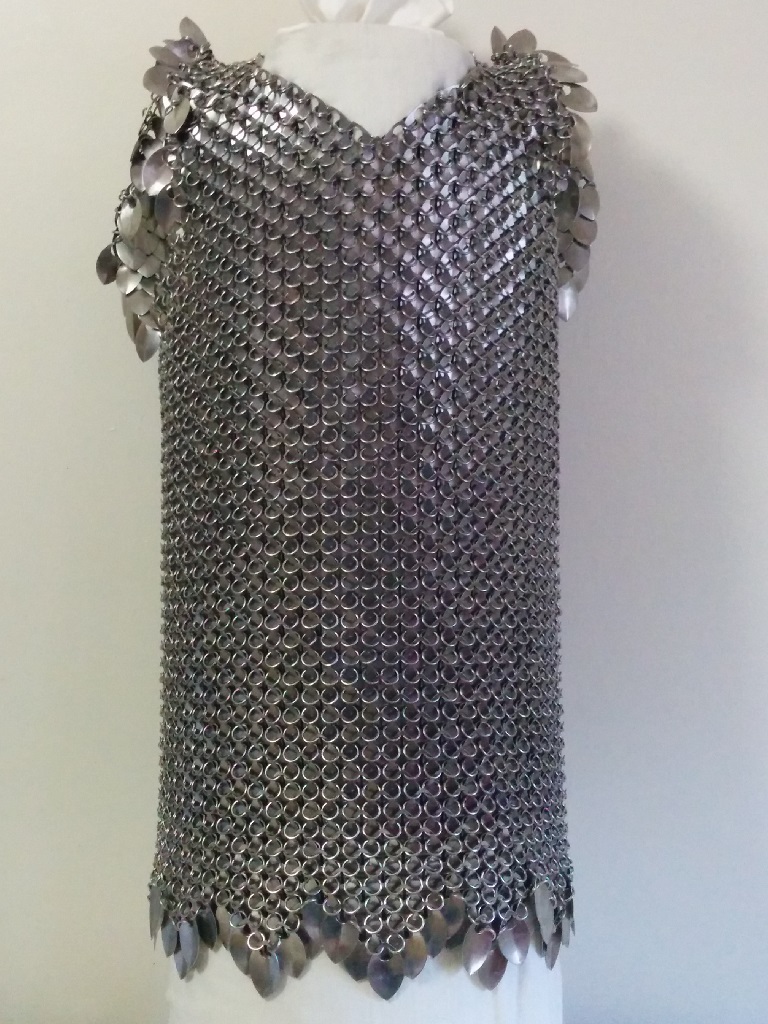
| I grabbed a few pics from the front and back, there's nothing really too complicated about the design. I used a zig-zag pattern along the bottom in order to get the scales to sit nicely along the seams. If I had it just straight across, there would be scales slipping behind other scales they're not supposed to, and it just looks 'messy', or unfinished. I also used split-rings instead of butted rings around all of the upper seams (everything except the bottom, which has several rows of butted rings after the final scales to keep it all in place), and an added row or two of split rings around any particular stress points, like under the arms or along the shoulder. |
 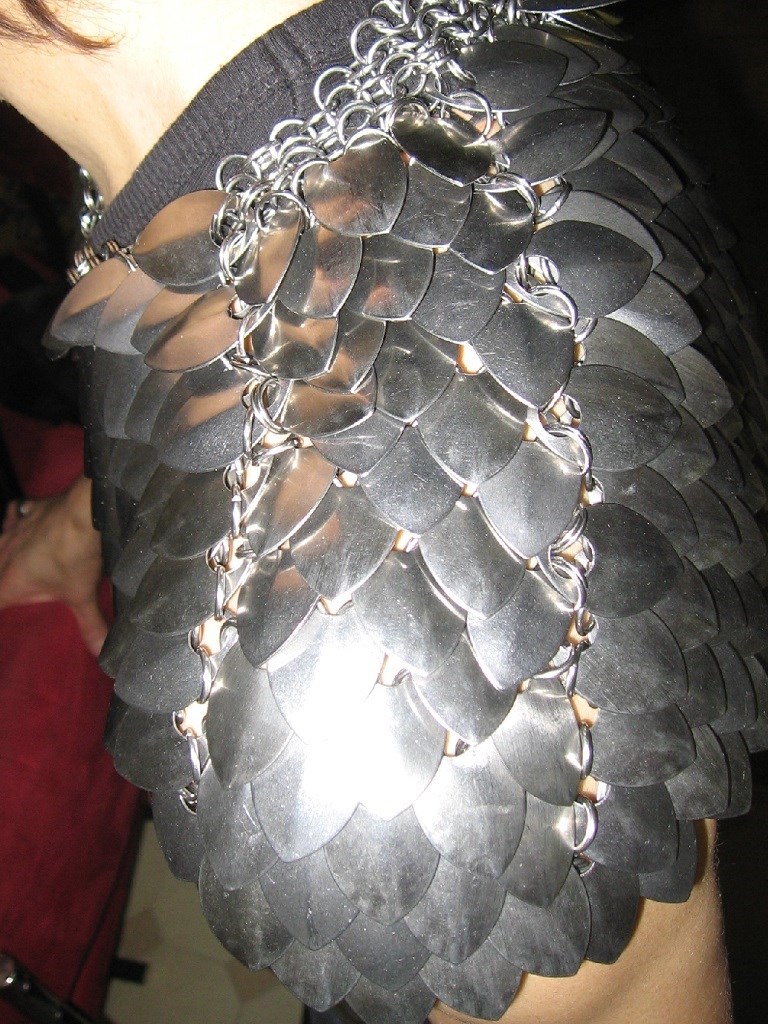 |
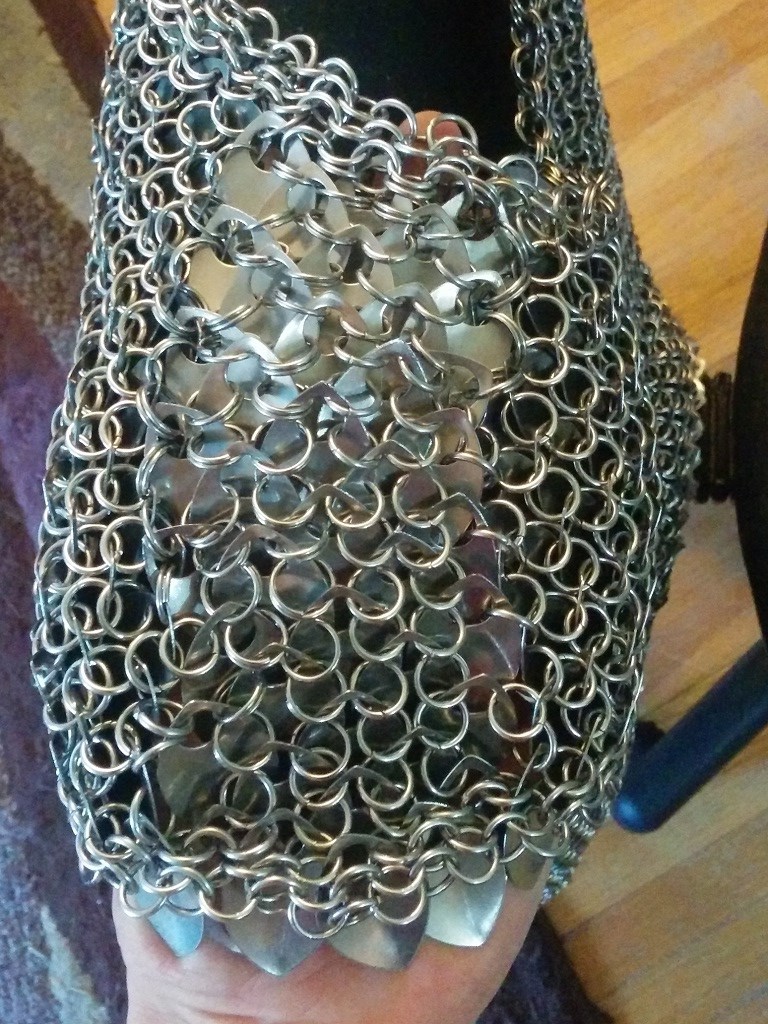
| And those shoulders, those... those put up a fight. It appears an almost haphazard arrangement of split rings and butted rings, but I assure you, there IS order to it. Both sides are identical in the split-ring placement. Basically, if I felt a particular joint would feel more stress than a relatively relaxed tugging, I split-ringed it up. If there's anywhere that's gonna feel stress, it's going to be this whole stretch where I rotate the scales 90 degrees between the front and the back. I initially thought of having scales go all the way up the shoulders and just have the backs of them connected between the front and the back of the shirt, but then it just turned into spikey shoulders as the scales proceeded around the curve of the shoulder. So I nixed that early on, and went with this method instead. It actually works surprisingly well :D |
  |
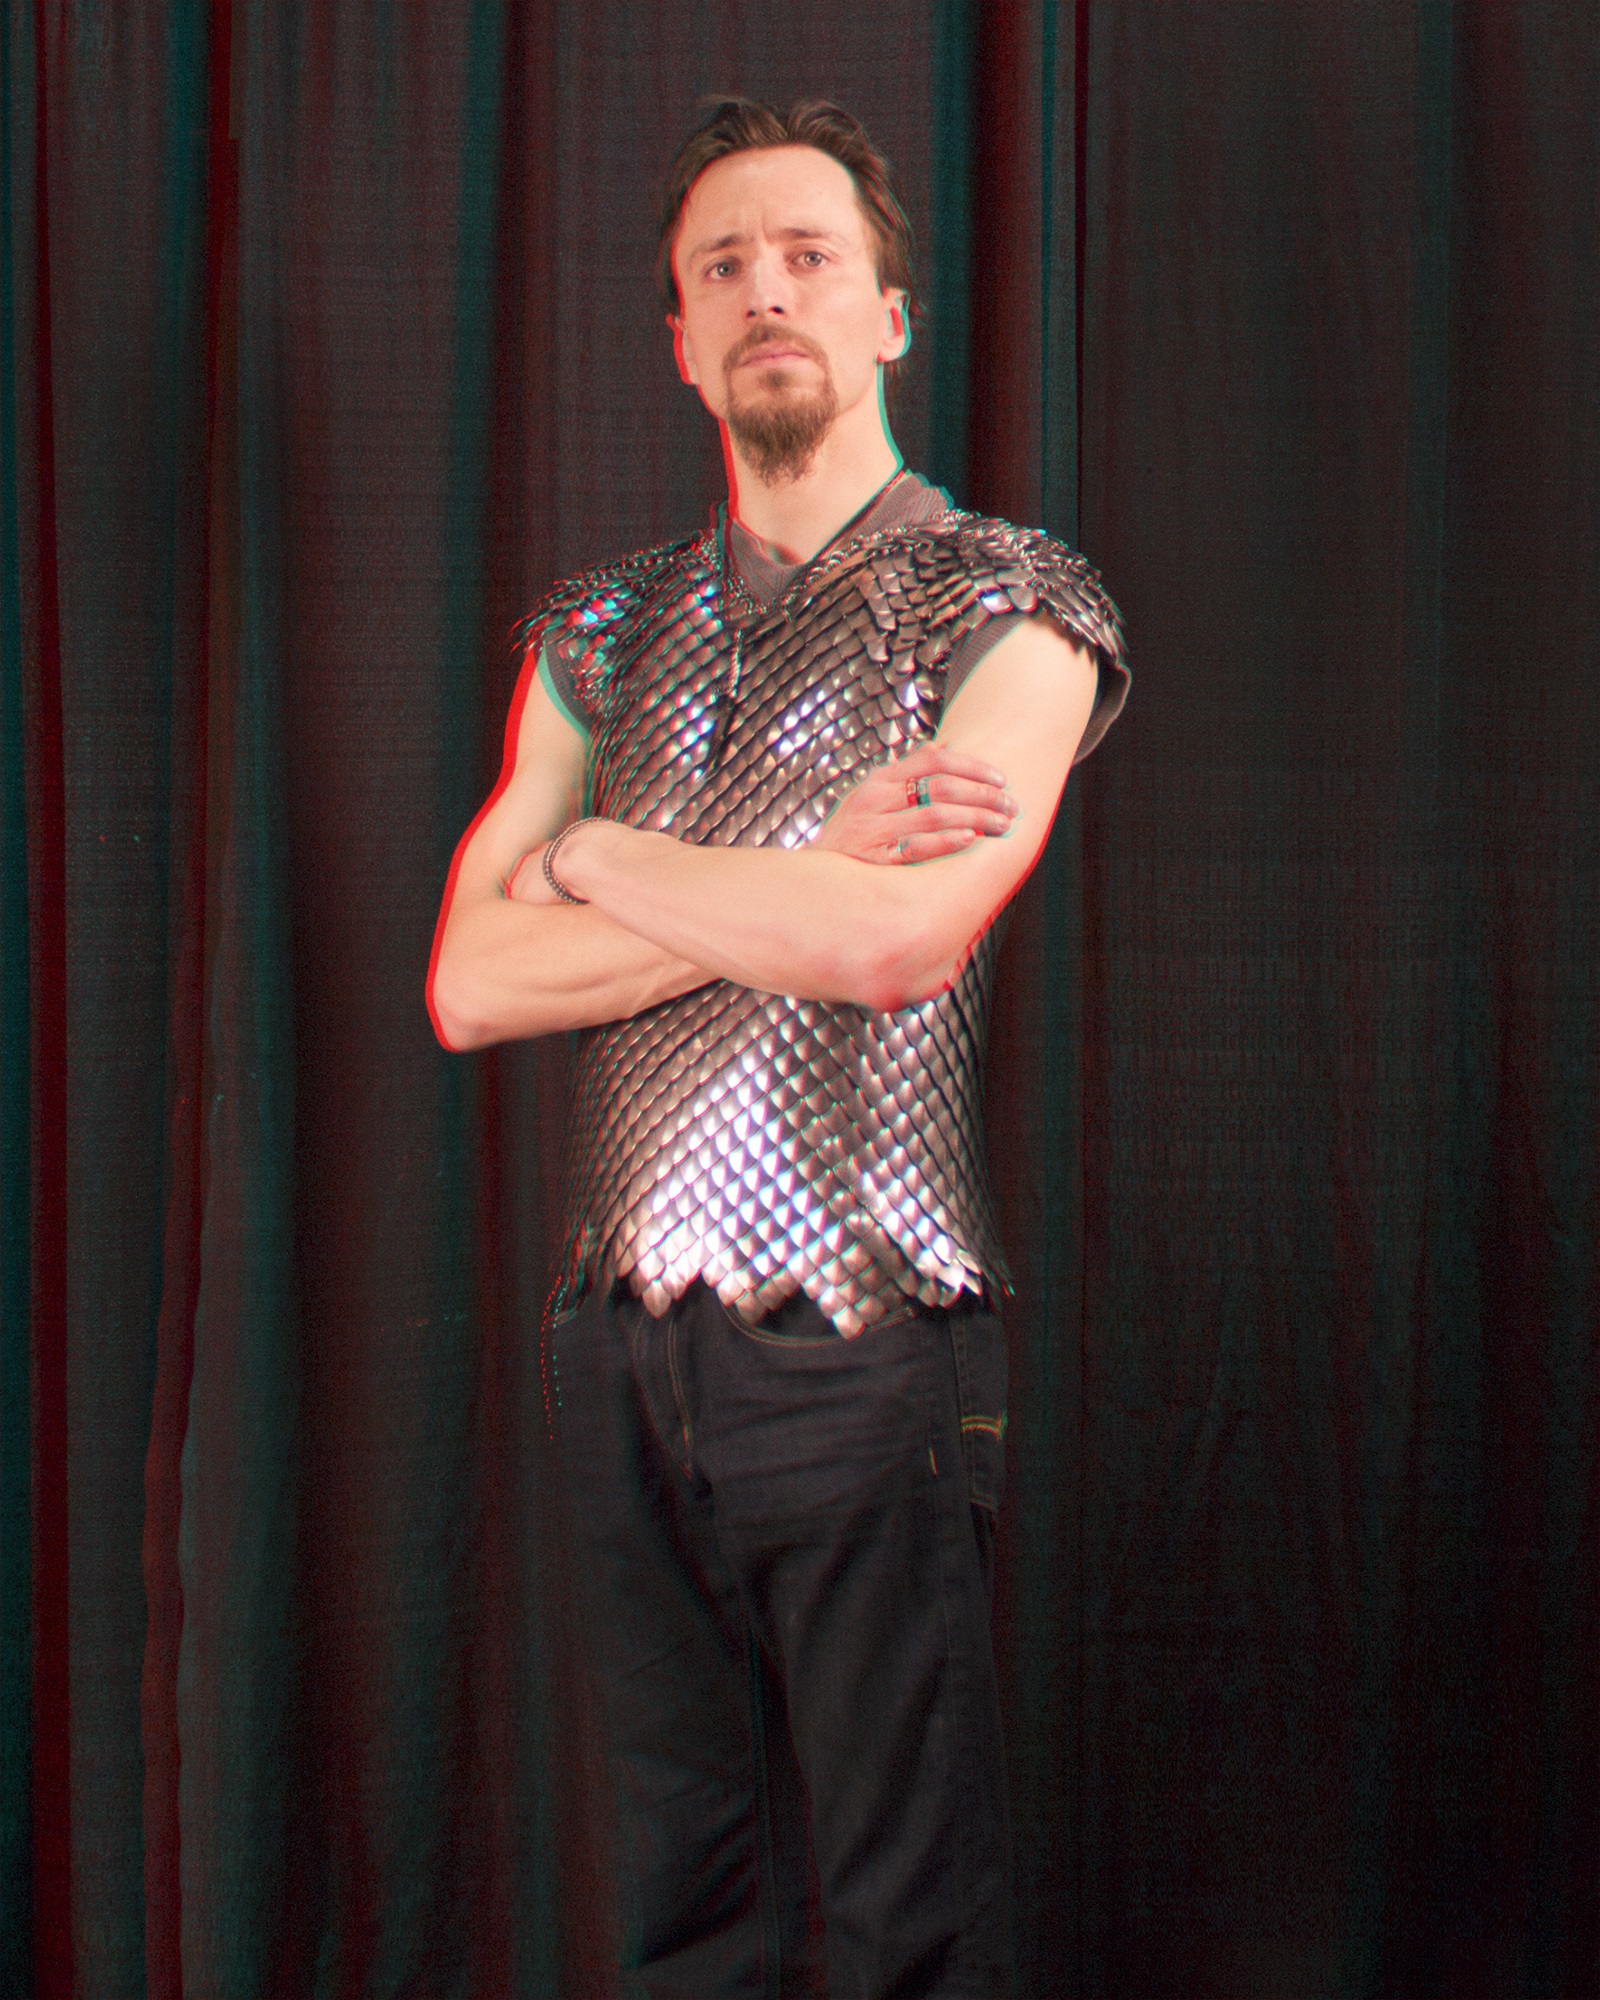
I got out to a comic convention with it recently, the day after I made the final touches actually (aside from ever-so-minor tweaking that may come up for minor fitting changes over time). There was a 3D picture guy there, so my wife and I figured 'Eh, why the hell not?' Hope you still have a pair of those old red/blue 3D glasses kicking around :P
On a side-note, I'd estimate that this shirt only took about 150 hours to make (as opposed to the 250 of the first shirt), and weighs only 15 pounds, give-or-take. I think the reason it's lighter than the other one is because essentially every fourth ring is missing, due to it being scale. The scales are bigger than rings obviously, but... yeah, I dunno, I'm sure there's a good reason it's lighter than the other one :P |
 |
