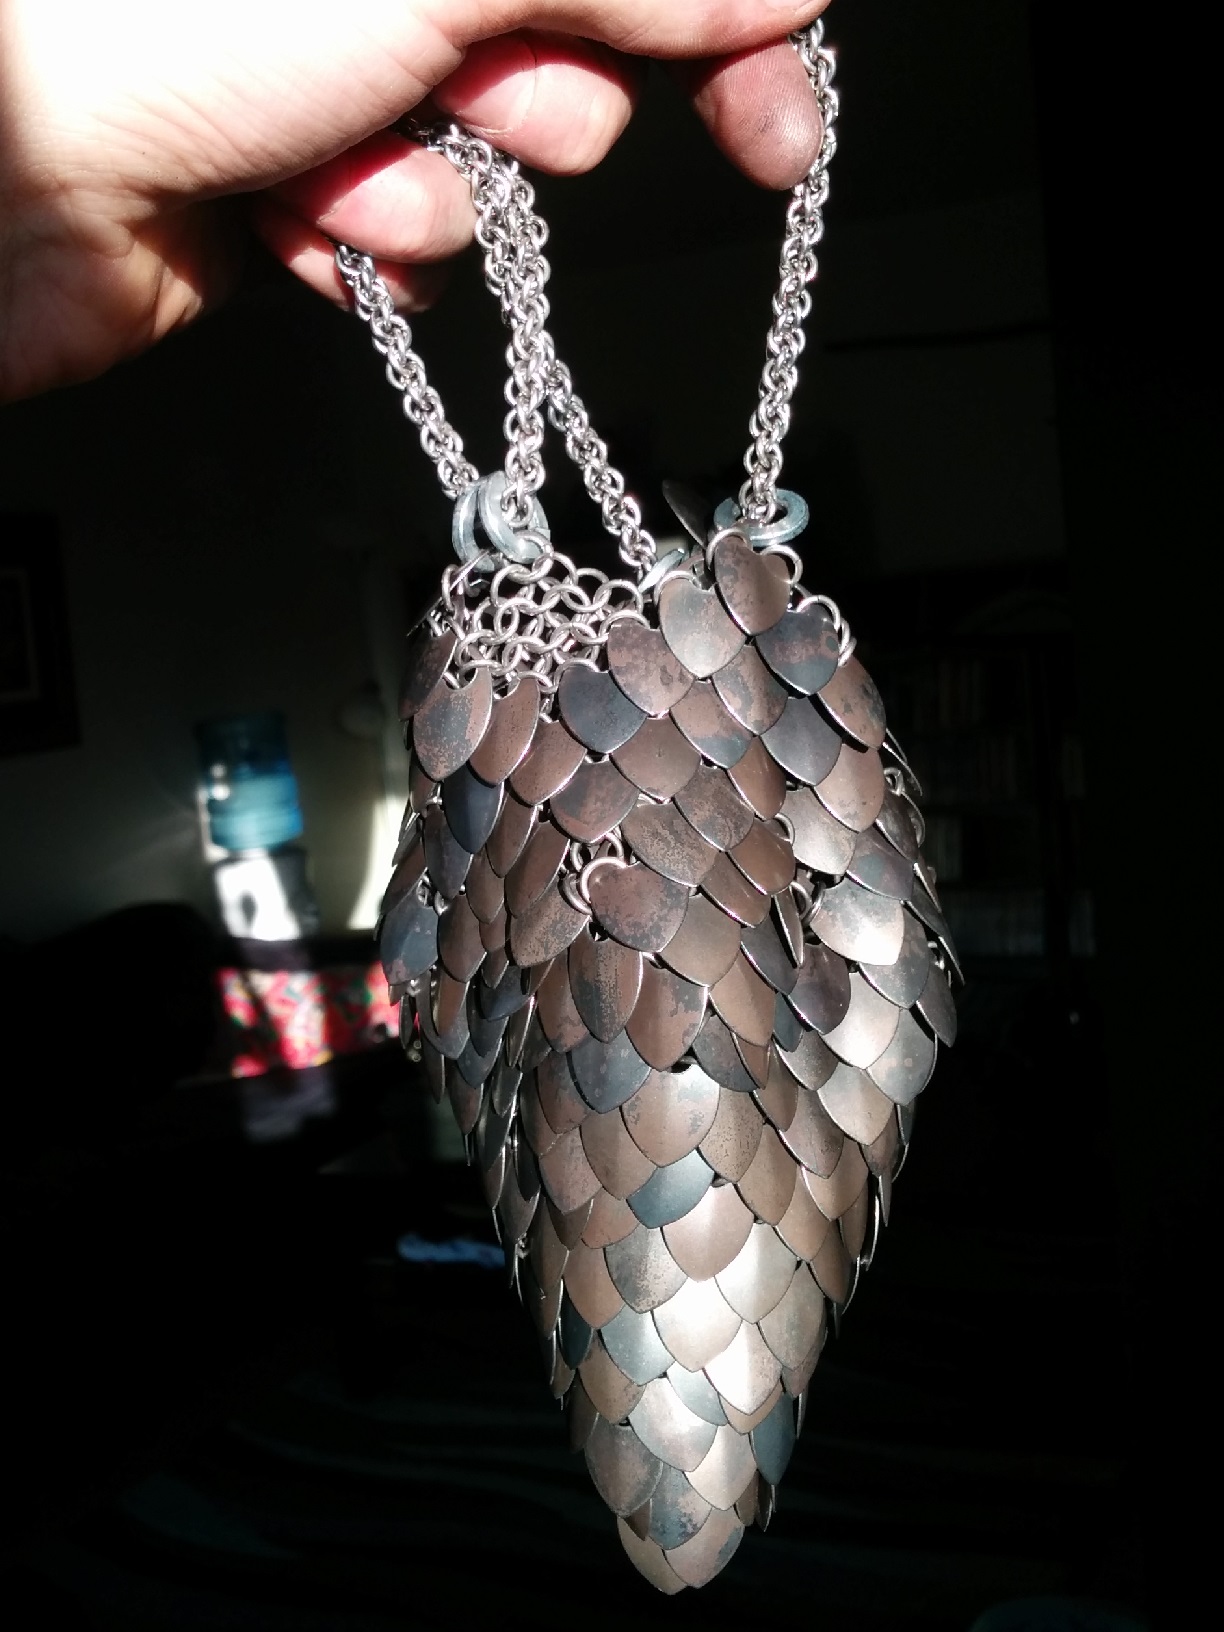
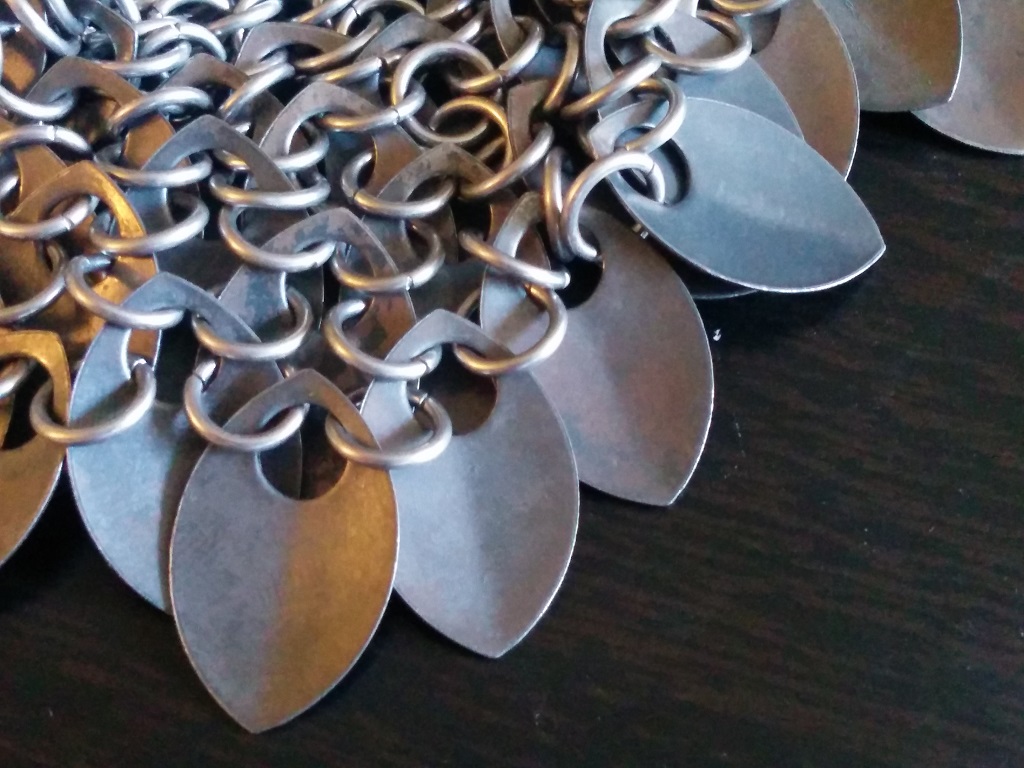
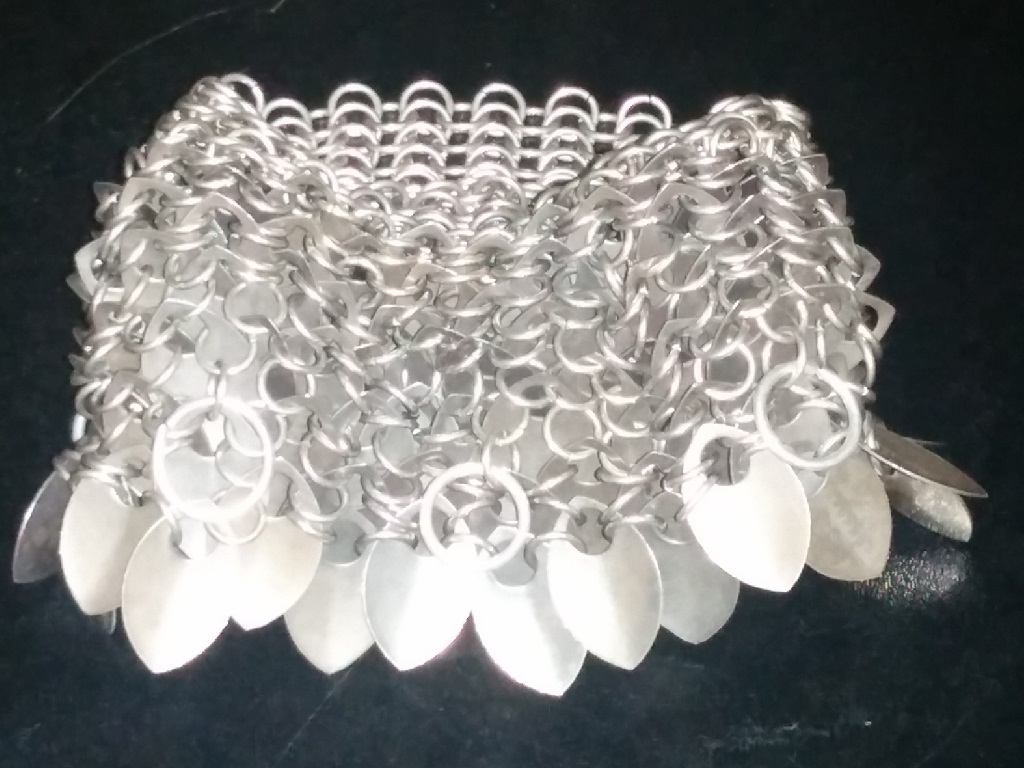
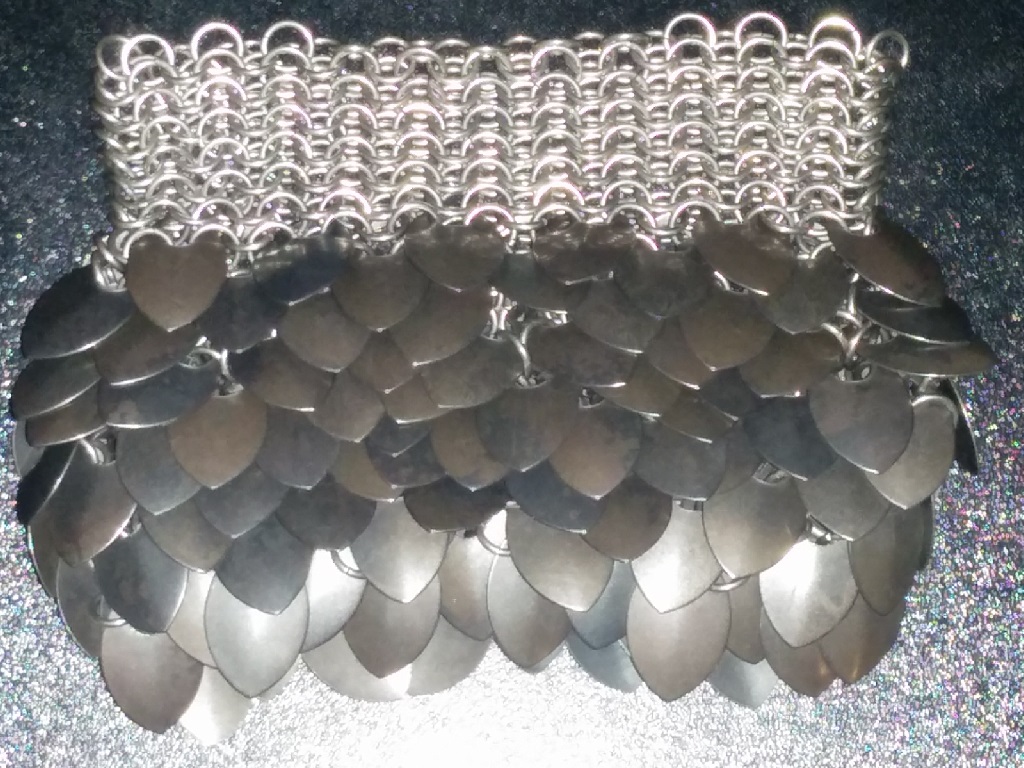
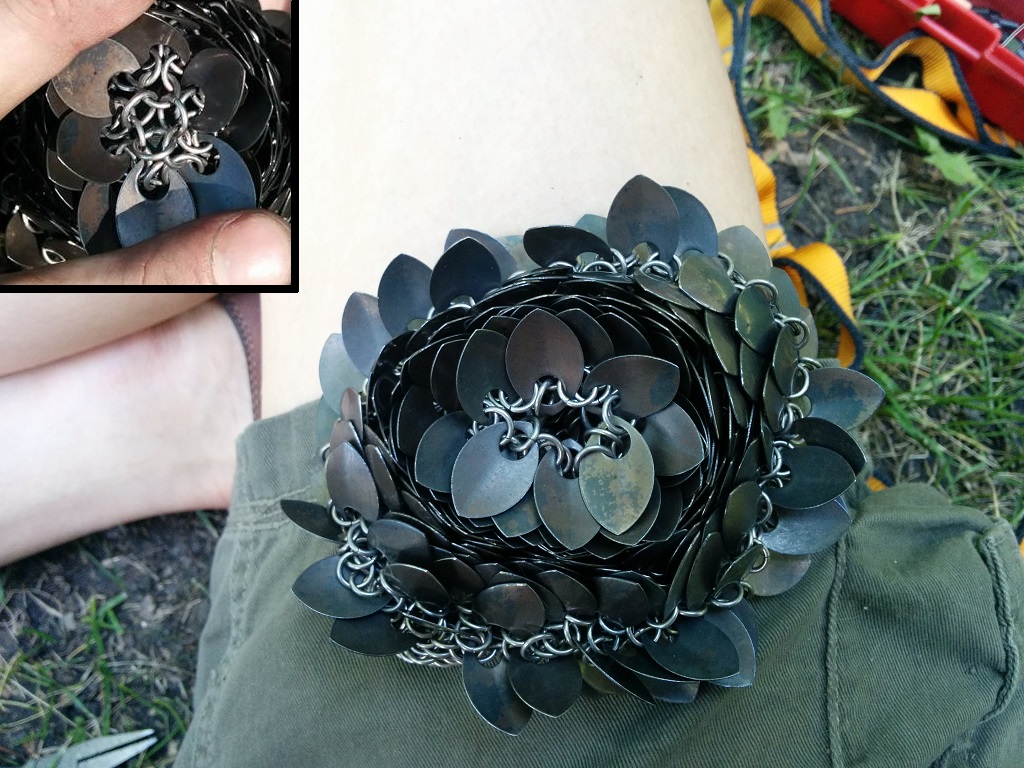
| I actually remembered to take a few mid-process pictures of this one. The first picture is actually a very good lesson if you ever get into chainmaille. Good rule of thumb, if you ever lose your place, look for the odd number of rings. For any basic pattern, every ring or scale will have only 2 or 4 other rings attached to it. If you can find a scale with 3 rings, that's where you left off. Usually, I have a bigger aluminum ring that I attach to the first ring of any new row, so when I inevitably drop it, I'll at least know where one end of the row is. I can just start from that side and work back to where I dropped it. There's a couple half-finished shots, about where I was no longer able to flip it inside out. From that point on, it's rings-on-the-inside only. That last picture shows the method I used as I was closing it up. The very bottom worked out a lot better than the first dicebag. |
  |
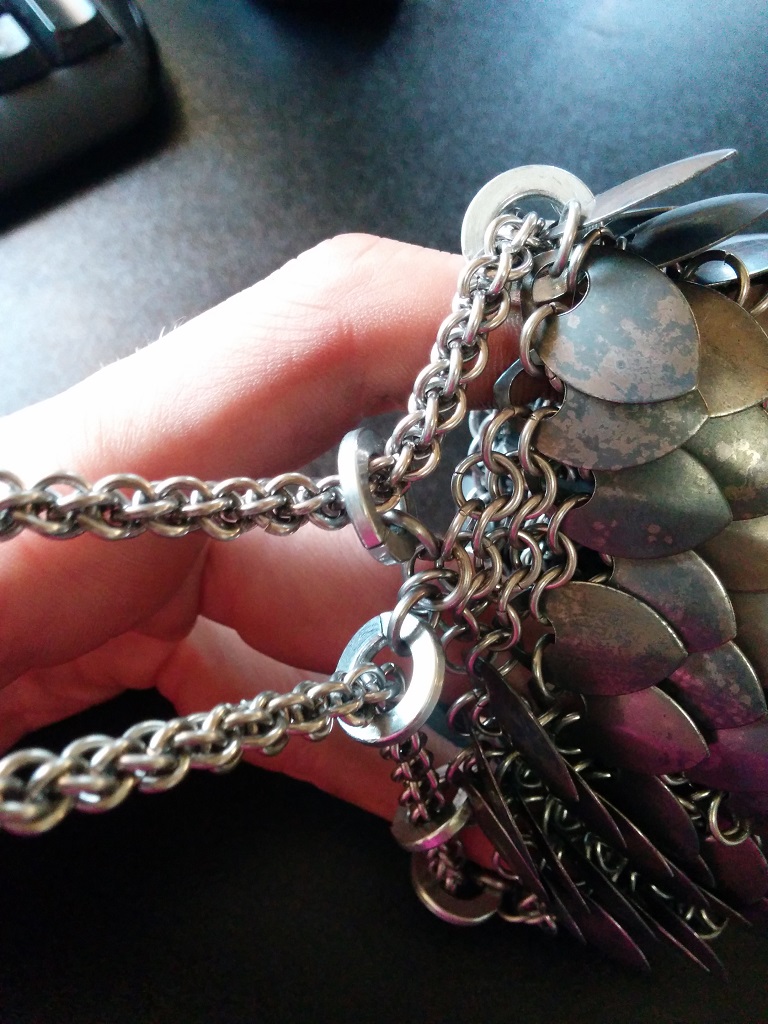
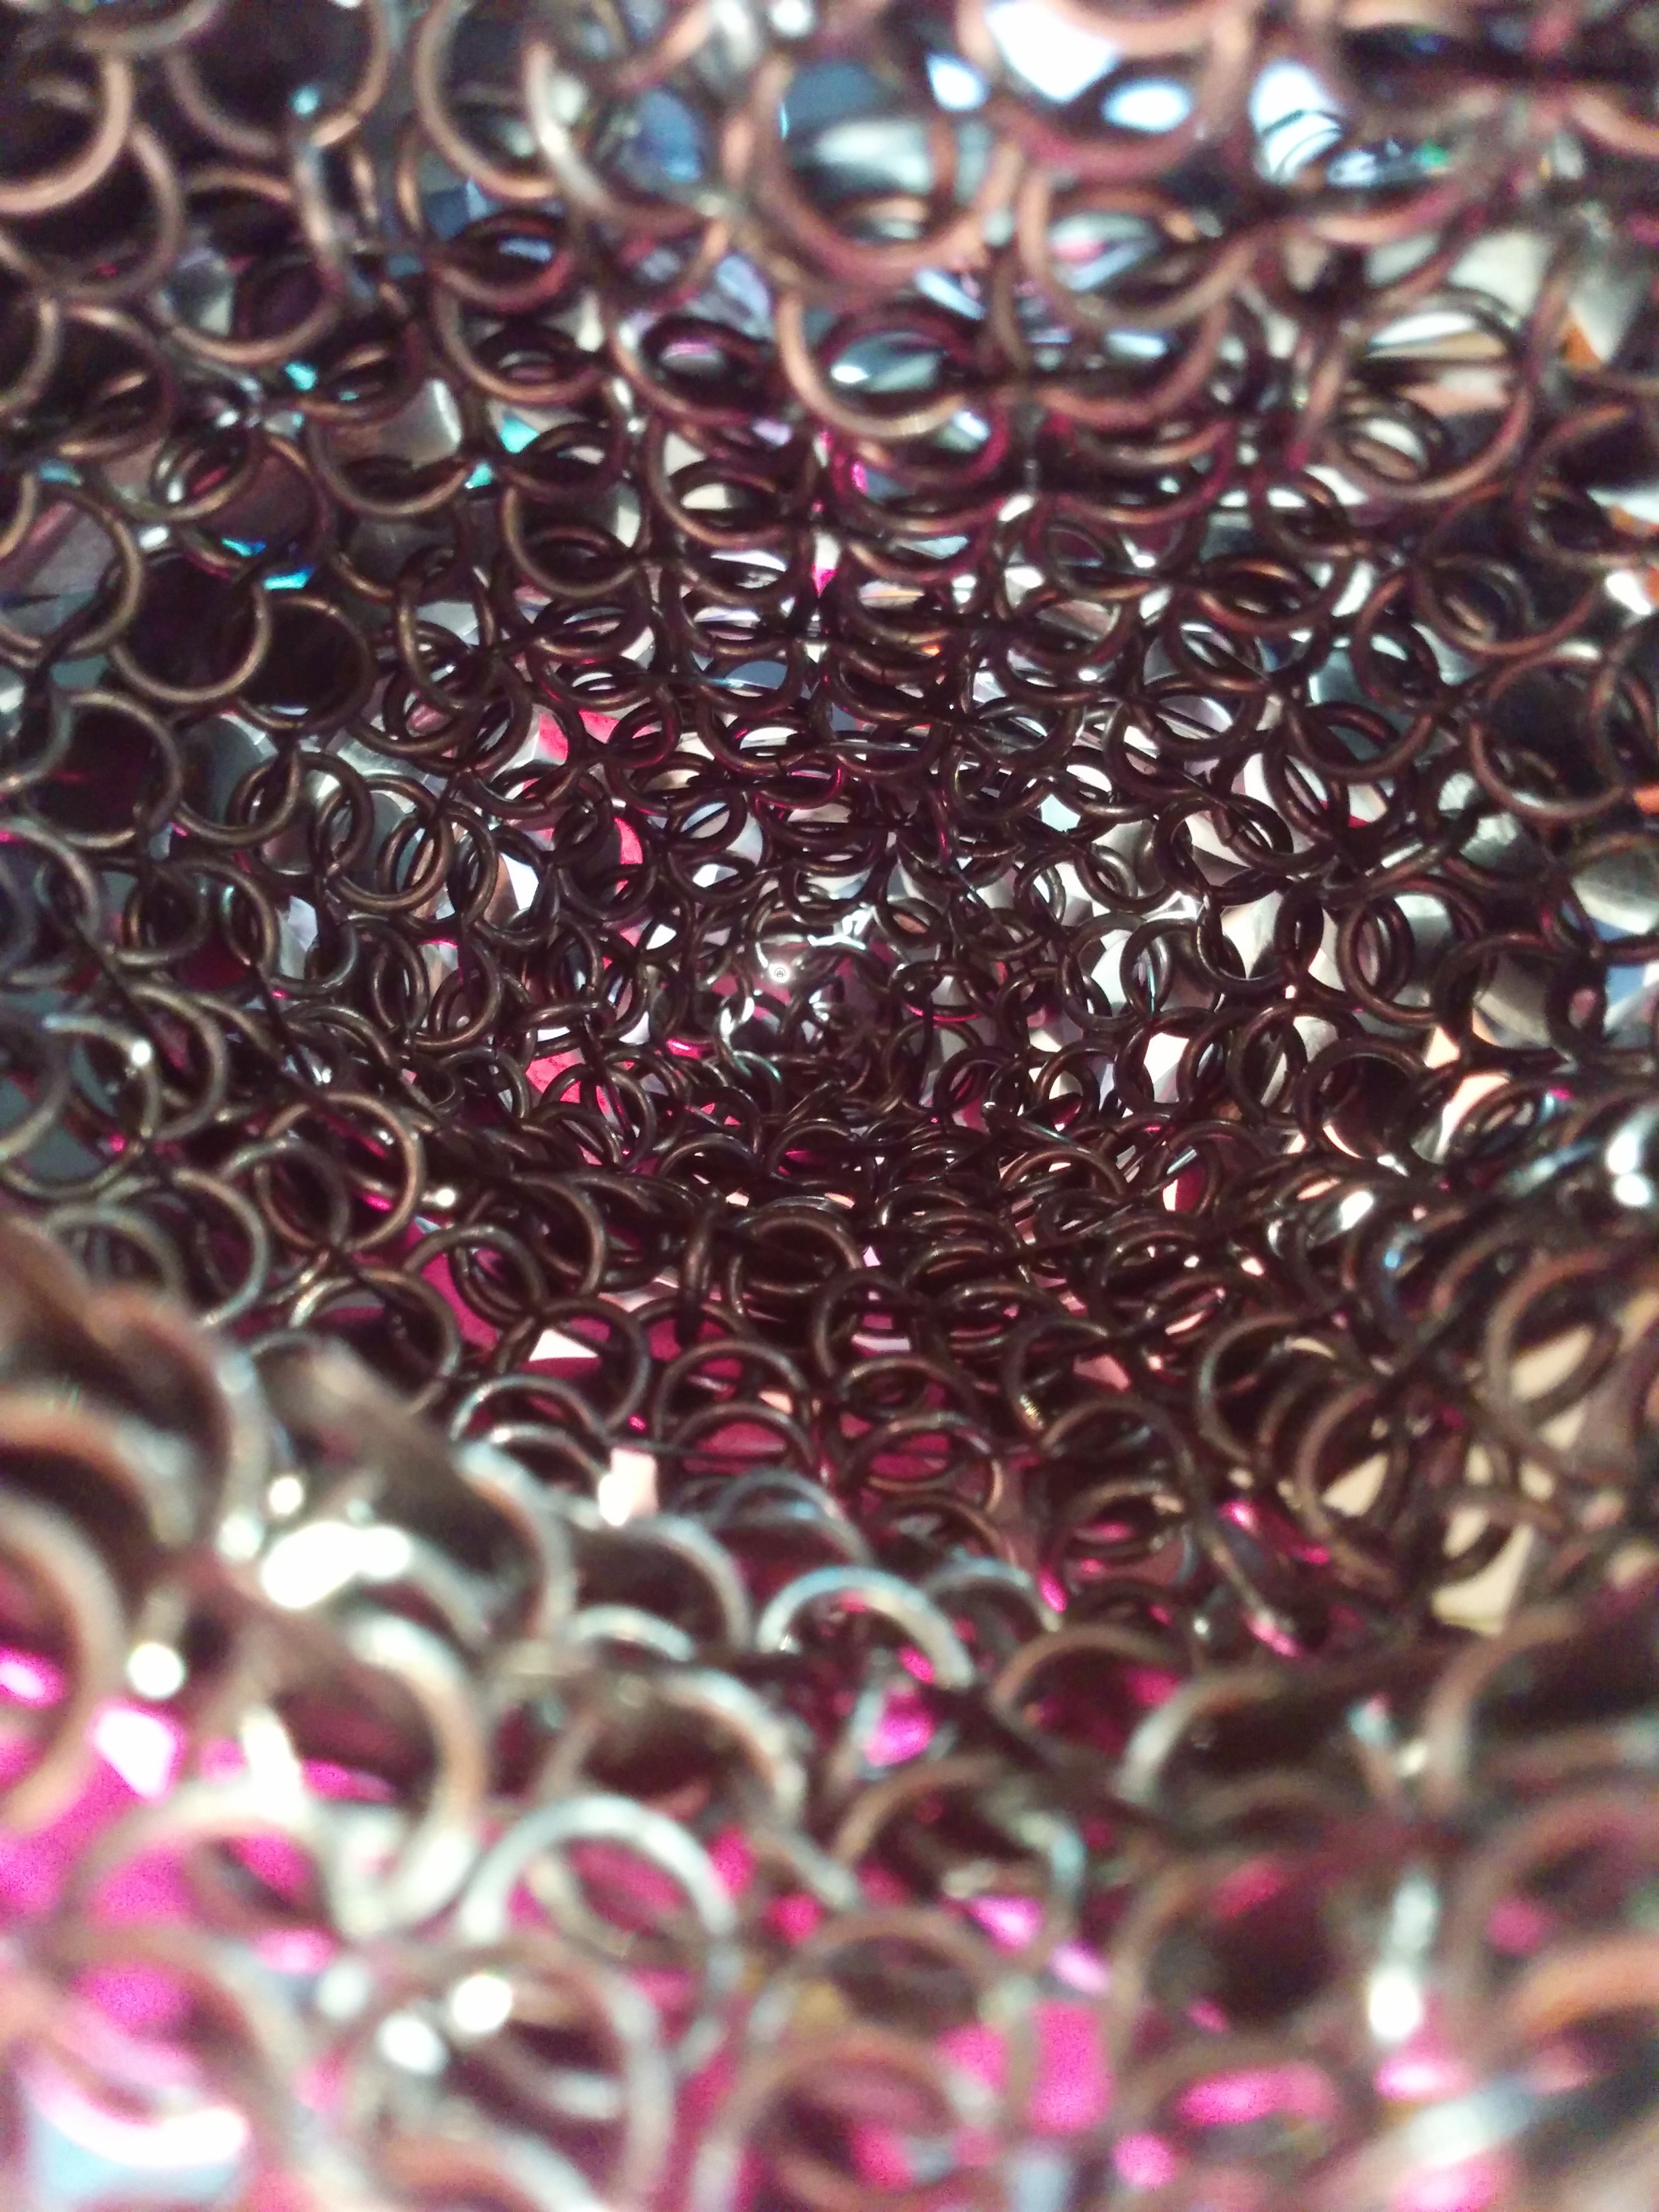
| That first pic shows how I left the opening. I had it contract into six points (and just because, made three points scale, three points chainmaille). For the drawstring, I've had a length of Jens Pind Linkage in 18g 3/32ID stainless kicking around. I used lock washers for the loops... convenient size more than anything else. I didn't want to leave a gap between two corners where the slack came through, so I devised a way to have two lock washers coming off the same point nicely. I love that pattern on the scales. It seems... used... worn. Tired. Except it's tempered high carbon steel. And that other one's what the inside looks like. I kinda like that little glimmer of light in the middle. |
  |


