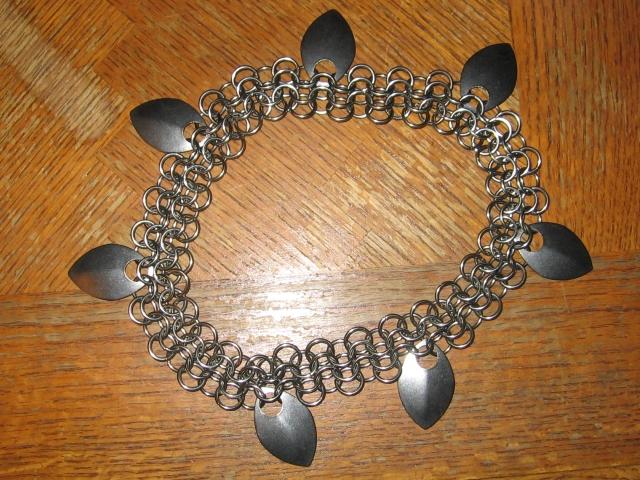
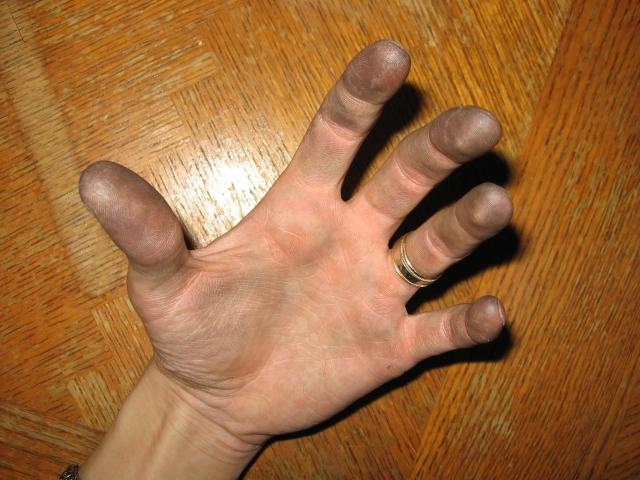
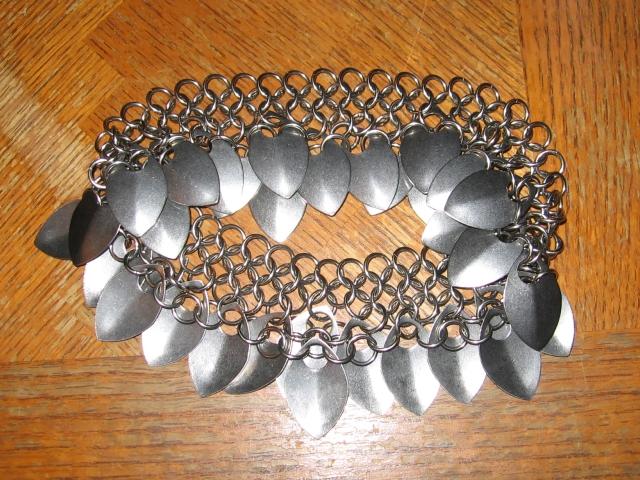
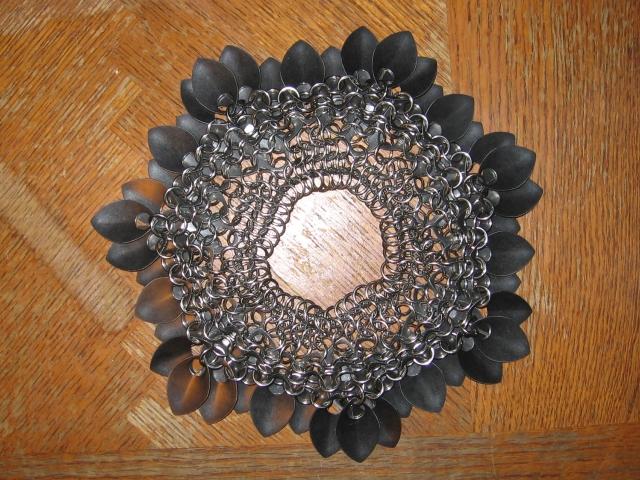
| Lotsa images on this one. There's four seperate images to the right of each of these paragraphs, so click on 'em all to enlarge them. That said... about 2 years ago, my friend Amanda had jokingly challenged me to make a scalemail purse, much like my dicebag, only bigger. I mostly laughed it off, since I didn't even have close to enough supplies when I was first asked, and the dicebag itself was very hard at the time, me being quite unskilled. Several years later, on a whim I decided to give it a shot. In the top-left is the very beginnings... just the neck. I quickly learned that the scales make your hands very dirty (top-right). Not long after, I had more of the neck, going with a 7-pointed 'V' type format for the scales for design.... and it also gave a nice purse-opening size (bottom-left). Given I had the dicebag to look at, the expansions went very quickly, and had a decent chunk done in a few days while watching movies at home after work (bottom-right). |     |
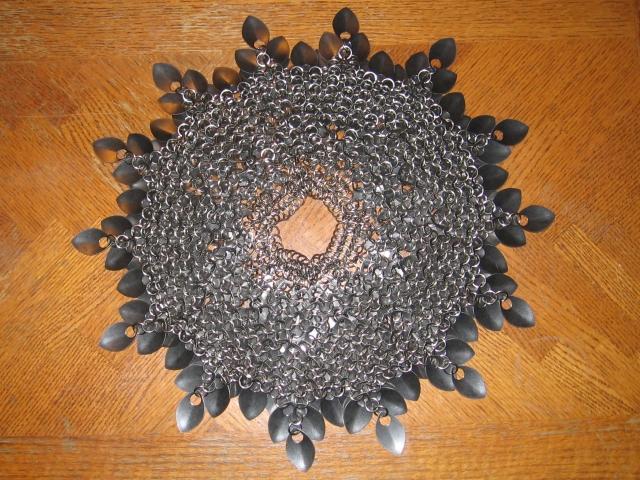
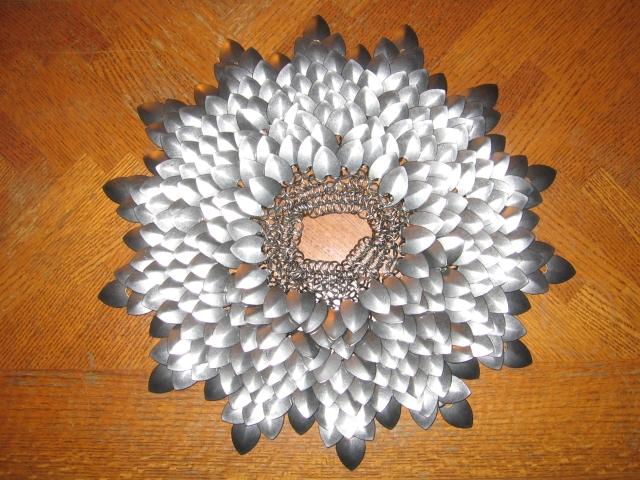
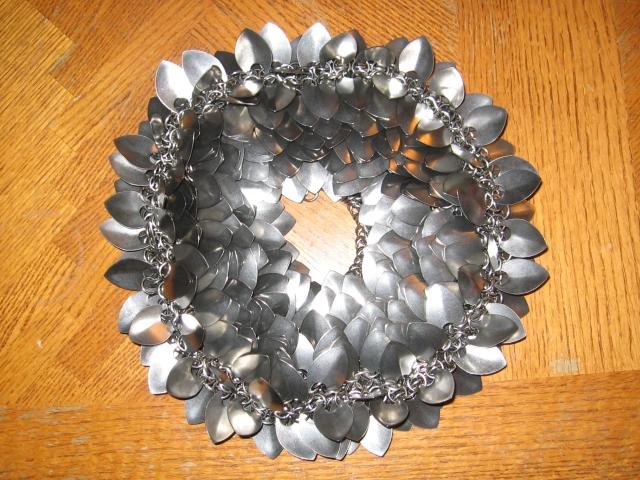
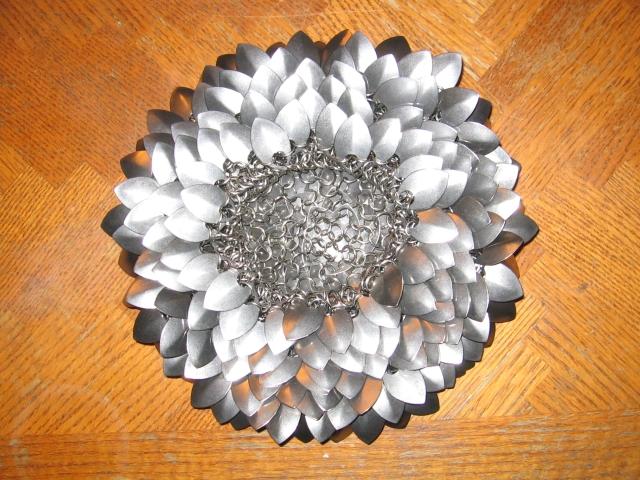
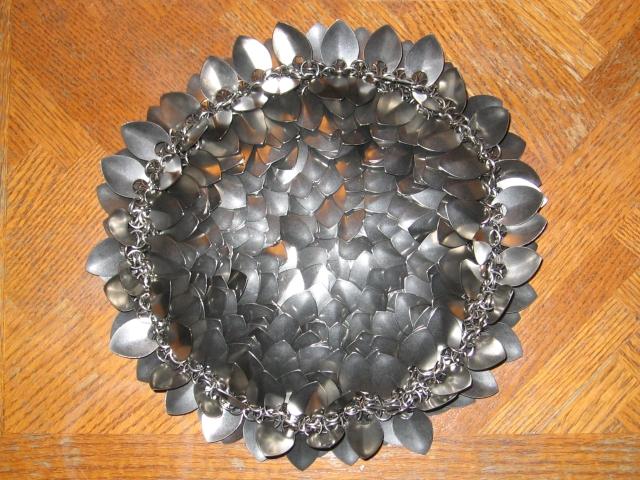
| Then it started getting big and cool-looking. Right about when I had gotten it as expanded as it was going to get before contracting again, I snapped a pic of the top and bottom of it splayed out. I'm actually very tempted to re-make it up to this point and fill in the center with scales to use as a placemat of sorts, only it'd likely scratch the table. As you can see, the expansions have split it into 14 points around. Again, since I had the dicebag to look at and duplicate, the contractions went fairly quickly too. Working for about 4 hours a day, every day also helped :P. On the bottom-left, it's contracted enough to fit my hand through. It reminded me of a Langolier, from the old Stephen King book/movie. On the bottom-right is the first picture of the actual scale portion being completed. Seeing as I wanted the bottom-center to be flatish (Amanda wanted the purse somewhat 'rounder' instead of the artichoke-looking dicebag), the last 1.5 inch diameter circle at the center is mostly a European 4-1 weave. Unfortunately, the dead center and a few of the last scales aren't perfectly symmetrical all around, since the top was 7-pointed, which needed to contract down to an even number towards the end. It worked well enough though. |     |
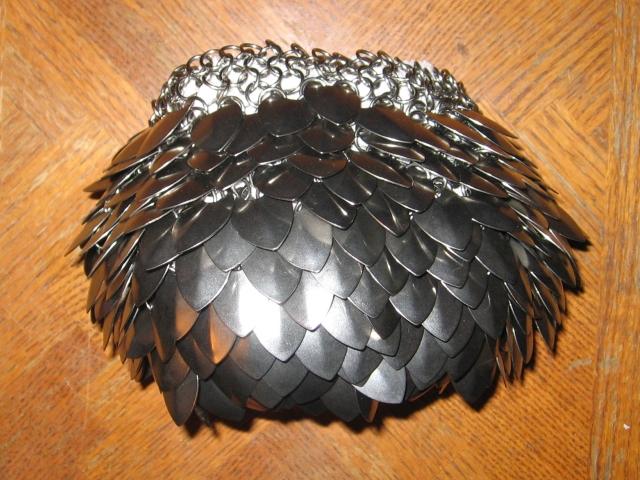
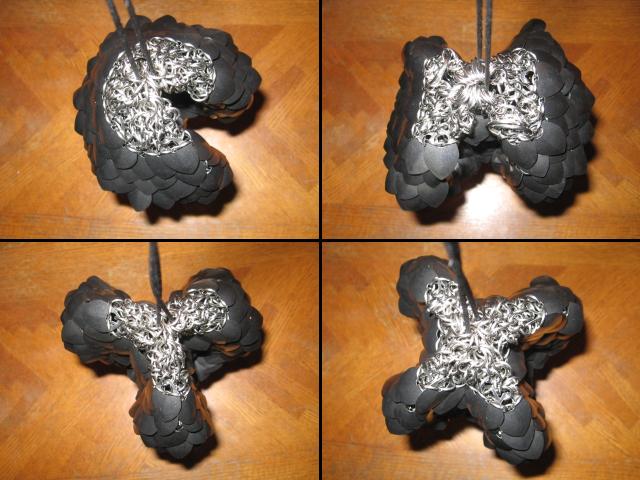
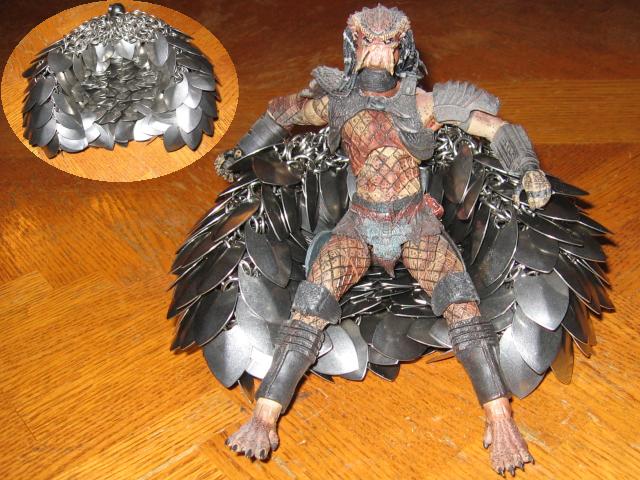
| Now I started getting some 'fun' pictures in. Top-right is just the purse sitting upside-down, so you can see how the scales flatten out at the center, and the top-right is it on it's side (stuffed with a small towel to make it look 'full', as if it was being used). The awesome pictures however are if it's empty. If dangled from the draw-string, you can creatively collapse the sides in a variety of manners. There's 'Pacman' form, with one big indent, an hourglass with two indents, a tri-corner... thing, and a four-cornered X. I'm sure more could be thoguht up if given time. The best I've seen so far is if it's layed down in 'Pacman' form. It essentially rests itself into a 'sofa chair' type shape, the perfect size for various toys, such as the Predator :D. I really wish the pictures did it justice, since it looks really interesting. As an added bonus, if Amanda is getting mugged in the streets for whatever reason, swinging it around by it's strap (which will be chain-based), turning it into a giant, spiky flail. Not something one would want to get belted across the face with, since it weighs about 3.5 pounds :P. |     |
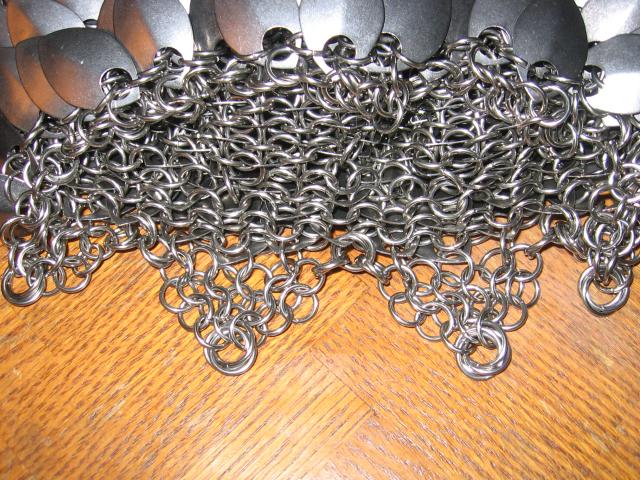
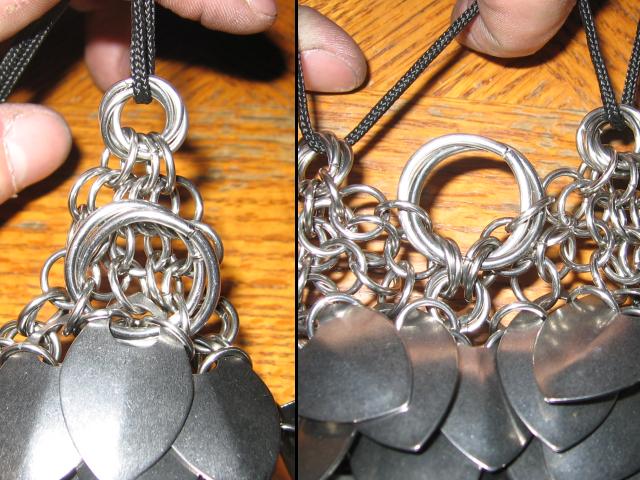
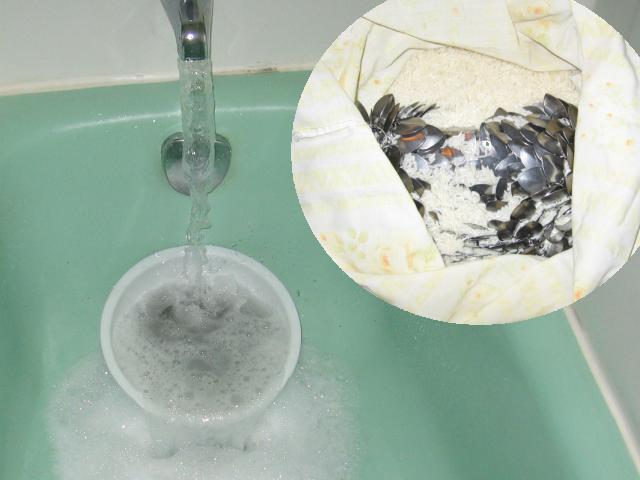
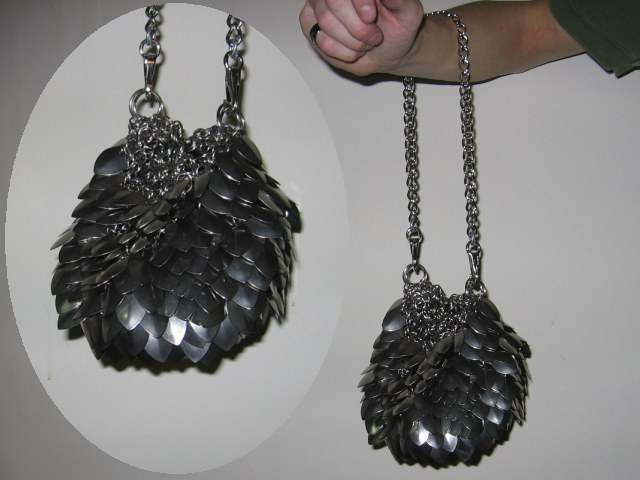
| After playing with it for a while, I started working on the neck of it again. I didn't just want it to be a strip of European 4-1 like I started with... that was just to keep it stable while I added scales. I removed a bit of the E4-1 strip to make another 7-pointed strip, mobiused two rings together in the 'stress points' to make it less likely a ring slips off, and a four-ring mobius ball at the tip of each of the 7 points for the drawstring to go through (I debated between 3 and 4 rings in the picture). There was a bit of contraction in the E4-1 part as well to work towards the mobius-ball drawstring hole, just to minimize the amount of E4-1 showing. It IS supposed to be as much scalemail as possible. Since Amanda wanted the straps removable, I used some beefy 12-gauge stainless rings, two-ring-mobiused, on either side near the top to attach the strap to. Since again, it's 7-pointed, they had to be attached a bit differently on either side of the purse. And then came th cleaning... running hot, soapy water over it for about 20 minutes (thank god water's included with rent in this apartment), followed by the 'normal' way of cleaning chainmail... tumbling it in a pillowcase with rice. The rice rubs off the grime, leaving it clean. And finally, we see the purse in it's absolute final state. HURRAH! Mission successful! |     |
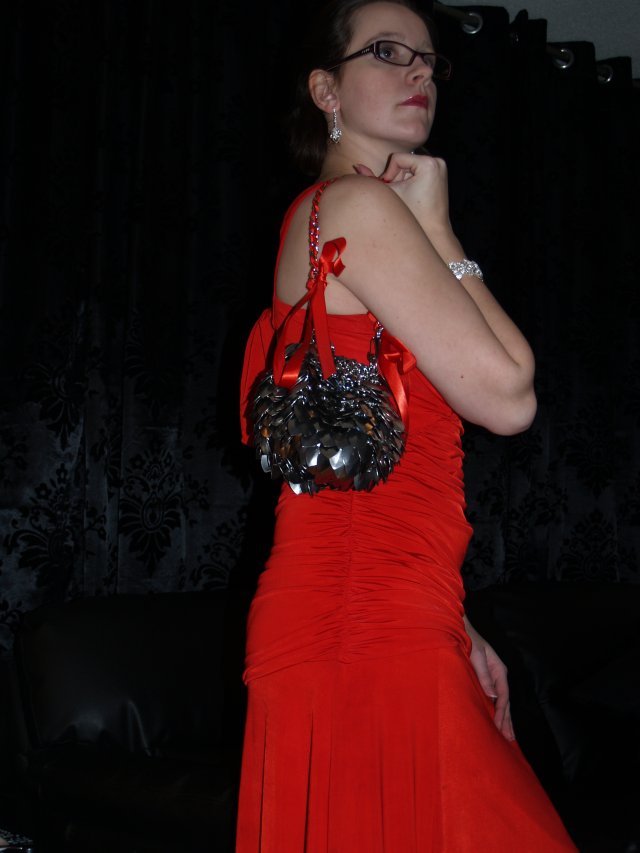
| I had taken a picture of Amanda with the chainmaille purse when she took it out, but it didn't turn out that well. She graciously took her own photo posing with the scale purse to replace my lower quality version though. Given she's does professional photography work, she's going to be a helluva lot better at it than I am :P. For the record, she loves it :D. |  |
