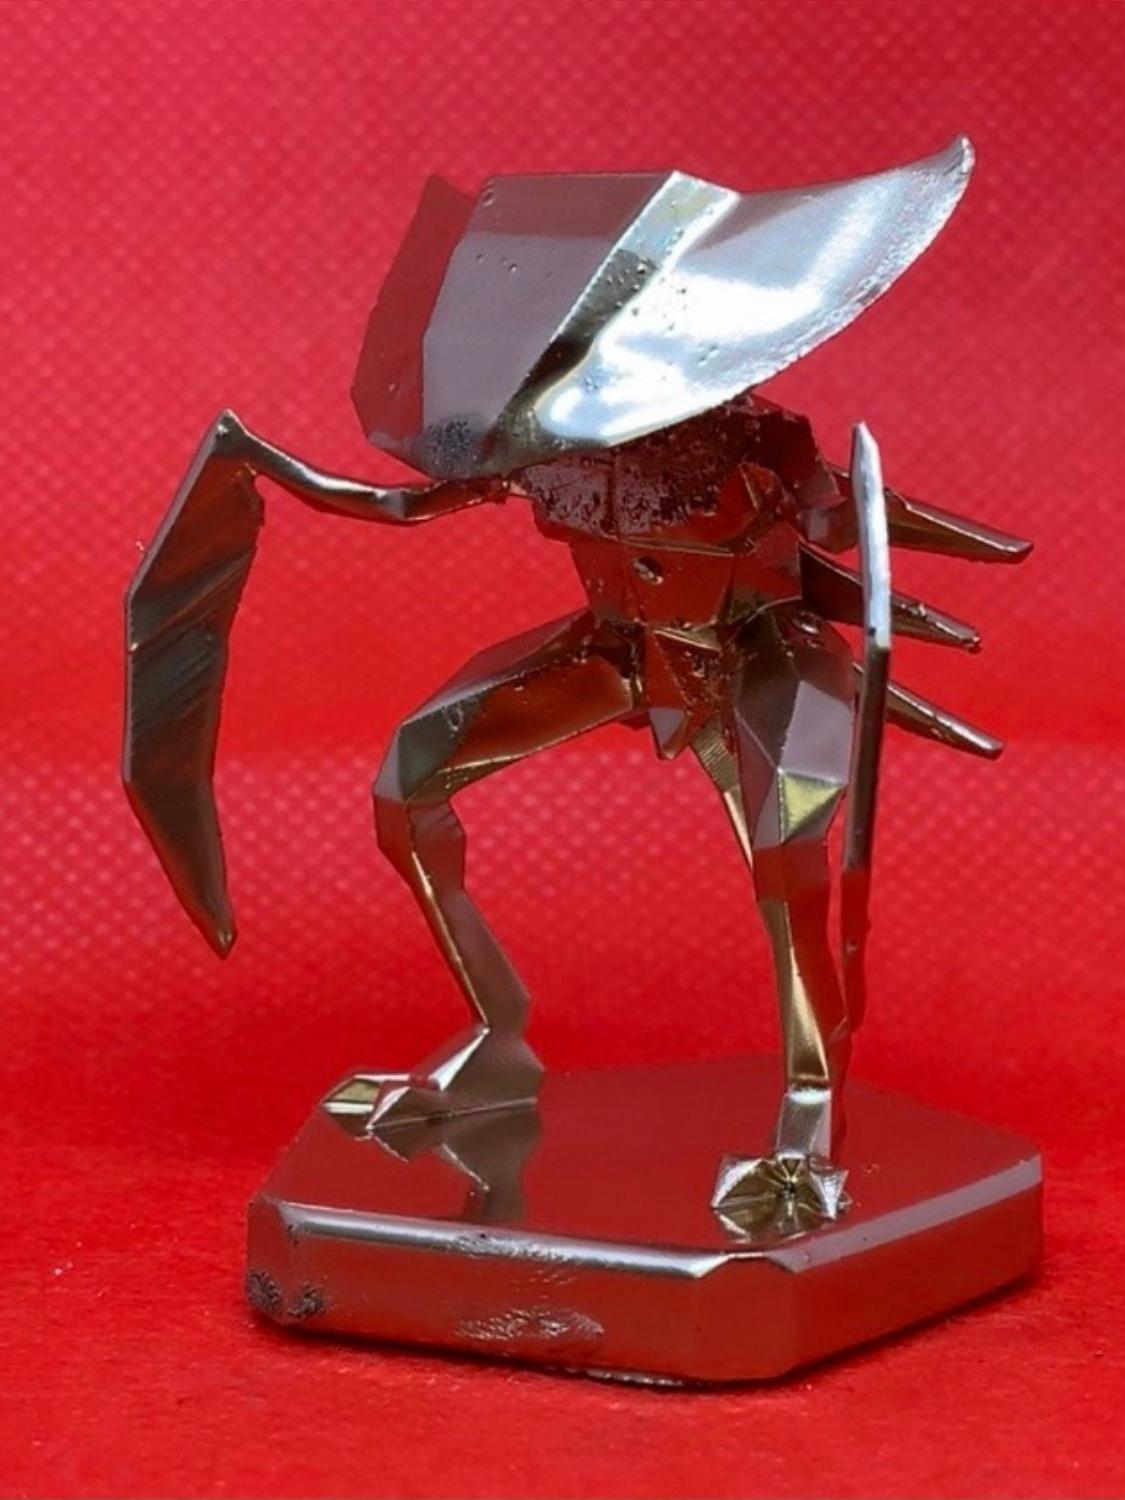
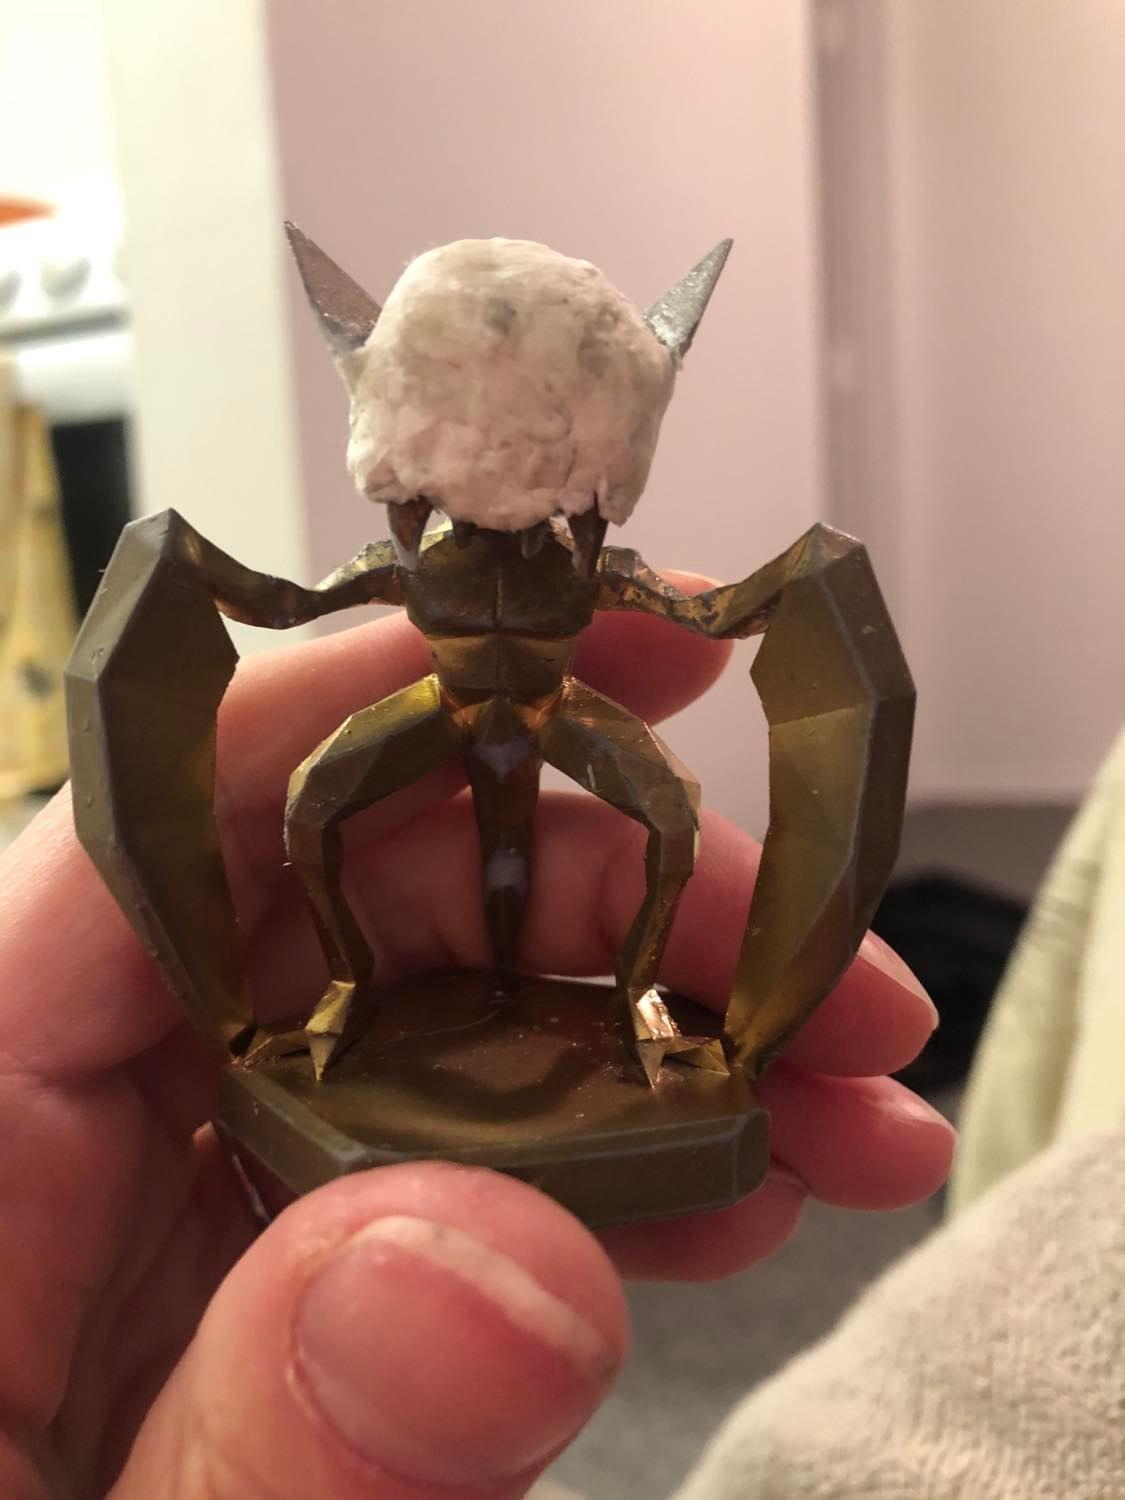
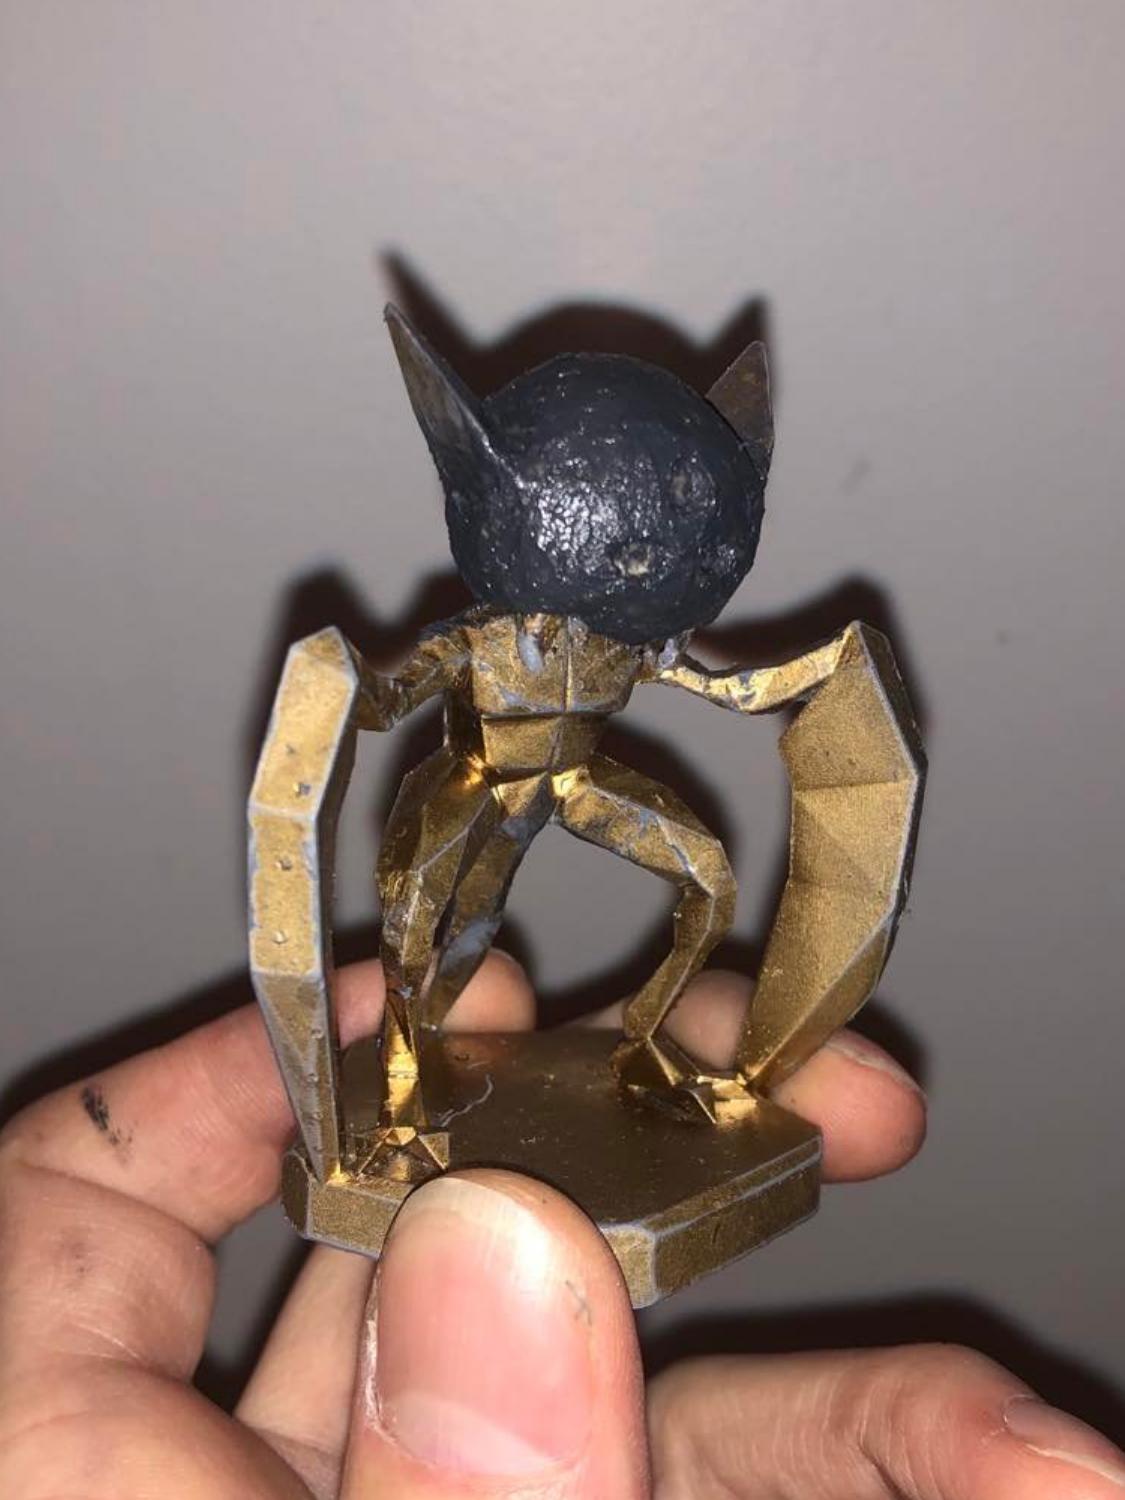
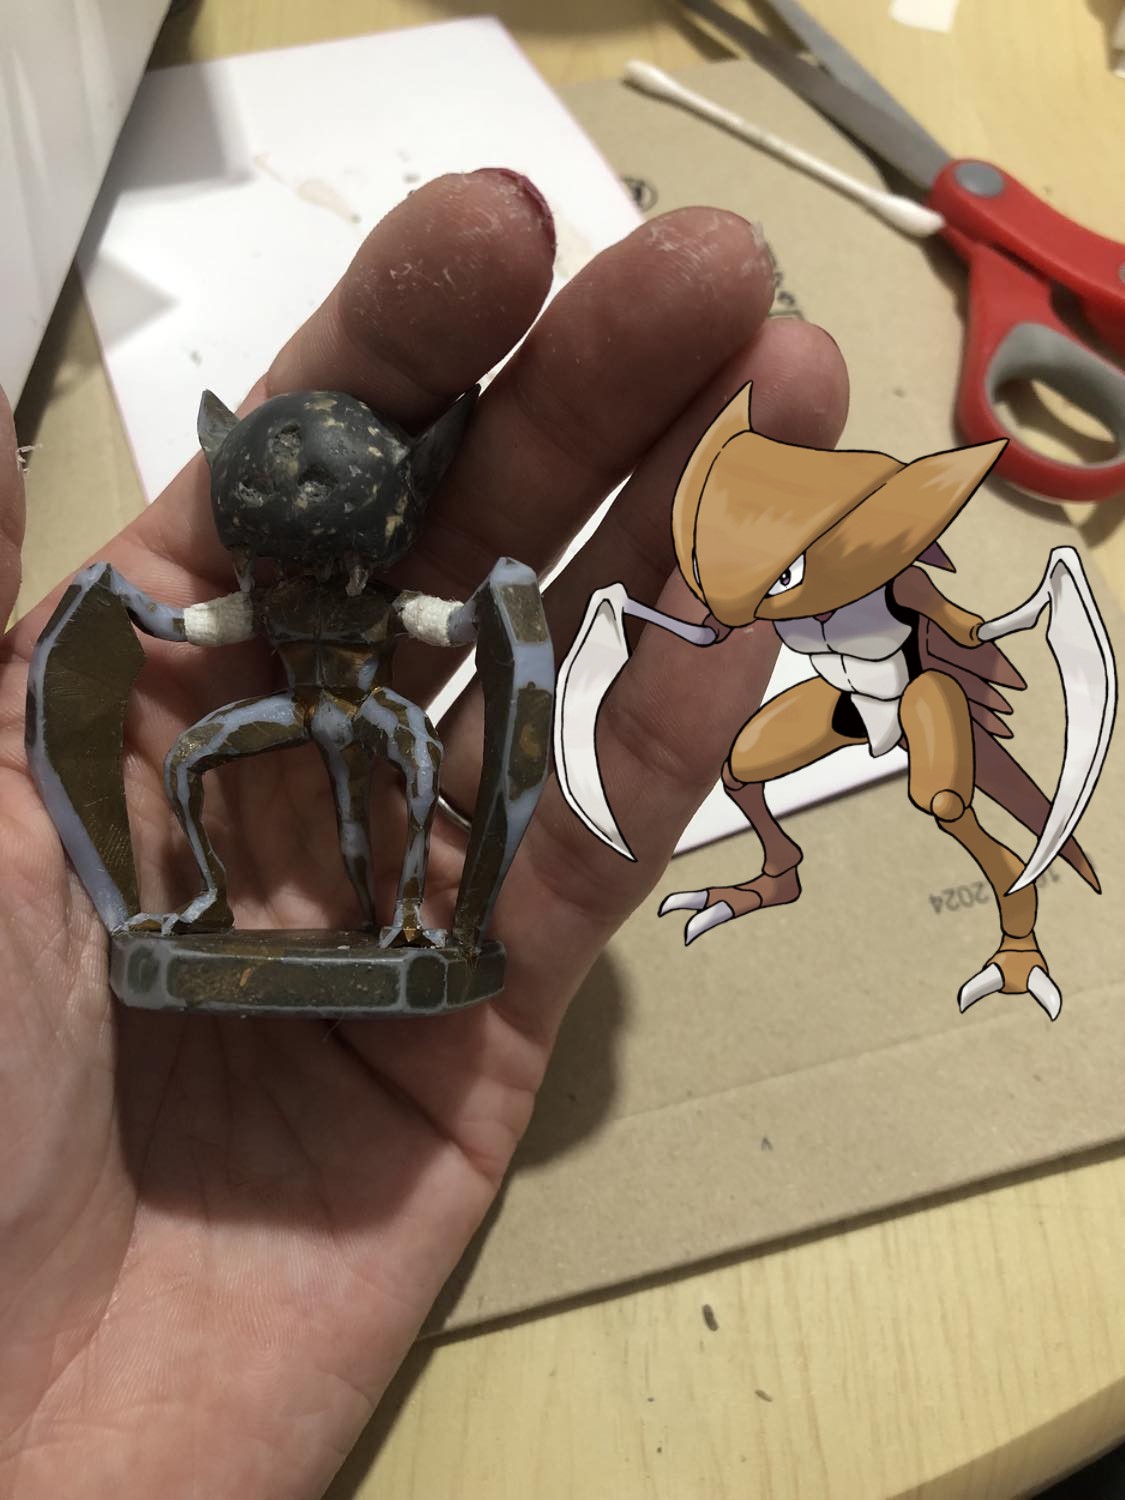
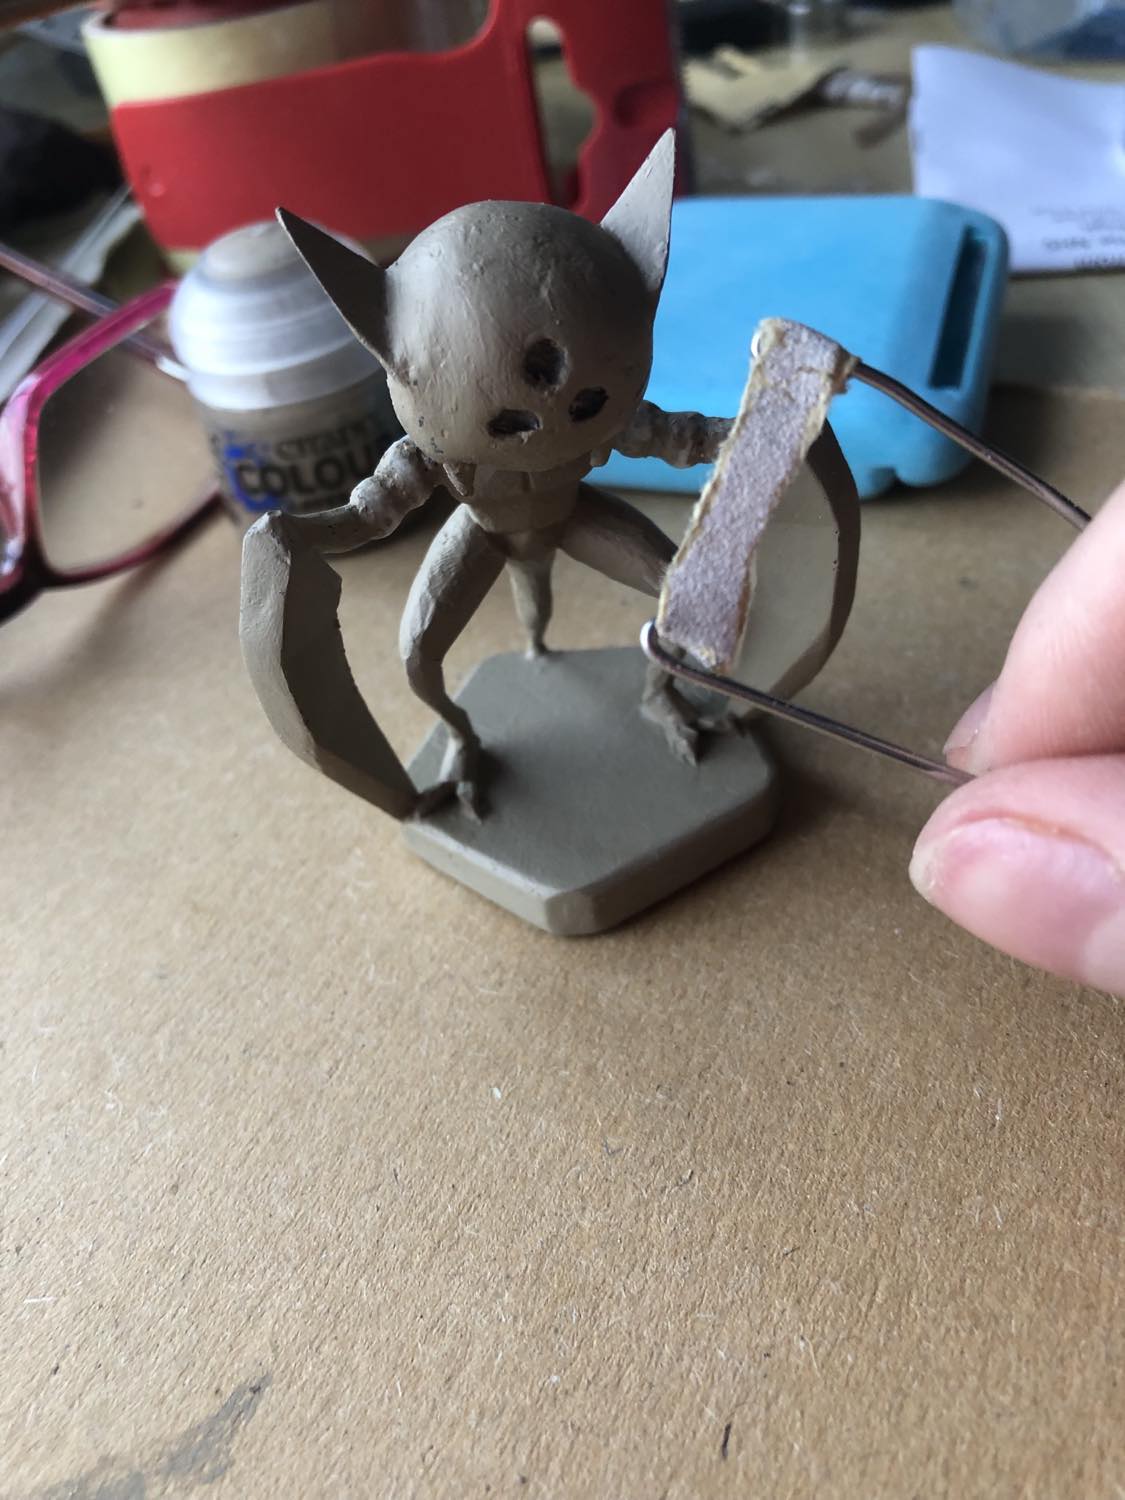
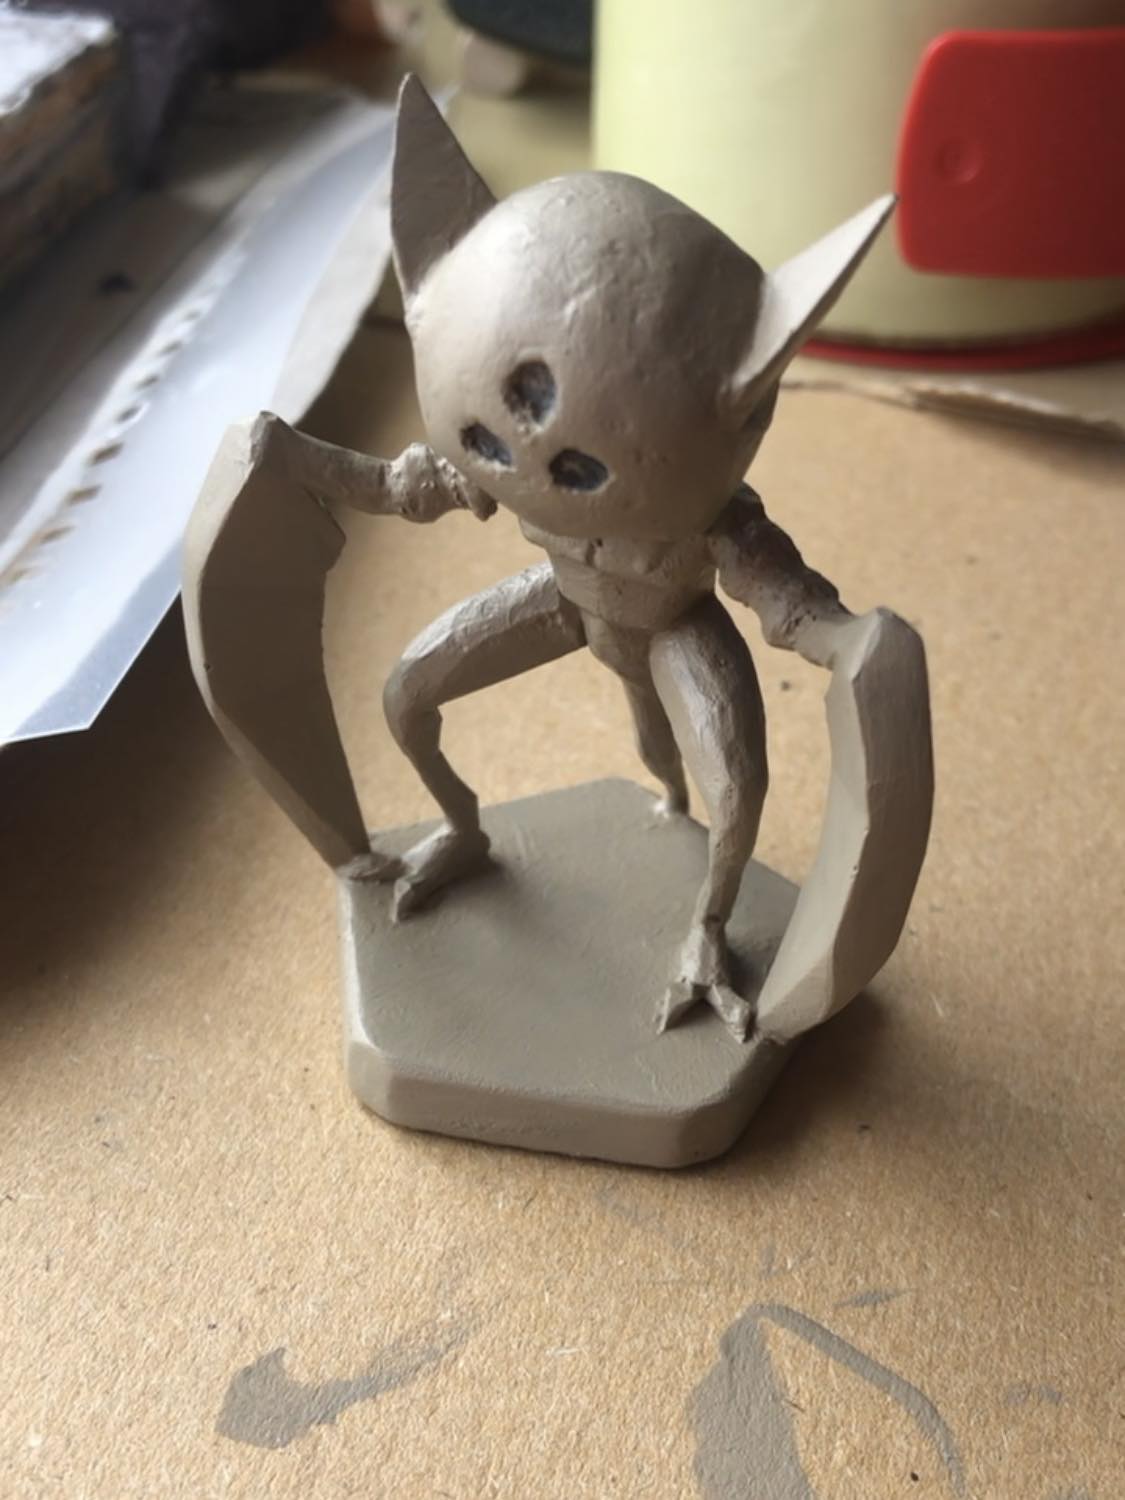
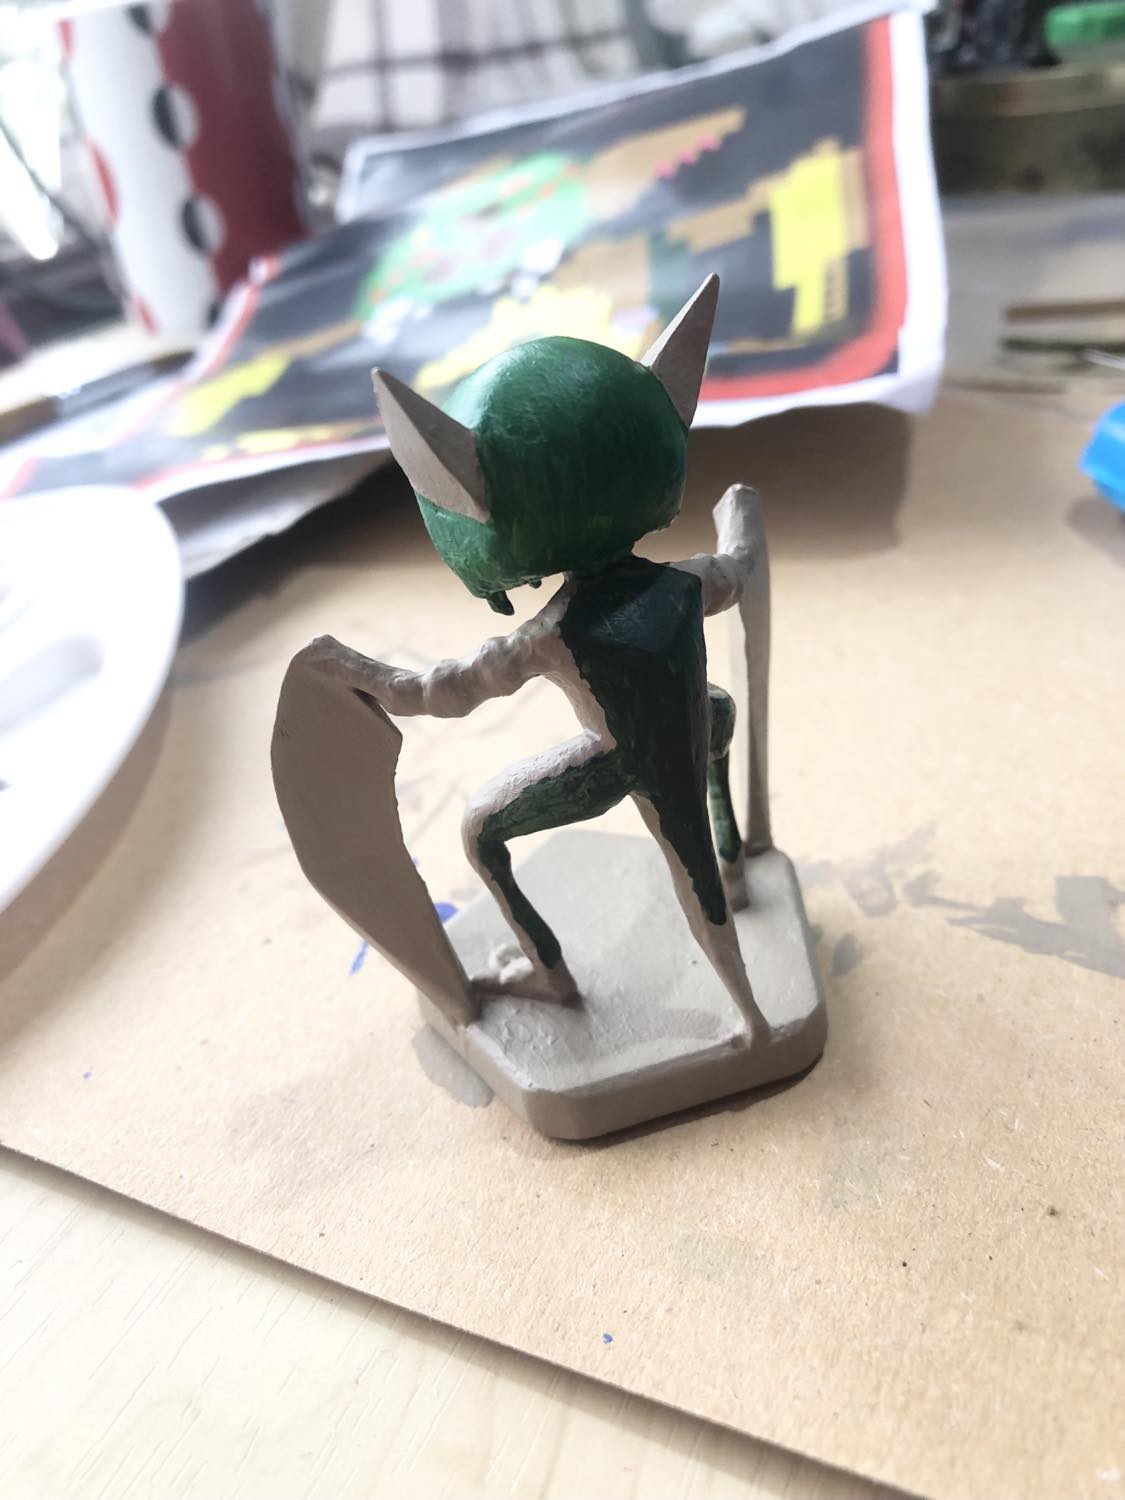
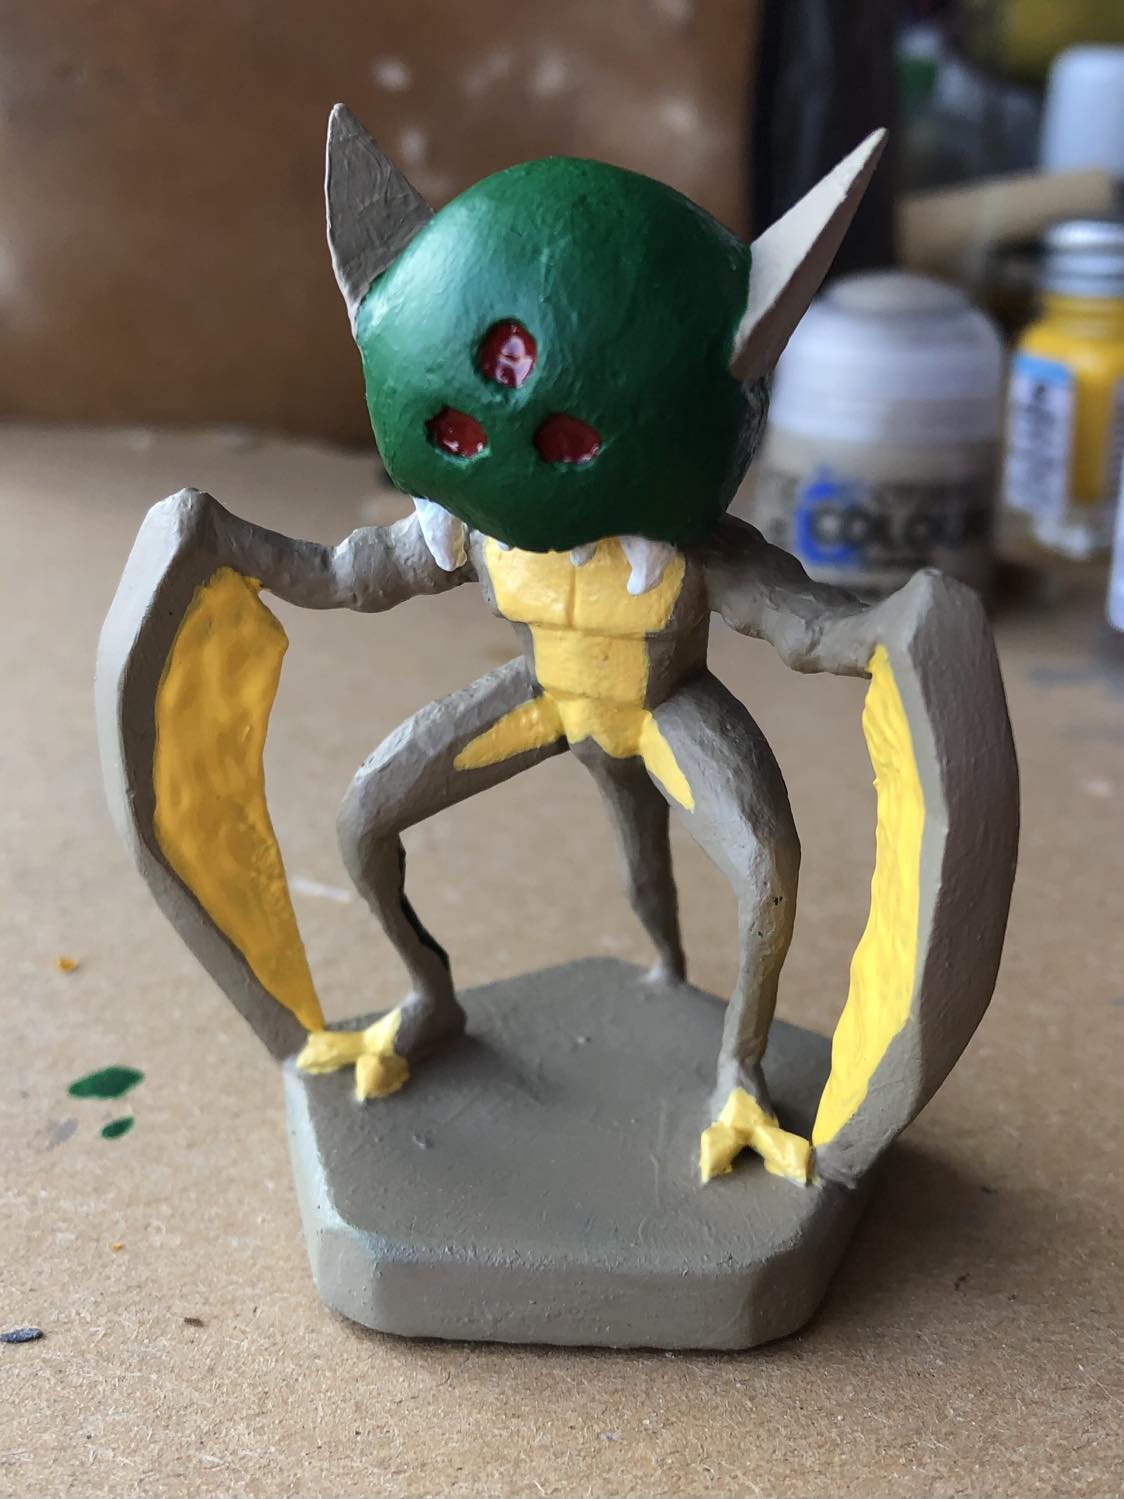
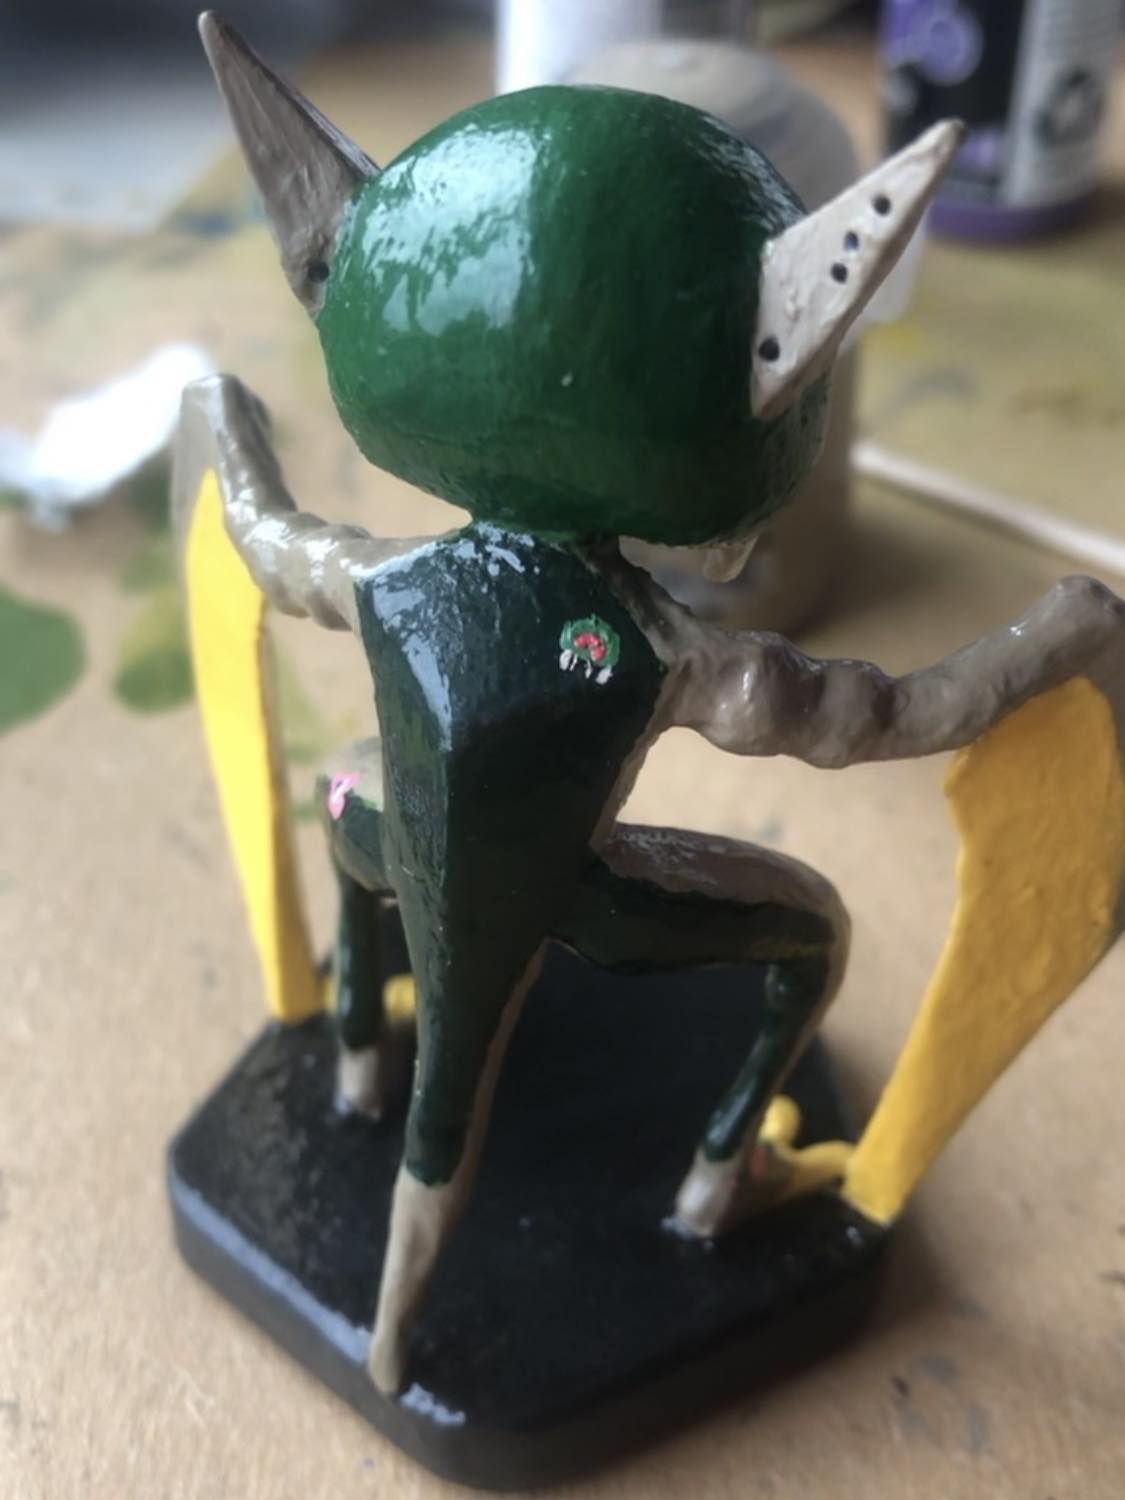
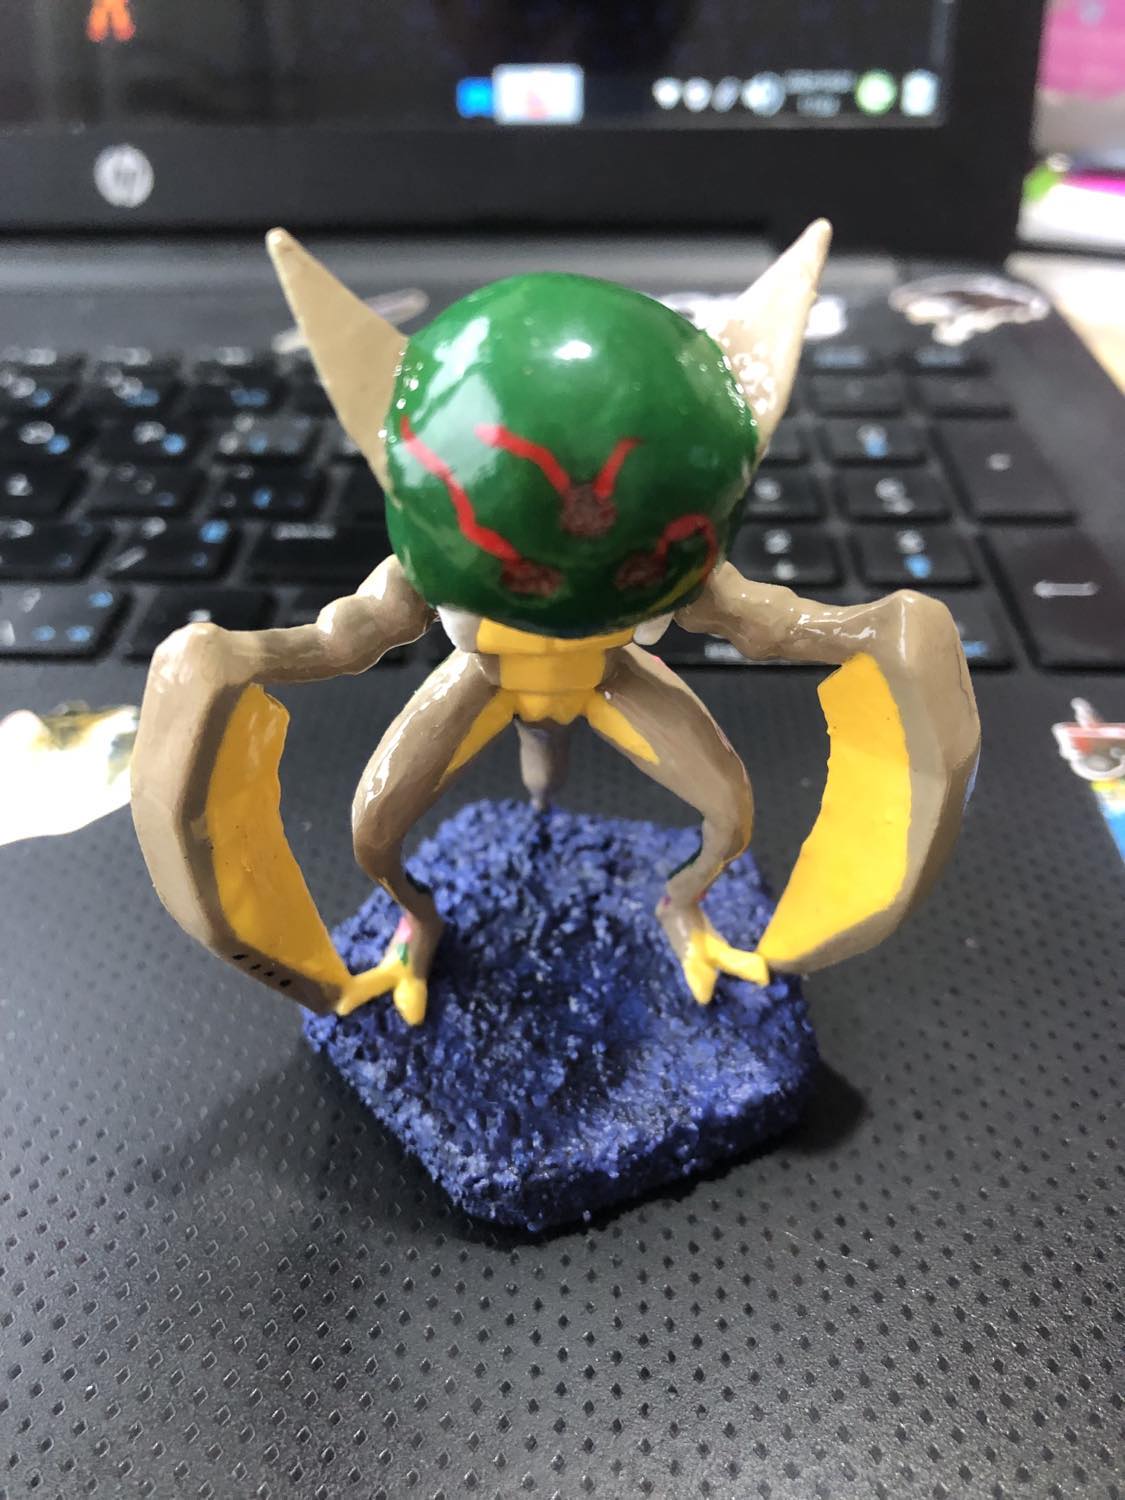
<skip forwards> And now that I am there, progress can continue! I've actually been in England a little over a year, but it took some time (and a move) for this figure to emerge, and onwards we go! The next steps were to round out the polygonal angles all over the figure. I had debated whether to leave them for stylistic purposes, but with a round head and back (I always felt Kabutroid should have a smoother back, especially from the smaller sprite, so the figurine's weirdly extra giant back spikes were removed), I really needed to round the rest of it too. Also, I'm not sure why the 3d print creator made the upper arms smaller than the lower arms, so we used some glue covered cloth to build up the biceps to match the sprite.
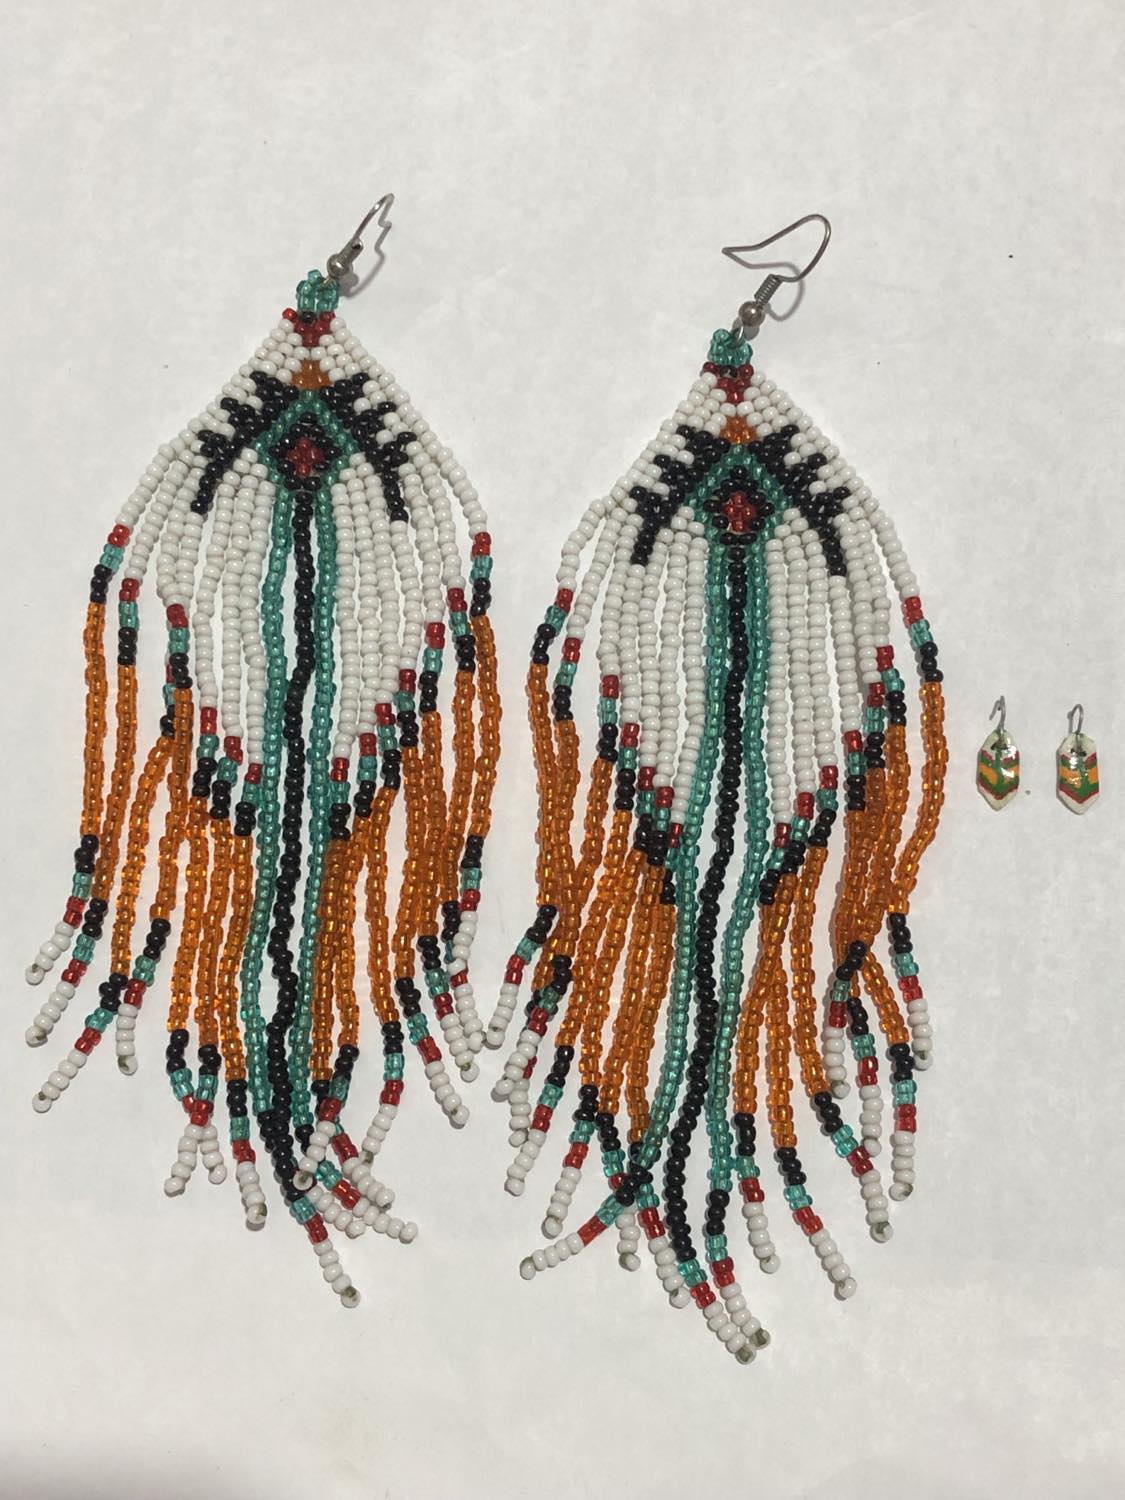
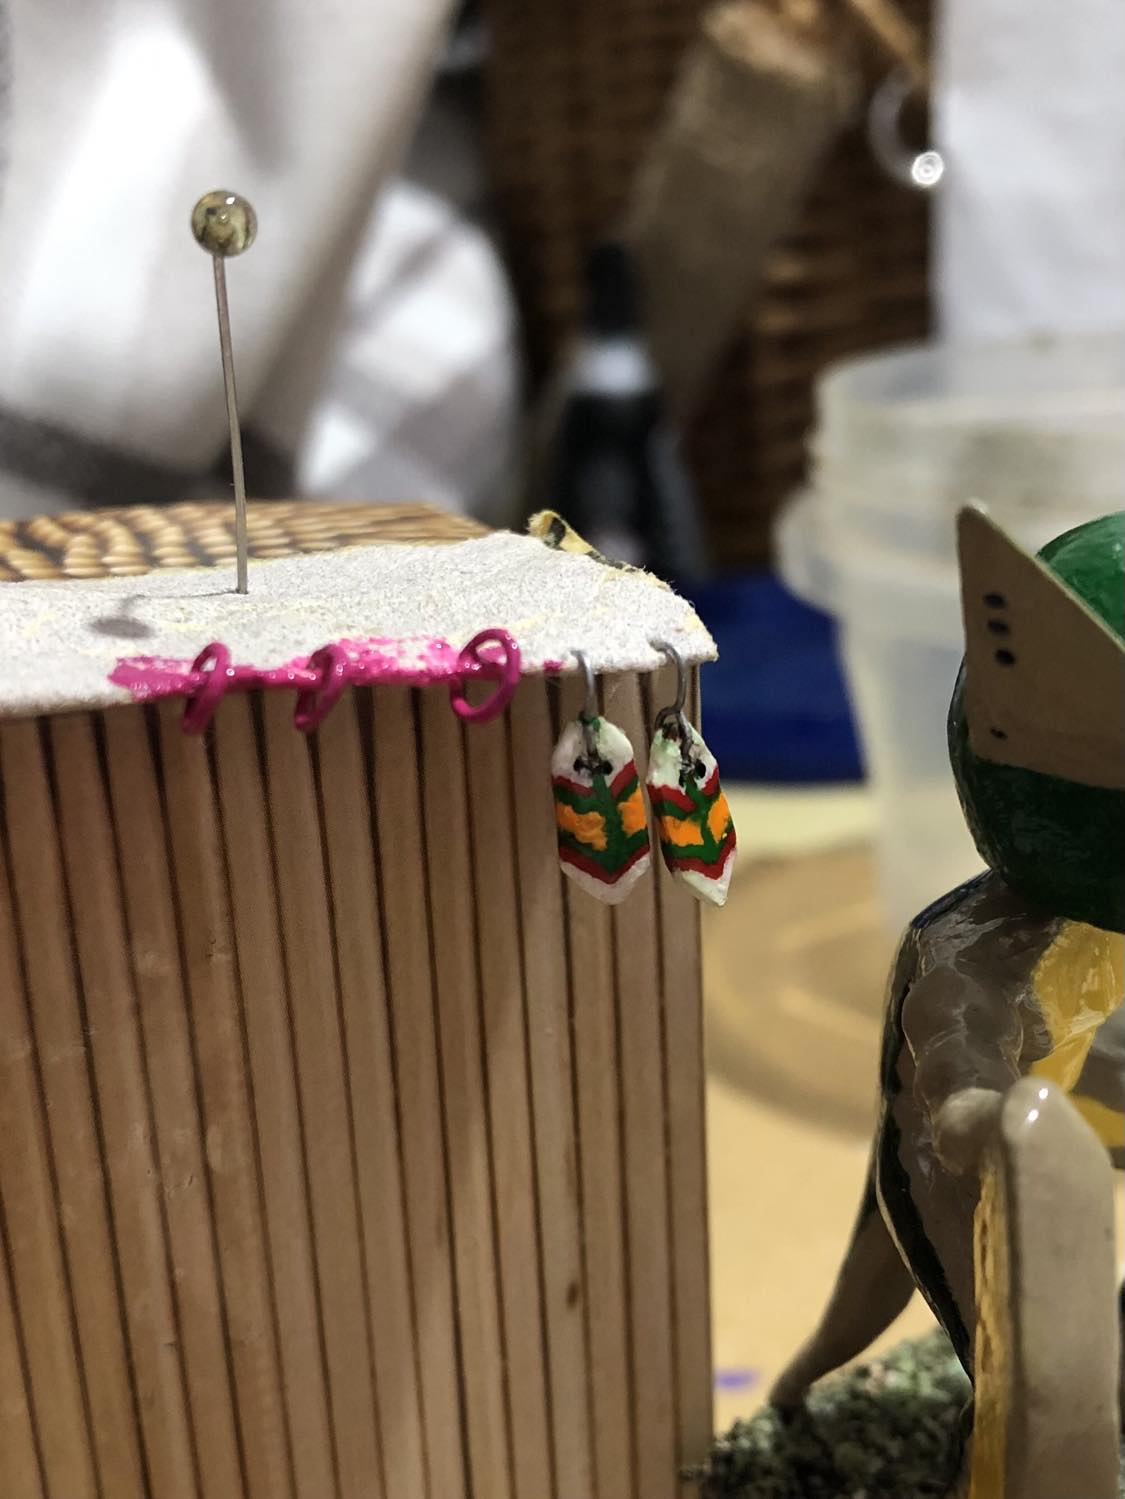
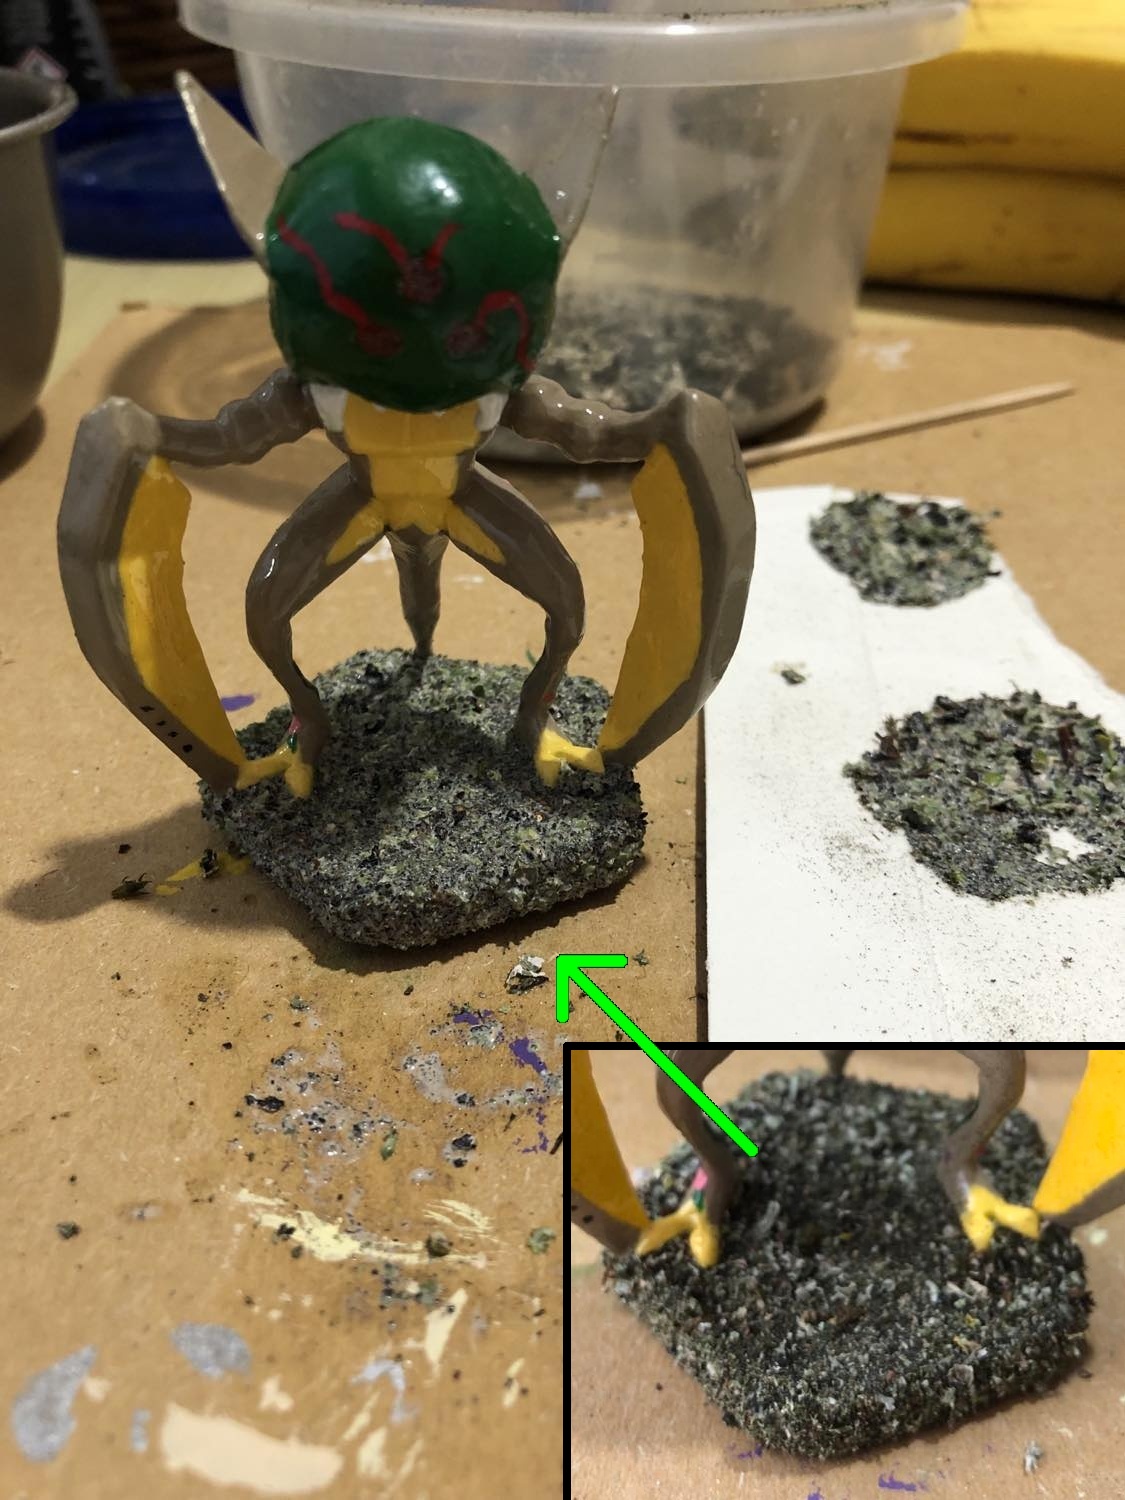
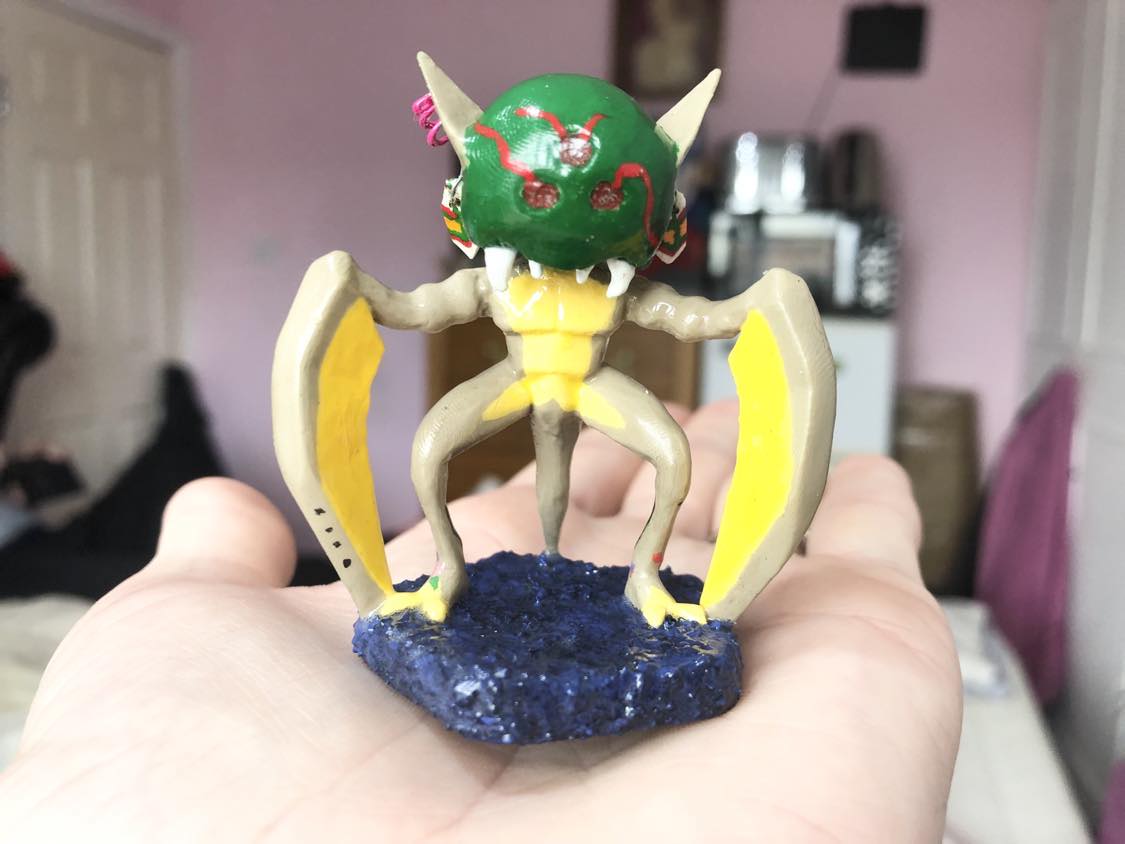
So, since that bicep construction needed a little bit of work, we created a small sanding tool to get into there. I did try to make earring holes with a heated up head pin, but that wasn't successful, so we ended up ordering a set of miniature drill bits, the 0.7 of which was used to make the earring holes (best purchase ever by the way, these work amazing), which we used after it was painted. Then came the earrings and the base. The earrings took a bit of time, using a dried puddle of pva glue cut to shape to match my most commonly worn earrings, and rings made from the spring of a click pen to make the helix ear hoops. As well, after much pondering, we decided to make the base textured, rather than attempt to paint the common blue brick pattern onto a pentagonal shape, which also annoyed me because in the comic that's technically the "side" of the brick. So we found some crumbles that look well like the lumpy blue ground of the comic, lichen! Thank you fallen branches at the park, you contained a fair amount of lichen growth to give me enough crumblies to coat the base. First a layer of watered down pva glue, followed by a coat of crumblies, followed by another soaking of watered down pva to fully soak and coat the lichen. We also made a few test patches for testing a blue paint wash on it, and also in the pic you can see the first lichen sprinkling compared to the one that has had the second glue layer added to it, for durability and mold avoidance. It'll be covered in enamel regardless, but still, it can't hurt, also the durability part.
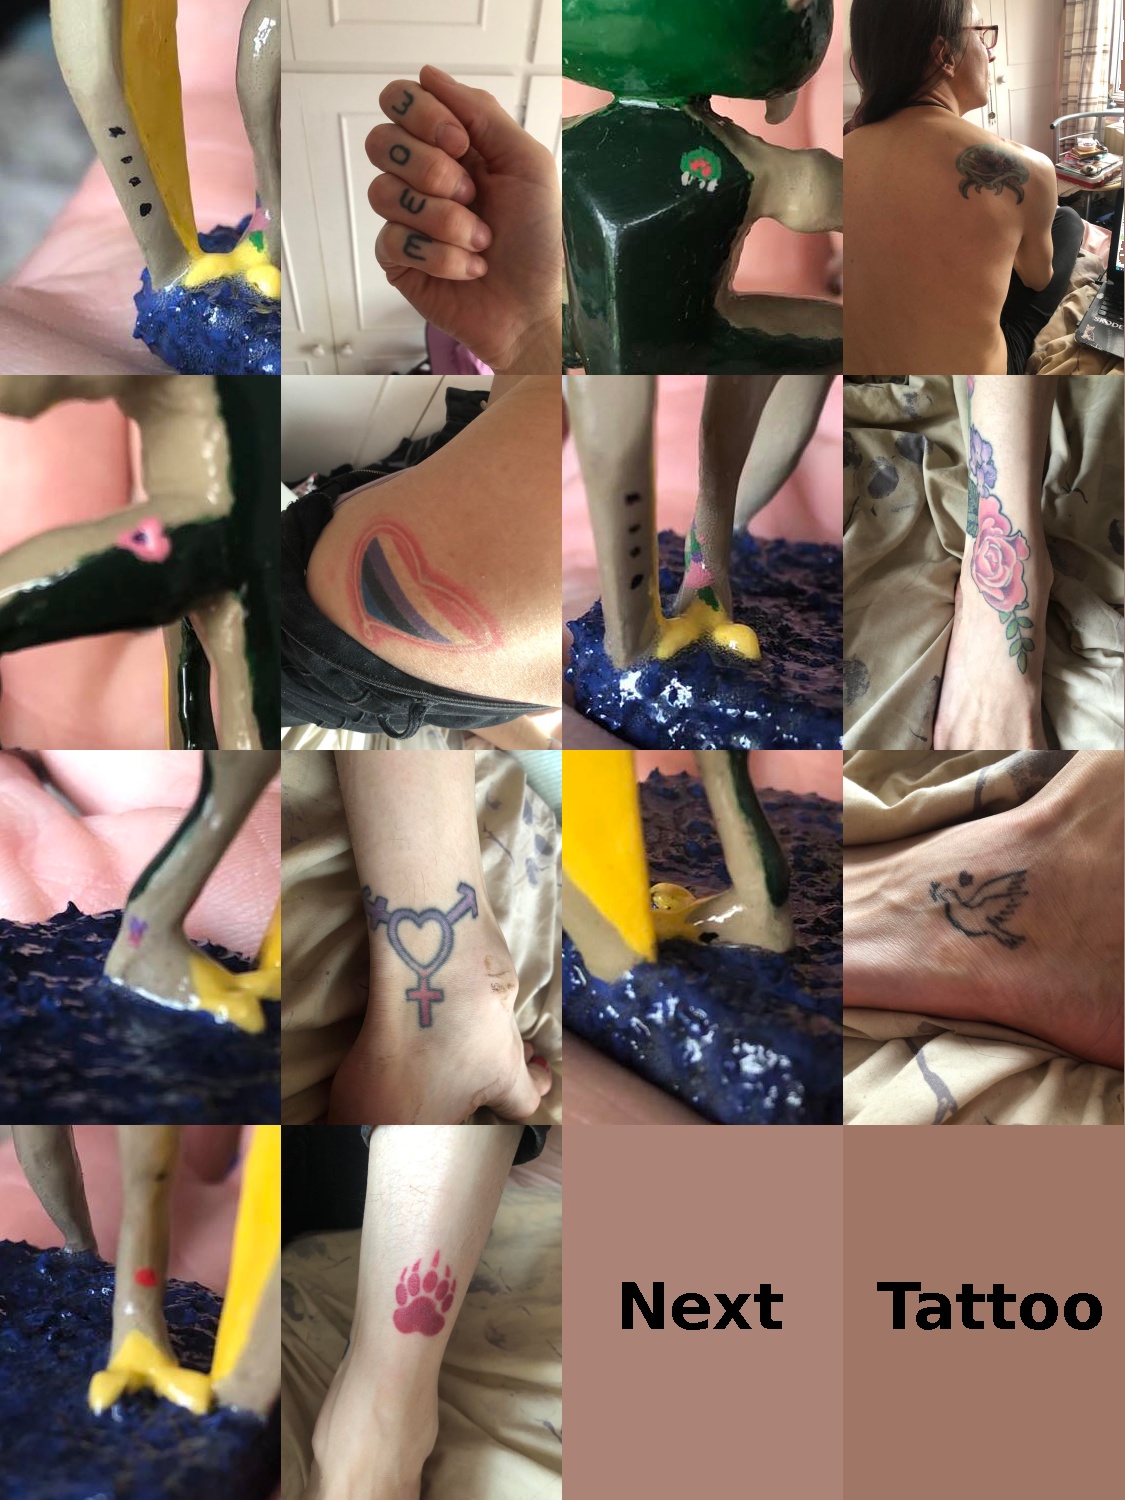
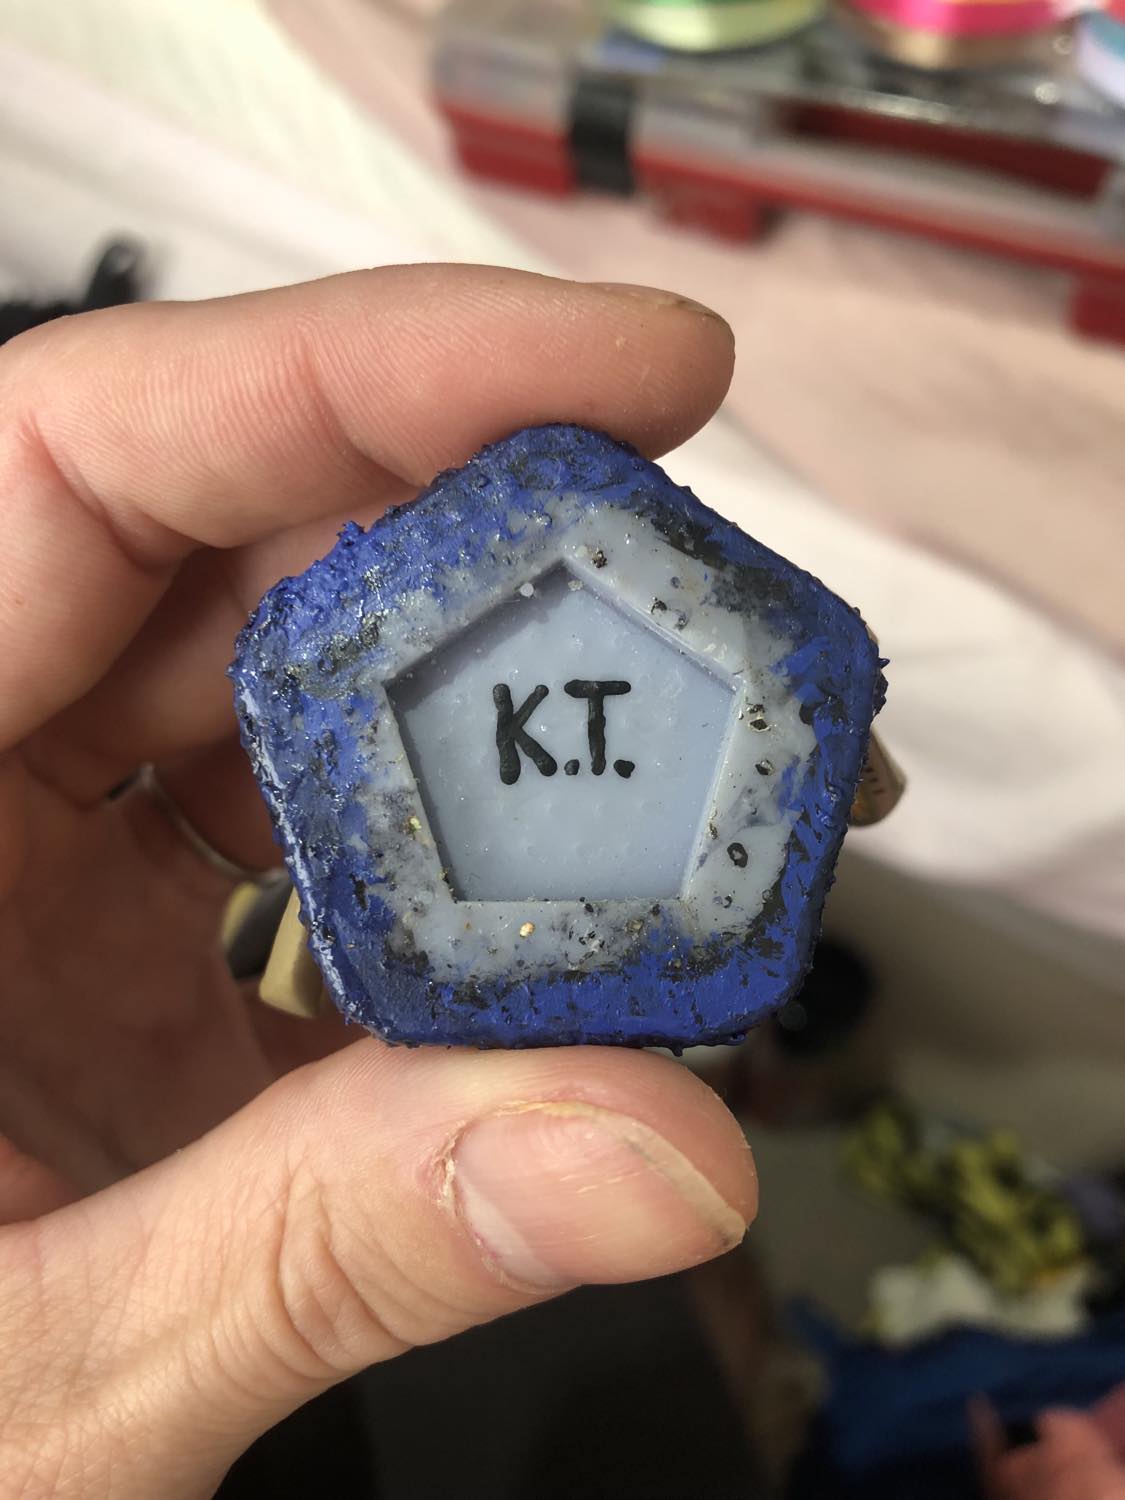
And then, blue paint was added, two layers to kinda fill in the bigger gaps between the pieces of lichen a little bit, and then a dark blue wash overtop to give it depth and life. Two layers of enamel, a signature on the bottom, and with putting in her earrings the figure is complete! And ooohhhhh, it looks amazing, and well matches the comic strip sprite :D
Base shape finished February 11, 2022 in Canada, finally finished October 3, 2024 in England
